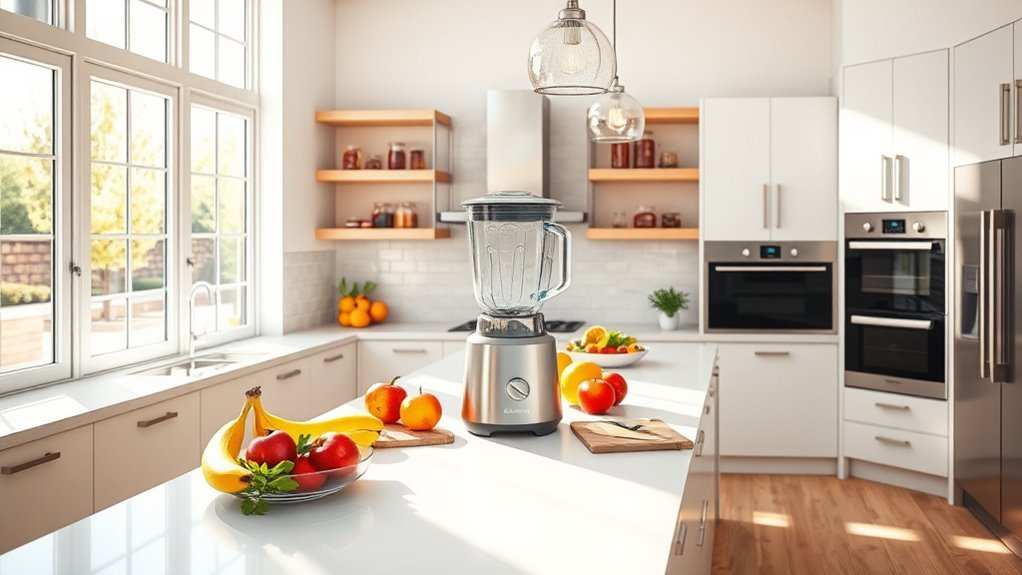
We’ll show you how to turn blender cleaning from a dreaded chore into a 30-second automated task. Unplug your blender, fill halfway with lukewarm water, add one drop of dish soap – that’s right, just one – and secure the lid tightly. Run on high for 15-30 seconds, rinse thoroughly, and wipe the base with a damp cloth. For stubborn residue or cloudiness, there’s more up our sleeve.
Essential Supplies for Self-Cleaning
Two essential items are all you’ll need for an effective blender self-cleaning cycle: lukewarm water and dish detergent.

We’ll need exactly 500ml of lukewarm water and just one drop of detergent in the blender jar. Don’t overthink this – more soap won’t equal better cleaning.
Before starting the cleaning process, check your Owner’s Manual for model specific instructions, as self-cleaning cycles vary between brands. Your lid must be securely placed to prevent any unwanted kitchen showers.
Once the cycle’s done, we’ll rinse thoroughly to eliminate soap residue. Trust us – you don’t want tomorrow’s smoothie tasting like yesterday’s dish soap.
Skip this step, and you’ll be tasting bubbles instead of breakfast. It’s that simple – no scrubbing required. Additionally, using a high-performance blender can produce smoother textures during your blending tasks, making maintenance even easier.
Safety Precautions Before Starting
While your blender’s self-cleaning feature might seem foolproof, we’ve got to nail these safety steps first. Keep yourself safe by confirming the blender’s unplugged before you start. Handle with care when moving the blender jar and lid to prevent spills. Let’s break down the critical zones you need to watch:
| Safety Zone | Key Action | Why It Matters |
|---|---|---|
| Power | Unplug | Prevents accidents |
| Lid | Secure firmly | Stops splashing |
| Blades | Use brush | Avoids cuts |
| Operation | Follow manual | Confirms success |
When cleaning around sharp edges, always use a long-handle brush – your fingers will thank you later. Remember, these safety precautions aren’t suggestions. They’re non-negotiable steps that keep the self-cleaning cycle running smoothly. Additionally, it’s important to consider the proper care of your blender to ensure longevity and performance. Check your manufacturer’s guidelines for model-specific requirements.
Quick Daily Cleaning Method
Now that we’ve covered safety, let’s get your blender sparkling clean in under a minute.
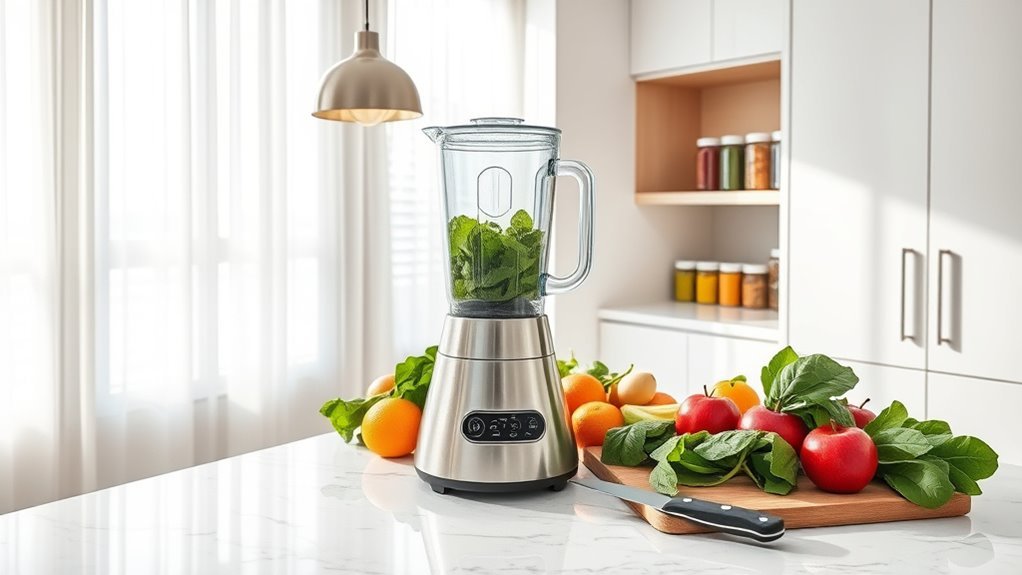
Our quick daily cleaning method is brilliantly simple. Fill your blender halfway with warm water, add a drop of dish soap, and secure the lid. Run it on high for 15-30 seconds – the soapy water will blast away residue from every nook and cranny.
Empty the soapy water into the sink and rinse it thoroughly.
Don’t forget the blender base – it needs attention too. A quick wipe with a damp cloth removes any spills or splatters that might’ve escaped during your blending adventures.
This method keeps your blender clean and ready for its next culinary mission, without the headache of disassembly or scrubbing. Cleaning your blender doesn’t get easier than this.
Deep Cleaning for Stubborn Residue
Even with regular cleaning, you’ll sometimes face stubborn residue that won’t budge. That’s when it’s time to deep clean your blender with one of our proven solutions.
Mix ¾ cup white vinegar with ¼ cup warm water and blend on high to tackle tough buildup. The blender will do the work while breaking down food residue.
For extra-stubborn stains, we’ve got a better trick: Create a paste using equal parts baking soda and warm water. This mixture will properly clean those stubborn spots around the cleaning blades.
For greasy residue, increase soap concentration in your self-cleaning cycles. Regular deep cleaning prevents cloudiness and keeps your blender running efficiently.
Don’t forget to thoroughly clean after using ingredients that leave significant residue.
Tips for Maintaining Blade Performance
Since your blender’s performance depends heavily on its blades, proper maintenance is essential for keeping them sharp and efficient. We’ll show you foolproof methods for blender maintenance that’ll save you time and extend blade life.
| Task | Frequency |
|---|---|
| Basic Rinse | After each use |
| Soap Cleaning | Daily |
| Vinegar Soak | Weekly |
| Deep Clean | Monthly |
Let’s be clear: cleaning your blades isn’t optional. After each use, rinse with warm water immediately. For tough stains, blend warm water with dish soap – it’s your first line of defense. When performance dips, run a deep clean cycle using vinegar or baking soda solution. Never scrub with abrasive materials; they’ll destroy your blades faster than kale smoothies. Use a long-handle brush to sanitize those hard-to-reach spots without risking your fingers.
Troubleshooting Common Cleaning Issues
Having trouble with your blender’s self-cleaning cycle? Let’s tackle these common issues head-on.
First, check that your jar’s properly secured and the lid’s tight – that’s usually the culprit behind cleaning failures.
For stubborn stains that won’t budge, we’ve got options. Mix warm water with dish soap for manual cleaning, or make a paste with baking soda for serious grime.
Don’t forget to inspect the blender base – those buttons and knobs often need extra attention after the self-cleaning cycle.
Got lingering odors or a cloudy jar? Run a cycle with vinegar and water. It works wonders.
If your self-cleaning feature’s still acting up, grab your Owner’s Manual for model-specific troubleshooting steps. Different brands have different quirks – knowing yours is key.
Best Practices for Long-Term Care
Now that you’ve mastered troubleshooting, let’s set up habits that’ll keep your blender running smoothly for years. Following these best practices guarantees peak performance and longevity of your appliance.
| Action | Timing |
|---|---|
| Quick Rinse | Immediately after use |
| Self-Cleaning Cycle | After each use |
| Deep Clean | Weekly |
| Hand Washing | As needed |
| Storage Check | Daily |
We’ll always start with warm water rinses after blending – it’s non-negotiable. Run the self-cleaning cycle with a drop of detergent for daily maintenance. Deep clean weekly using vinegar or baking soda to eliminate stubborn residue. Skip the dishwasher – hand washing preserves your blender jar’s integrity. Store it upside down in a dry spot to prevent moisture build-up. These habits aren’t just suggestions; they’re your blender’s survival guide.
Frequently Asked Questions
How Do You Self-Clean a Blender?
Let’s add warm water and dish soap to our blender, run it for 30 seconds, then rinse thoroughly. This efficient cleaning technique prevents odor buildup and maintains our blender’s performance.
How Do You Clean a Blender Step by Step?
We’ll save 80% cleaning time by filling halfway with warm water and soap, blending for 20 seconds, rinsing thoroughly, wiping the base, and letting parts dry before reassembling.
How to Clean Blender With Vinegar and Baking Soda?
Let’s mix vinegar and baking soda separately for natural cleaning benefits. First use vinegar solution, rinse, then follow with baking soda mixture. These eco-friendly cleaners effectively remove stains and maintain our blender’s longevity.
How Do You Self-Clean a Kitchenaid Blender?
Let’s make your KitchenAid blender sparkle! Fill halfway with warm water, add dish soap, run for 30 seconds, rinse thoroughly. For deeper cleaning, swap soap with vinegar or baking soda.