We’ll make cleanup a breeze with today’s dishwasher-safe mixer components. Most modern mixers feature washable attachments like dough hooks, flat beaters, and whisks – just pop them on the top rack. Always check your manual first, then disassemble completely and position items strategically: bowls upside down, small parts in the utensil basket. Skip the bottom rack for delicate pieces. Smart cleaning habits maximize both sanitization and component lifespan. There’s more to mastering mixer maintenance than meets the eye.
Some of the links in this article may be affiliate links. If you make a purchase through these links, we may earn a small commission at no extra cost to you. Thank you.

Understanding Dishwasher-Safe Components
When it comes to maintaining your kitchen mixer, knowing which components can safely go in the dishwasher will save you countless hours of manual scrubbing.
We’ve found that most modern mixers come with dishwasher-safe attachments like dough hooks, flat beaters, and whisks – but always check the manufacturer’s guidelines first.
Stainless steel mixing components are particularly robust, proving powerful enough to handle repeated dishwasher cycles without compromising their integrity.
These easy to clean parts make post-baking cleanup a breeze. What’s even better? The dishwasher doesn’t just clean – it sanitizes these components thoroughly.
Most removable parts, from blade assemblies to bowls, can go straight into your dishwasher’s top rack.
Just remember: while many attachments are dishwasher safe, some specialized ones might need gentle hand washing.
Essential Safety Guidelines for Cleaning Mixer Parts
Safe cleaning practices can mean the difference between a long-lasting mixer and a broken disaster. Let’s explore the essential guidelines for handling your mixer’s removable parts. First, we’ll always check the manufacturer’s manual – not every shiny component is dishwasher-safe, trust us.
| Component Care | Top Rack Only | Temperature |
|---|---|---|
| Metal Beaters | Yes | Normal Cycle |
| Plastic Parts | Yes | Gentle/Eco |
| Glass Bowls | No | Hand Wash |
We’ve learned to inspect our attachments before each dishwasher run. Load them on the top rack only – it’s non-negotiable. Don’t cram everything in at once; proper water circulation is vital for cleaning effectiveness. For delicate components, we’re sticking to the gentle cycle. Regular maintenance checks help prevent that nasty residue buildup that kills performance.
Proper Disassembly and Loading Techniques
Since proper disassembly makes or breaks your cleaning results, let’s tackle this head-on.
When cleaning your mixer, we’ll need to disassemble all components carefully and load them strategically in the dishwasher for maximum cleaning effectiveness.
- Remove all attachments – dough hook, flat beater, and whisk – and confirm they’re dishwasher safe before proceeding.
- Position the mixing bowl upside down in the dishwasher to prevent water pooling. Trust us, this simple flip makes a world of difference.
- Secure smaller attachments in the utensil basket to protect them from damage.
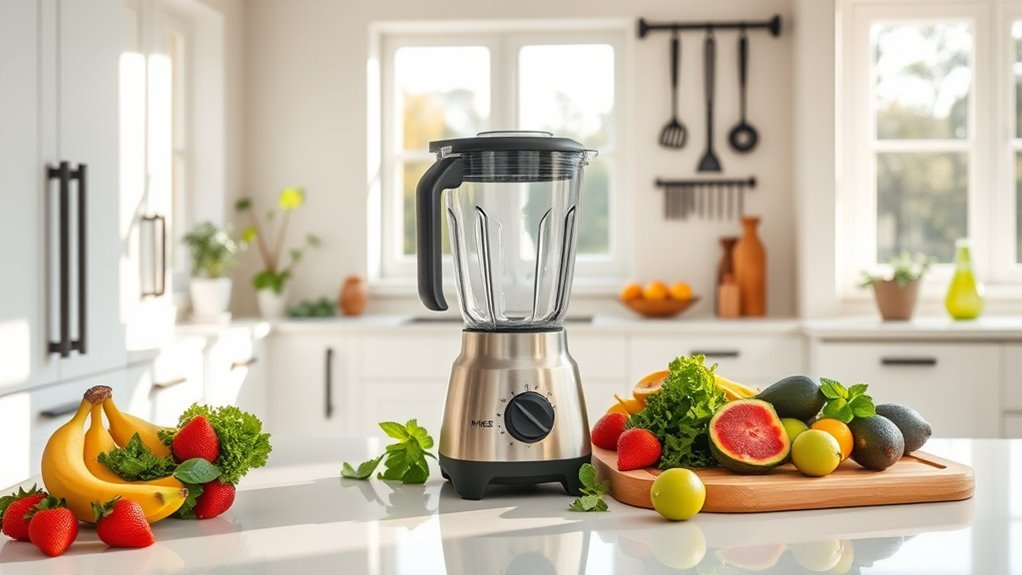
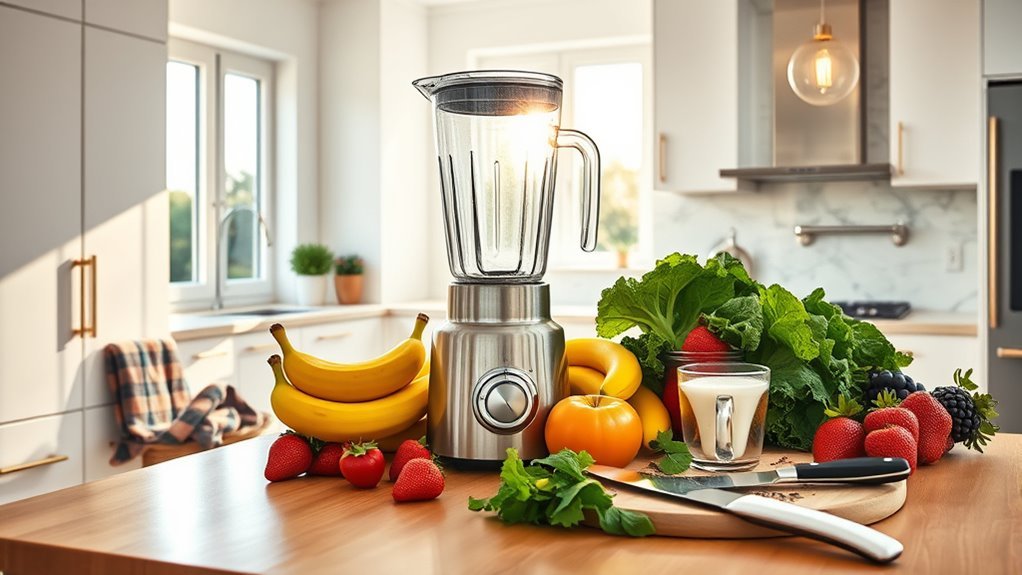
Don’t overcrowd – each piece needs its space for proper cleaning. Additionally, using a high-performance blender can complement your mixer by providing efficient blending for your recipes.
Maximizing Cleaning Performance in Your Dishwasher
Now that we’ve got everything properly disassembled, let’s maximize your dishwasher’s cleaning potential. For ideal cleaning performance, strategic placement of your dishwasher-safe mixer components is essential. We’ll map out exactly where each part belongs.
| Component | Placement | Reason |
|---|---|---|
| Mixing Bowls | Bottom Rack | Heavy-duty items need strongest spray |
| Attachments | Top Rack | Protects delicate parts |
| Blender Parts | Separated | Guarantees thorough cleaning |
The cleanup process becomes effortless when you follow these placement guidelines. Load removable parts like dough hooks and beaters in the top rack to prevent damage while maximizing sanitization. Stainless steel bowls? Bottom rack, always. Trust us – proper positioning means spotless results every time. Your mixer components will thank you with years of reliable service.
Common Mistakes to Avoid When Washing Mixer Parts
While washing mixer parts might seem straightforward, we’ve seen countless preventable disasters in kitchens everywhere.
Let’s cut through the confusion and tackle the most common blunders that can damage your equipment or compromise cleaning effectiveness.
1. Don’t assume all mixer parts are dishwasher-safe – always check manufacturer guidelines first.
We’ve seen too many warped attachments from high-temperature cycles.
2. Skip the cramming game – overcrowding prevents thorough cleaning and leaves stubborn food particles clinging to components.
Give each piece the space it needs.
3. Never toss everything onto the bottom rack.
Place delicate attachments on the top shelf, and always disassemble removable parts completely.
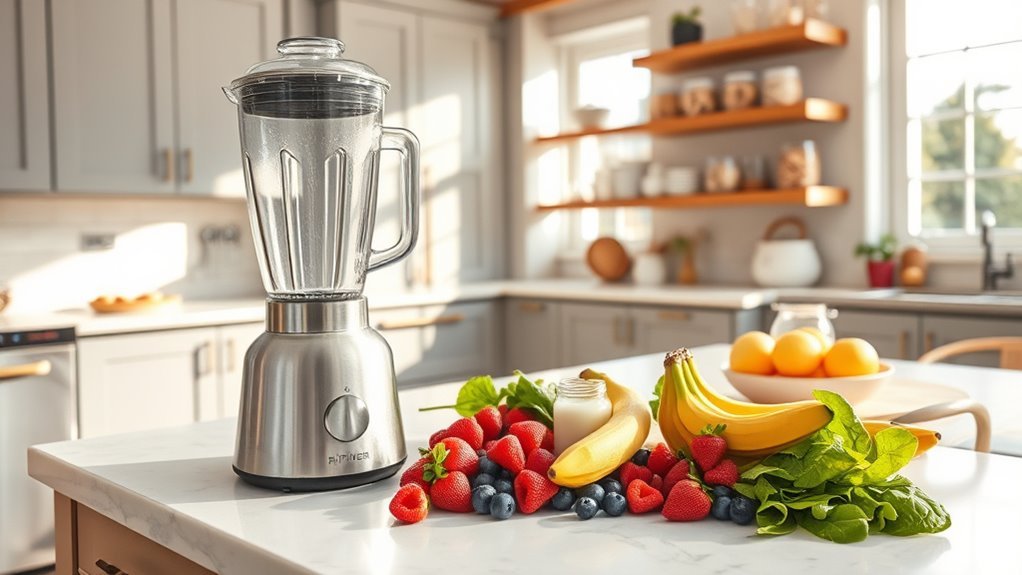
Those hidden gaskets and seals need attention too – they’re notorious food particle magnets. Additionally, maintaining proper care can significantly extend the lifespan of your high-performance blenders.
Extending Component Lifespan Through Proper Care
To maximize your mixer’s lifespan, you’ll need more than just casual maintenance – you need a battle plan.
Let’s get serious about protecting those dishwasher-safe components.
We’ve seen too many mixers die young from neglect. Start by checking removable parts before each wash – tighten that blade assembly like your smoothies depend on it (because they do).
Always use the top rack, where heat and detergents won’t wage war on your attachments. And please, don’t treat your dishwasher like a clown car – overcrowding is a recipe for scratched components.
Proper maintenance means following manufacturer guidelines for cleaning frequency. Scrape off food residue before washing – it’s not lazy, it’s strategic.
Trust us, these simple steps will keep your mixer components performing like champions for years to come.
Smart Storage Solutions for Clean Mixer Attachments
Storing mixer attachments shouldn’t feel like a game of kitchen Tetris.
We’ve discovered smart storage solutions that keep your dishwasher-safe components organized and easily accessible.
Let’s transform that chaotic drawer into a well-organized system that makes sense.
- Mount magnetic strips on your kitchen wall for metal attachments like whisks and beaters – they’re instantly visible and grabbing them becomes effortless.
- Utilize stackable storage bins with clear labels, maximizing vertical space while keeping components separated and protected from dust.
- Invest in dishwasher-safe silicone pouches for smaller attachments – they’re flexible, space-efficient, and maintain cleanliness between uses.
Remember: A designated storage space isn’t just about organization – it’s about extending the life of your attachments and making your kitchen work smarter, not harder.
Frequently Asked Questions
What Parts of a Kitchenaid Mixer Are Dishwasher Safe?
We’re thrilled to share these amazing mixer maintenance tips! Your KitchenAid’s stainless steel bowl, flat beater, dough hook, and wire whip are all dishwasher safe, while electrical components need hand washing.
Which Parts of the Bosch Mixer Are Dishwasher Safe?
We can clean our Bosch mixer parts easily since the mixing bowl, dough hook, flat beater, whisk, and transparent lid are all dishwasher-safe, ensuring proper maintenance and long-term durability.
Are Kitchenaid Wire Whips Dishwasher Safe?
Hitting the jackpot with KitchenAid care tips, we’re happy to confirm their wire whips are dishwasher safe! For best mixer cleaning methods and wire whip maintenance, we recommend placing them on the top rack.
Are Kenwood Attachments Dishwasher Safe?
We’re happy to confirm that most Kenwood attachments, including stainless steel mixing bowls and various beater types, are dishwasher safe. Always check your model’s manual for specific maintenance tips.