While commercial nut butters often contain hidden stabilizers and excessive sugars, we can create pure, fresh versions at home with just a few key ingredients and the right equipment. Most of us don't realize that the secret to silky-smooth nut butter isn't just about the blending time – it's about understanding how different nuts release their natural oils at varying temperatures and pressures. Whether you're looking to craft a classic peanut butter or experiment with exotic varieties like macadamia or pistachio spread, we'll show you how to master the essential techniques that transform raw nuts into creamy, spreadable perfection.
Essential Equipment for Nut Butter Making
Nut butter's smooth, creamy texture starts with having the right equipment in your kitchen. When we're choosing a blender for making homemade nut butters, power recommendations suggest focusing on high-speed models with at least 1600 watts, which can effectively process different nut varieties into creamy spreads.
We've found that variable speed controls and sharp, durable blades are essential blender features that help achieve our desired texture preferences. For ideal blending techniques, we'll want a machine that can handle both pulse actions for initial chopping and sustained high-speed blending for that perfectly smooth finish. High-performance blenders are particularly effective at breaking down tough ingredients like nuts into smooth, consistent textures.
Many home chefs find that roasting nuts first produces the most flavorful results before blending begins. Models like the Vitamix E310 and Ninja TWISTi offer the versatility we need, with containers sized just right for typical batch sizes. These powerhouses come with built-in features that make creating everything from chunky to silky-smooth butters completely achievable.
Don't forget about cleaning tips – look for models with dishwasher-safe components or easy-clean designs. Many premium blenders include specially designed cleaning cycles, while others come apart easily for thorough manual washing, ensuring we can maintain our equipment without hassle.
Choosing and Preparing Your Nuts
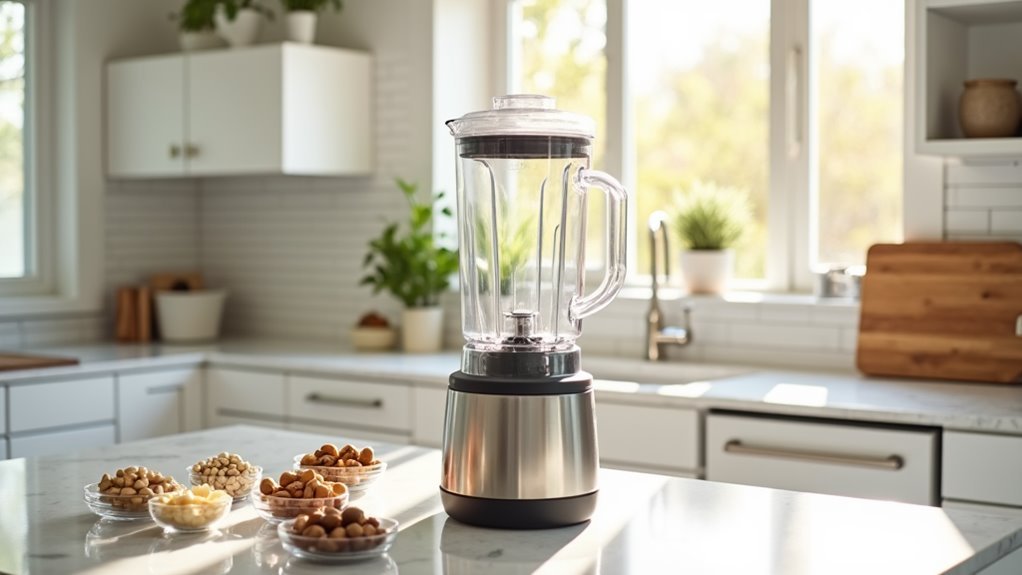
Your nut butter's success starts with selecting and preparing the right ingredients. Before diving in, consider any nut allergies in your household and choose nuts that align with your nut health goals. High-performance blenders can efficiently process nuts into creamy spreads with their powerful motors exceeding 1,000 watts.
We've found that high-oil nuts like macadamias and cashews create naturally smooth butters, while pecans and walnuts benefit from roasting to enhance their flavors. Two cups of nuts will yield about one cup of finished butter.
Let's break down the essential preparation steps for perfect nut butter:
- Start by selecting unsalted, bulk nuts to control flavoring and save money – we'll be using plenty of them.
- Consider soaking harder nuts like almonds and Brazil nuts for improved digestibility and creamier texture.
- Roast your nuts at 350°F for 10-15 minutes, stirring occasionally, to develop deeper flavors.
When it comes to customization, we're only limited by our creativity. High-fat nuts like peanuts and cashews won't need additional oil, but lower-fat varieties might require a splash to achieve that perfect spreadable consistency.
Whether you prefer single-nut butters or exciting combinations, proper preparation sets the foundation for achievement. Remember to chop larger nuts before blending to prevent overheating your equipment and guarantee smoother results.
Step-by-Step Blending Process
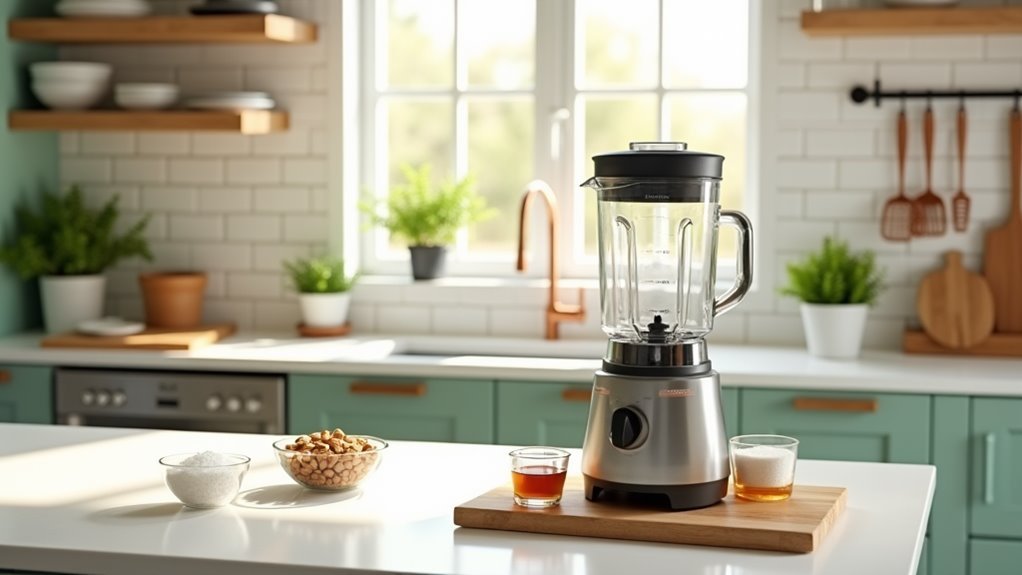
Creating smooth, creamy nut butter starts with understanding the blending process and its distinct stages. Let's explore how we'll transform raw nuts into silky spreads using proven blending techniques and strategic texture adjustments.
| Stage | Time | Action |
|---|---|---|
| Initial | 1-2 min | Blend on high speed until chopped |
| Middle | 2-3 min | Continue blending as mixture becomes powdery |
| Final | 2-3 min | Blend until smooth, scraping sides as needed |
We'll start by running our high-speed blender for 1-2 minutes, watching as the nuts transform from chopped to powdery consistency. During this process, we'll need to stop occasionally to scrape down the sides of the blender jar, ensuring even distribution. As we continue blending, the mixture will progress through a clumpy stage before finally becoming smooth and creamy. A food processor may require 10-12 minutes to achieve the same results as a blender.
For those seeking ultimate control over their nut butter's texture, we'll want to adjust our blending speed and duration. If we're after a chunkier spread, we'll use pulse settings intermittently. For silky-smooth results, we'll blend continuously on high speed, adding a small amount of oil if needed to achieve that perfect, spreadable consistency.
Flavor Combinations and Add-Ins
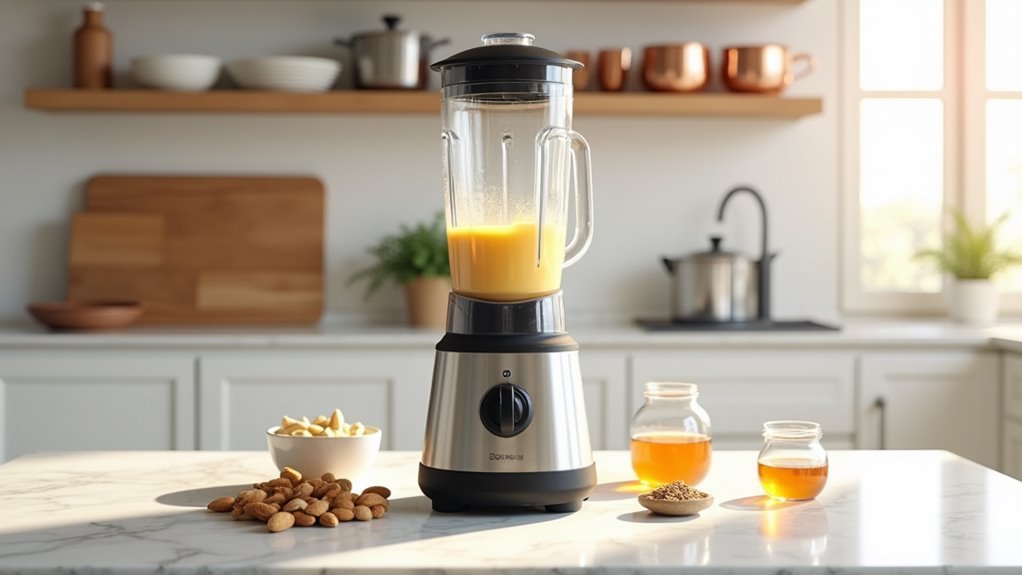
Once we've mastered the basic blending technique, we'll discover how the right flavor combinations can transform ordinary nut butters into extraordinary spreads. The world of unique flavor pairings opens up endless possibilities, from fruit-forward combinations to savory vegetable fusions.
Let's explore these versatile combinations that not only enhance taste but also maximize health benefits:
- Fruit pairings bring natural sweetness – try raspberry with walnut butter for an earthy fusion, or combine almond butter with orange zest for a citrus twist that'll wake up your taste buds. Proper storage of your nut butters and fruits ensures optimal flavor in these combinations.
- Vegetable combinations create nutritious depth – drizzle almond spread over steamed green beans or pair walnut butter with roasted beets for an earthy dimension.
- Grain and dairy pairings offer satisfying sustenance – swirl almond butter into morning oatmeal or experiment with pistachio butter and gouda for an elevated charcuterie experience.
We'll find that mixing different textures and flavors creates exciting combinations while maintaining the nutritional integrity of our spreads.
Whether we're looking for breakfast inspiration or gourmet appetizers, these carefully chosen pairings will elevate our culinary creations.
Storage and Shelf Life
Proper storage holds the key to maintaining fresh, flavorful nut butters for as long as possible. When it comes to nut butter storage, we'll want to keep our creations in cool, dry places away from direct sunlight. A pantry or cupboard under 70 degrees serves as an ideal spot, especially when using airtight containers to maintain freshness. Quality nut butters will experience natural oil separation, which is actually a sign of purity and minimal processing.
For shelf life considerations, we've found that refrigeration makes a significant difference. While commercial varieties can last up to a year unopened, our homemade versions benefit from refrigeration to prevent oils from turning rancid. We recommend storing homemade nut butters in the fridge, where they'll stay fresh for about a month.
Natural commercial varieties without preservatives should follow the same rule once opened.
We can extend storage life by using clean utensils and storing jars upside down to minimize oil separation. For long-term storage, we'll freeze our nut butters in airtight containers for up to six months.
Watch for signs of spoilage like mold, discoloration, or unusual odors, and always trust your senses when determining freshness.
Common Troubleshooting Tips
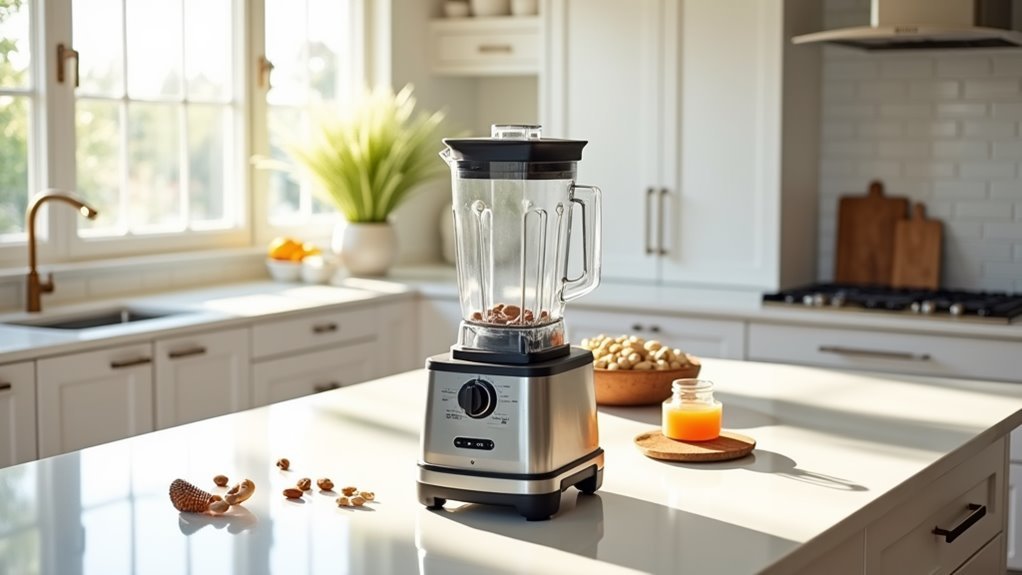
While mastering nut butter storage helps preserve our creations, addressing common challenges during the making process guarantees success from the start.
Let's tackle the most common texture issues and blending techniques that can make or break our homemade spreads.
- When our nut butter seizes up or becomes gritty, we'll avoid water-based ingredients like vanilla extract. Instead, we can add neutral oils like canola or grapeseed oil in small amounts to achieve the perfect consistency.
- For ideal blending results, we'll start at low speed and gradually increase it, using a tamper to push ingredients toward the blades. Remember to work in cycles, blending for a minute or two before scraping down the sides to prevent overheating.
- To make certain of smooth processing, we'll roast nuts in a single layer at low temperature and roughly chop larger pieces before blending. Using a high-powered blender allows completion in just 8-12 minutes. If we're after a chunky texture, we'll either stop blending when small chunks form or blend until smooth and then stir in chopped nuts.
When oil separation occurs, a quick stir or refrigeration helps settle the mixture.
Recipe Variations Worth Trying
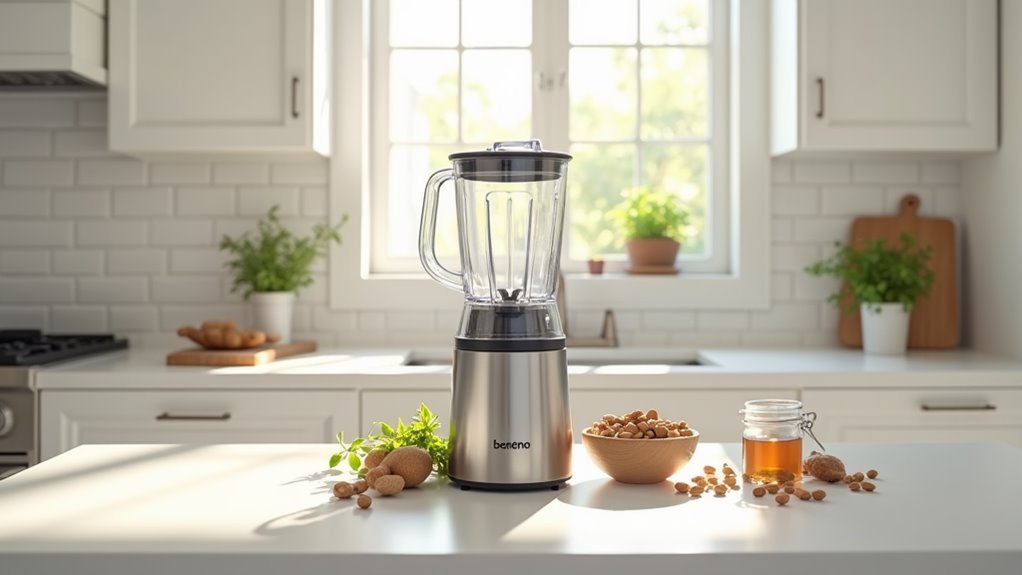
The kitchen becomes our creative playground when we explore unique nut butter variations beyond basic recipes. Through nut butter fusion, we've discovered endless possibilities that combine different nuts, spices, and complementary ingredients to create memorable spreads.
Let's start with a sweet spice adventure by trying the Vanilla Cinnamon Raisin Almond Butter, which perfectly balances warming cinnamon with natural sweetness. For chocolate lovers, we recommend the Coconut Mocha Cashew Butter, where dark chocolate chips melt seamlessly into creamy cashews. These homemade options are especially cost-effective versus store-bought alternatives.
We can also experiment with citrus notes by crafting Orange Zest Cocoa Powder Cashew Butter, which offers a sophisticated flavor profile.
When creating these variations, we'll want to toast our nuts first to enhance their natural oils and flavors. Remember to scrape down the sides of our high-speed blender regularly, and don't rush the process – it can take up to 15 minutes to achieve that perfectly smooth consistency.
We can adjust the texture by adding a touch of coconut oil or extend the processing time. For the best results, we'll store our creative concoctions in the refrigerator to maintain freshness.
Frequently Asked Questions
Can People With Braces Eat Homemade Nut Butter?
We can enjoy homemade nut butter with braces, but let's guarantee it's completely smooth. Braces-friendly options require creamy textures without any chunks that could damage our orthodontic work.
How Many Calories Are in a Tablespoon of Homemade Nut Butter?
Like our friend Josh who tracks his macros, we've found homemade nut butter calories vary by type: almond butter has 95-101 calories per tablespoon, while peanut butter contains around 75 calories.
Is Homemade Nut Butter More Expensive Than Store-Bought Versions?
When we make nut butter with bulk-purchased nuts, we'll save money over store-bought versions. While homemade costs more with grocery store nuts, we're getting superior ingredient quality and control.
Can I Use Homemade Nut Butter in Baking Recipes?
We can definitely use homemade nut butter as baking substitutes in our recipes! It's a great choice offering fresh flavors and nut butter benefits like customizable taste and natural ingredients in cookies, cakes, and breads.
Are There Any Nuts That Should Never Be Made Into Butter?
While we can technically make butter from any nut, macadamia nuts are challenging due to high fat content. Focus on nut selection that matches your desired flavor profiles and texture preferences.
Conclusion
As smooth as silk and infinitely customizable, homemade nut butters have become our kitchen staple. We've explored the essential tools, techniques, and creative combinations that transform raw nuts into creamy spreads. From selecting quality ingredients to mastering the blending process, we're now equipped to craft delicious, preservative-free alternatives to store-bought options. Let's continue experimenting with flavors and textures, knowing we're making healthier choices for ourselves and our families.

