We've chopped, we've simmered, and we've discovered that making healthy soups doesn't require hours of kitchen time. Our approach to blender soups combines convenience with nutrition, offering a modern take on traditional comfort food. While many home cooks shy away from homemade soups, thinking they're too complex or time-consuming, we're here to show you a simpler path. It's a method that transforms raw vegetables into silky, warming bowls in mere minutes. Let's explore how your blender can become your most valuable ally in creating nutritious soups that'll have you rethinking what's possible in your kitchen.
History

The art of blender soups emerged alongside the invention of the first electric blender in the 1920s by Stephen Poplawski. Initially, these machines were primarily used in drugstores for making milkshakes, but home cooks quickly discovered their potential for creating smooth, velvety soups. High-performance blenders, which can effortlessly blend tough ingredients and produce smoother textures, have further revolutionized this culinary technique. By the 1930s, when Waring introduced its famous blender, we started seeing the first published recipes for blended soups in cookbooks and magazines.
What's fascinating is how blender soups evolved from simple purees to sophisticated culinary creations. In the 1950s and '60s, as kitchen technology improved, we witnessed the rise of cold blender soups like gazpacho becoming popular in American homes.
The health food movement of the 1970s brought a new wave of vegetable-based blender soups, emphasizing nutrition and whole ingredients, and demonstrating the benefits of a more nutrient-rich diet through effective food breakdown achieving a more nutrient-rich diet.
Today, we've come to appreciate blender soups not just for their convenience but for their ability to retain nutrients that might otherwise be lost in traditional cooking methods. Modern recipes often incorporate global ingredients and superfoods, reflecting our growing awareness of international cuisines and nutritional benefits.
Recipe
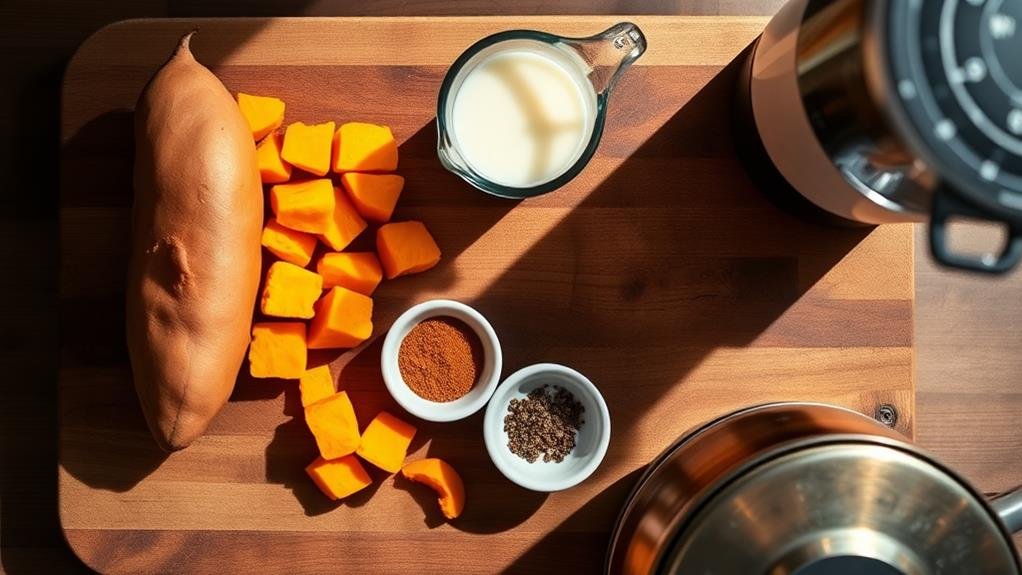
Sweet Potato Blender Soup
This nourishing blender soup combines the natural sweetness of sweet potatoes with warming spices to create a velvety, comforting dish. The simple cooking method requires minimal hands-on time, making it perfect for busy weeknights or meal prep. With a high-performance blender, you can achieve a perfectly smooth texture that enhances the overall experience of the soup, showcasing the benefits of high-powered blenders in the kitchen.
The combination of vegetable broth and almond milk creates a lighter alternative to cream-based soups while maintaining a luxuriously smooth texture. The addition of cumin and smoked paprika adds depth and complexity to the flavor profile, elevating this simple soup to a restaurant-worthy dish.
Ingredients:
- 1 large sweet potato, peeled and cubed
- 1 cup low-sodium vegetable broth
- 1 cup unsweetened almond milk
- 1 teaspoon ground cumin
- 1/2 teaspoon smoked paprika
- Salt and pepper to taste
Place all ingredients in a high-powered blender and blend on high speed for 2-3 minutes until completely smooth. Transfer the mixture to a medium saucepan and heat over medium heat, stirring occasionally to prevent sticking. Cook for approximately 5 minutes or until the soup reaches your desired temperature. Taste and adjust seasonings as needed.
For best results, make sure your sweet potato is cut into uniformly sized cubes to promote even blending. If the soup is too thick, gradually add more broth or almond milk until reaching your preferred consistency. The soup can be stored in an airtight container in the refrigerator for up to 3 days, though you may need to add a splash of liquid when reheating as it will thicken when chilled.
Step By Step
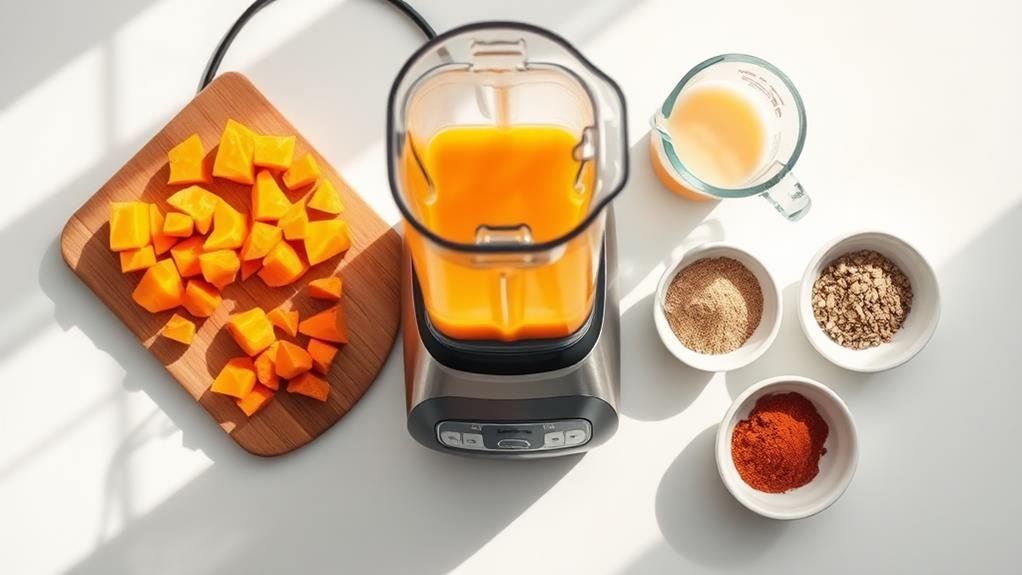
Let's walk through the essential steps to create perfect blender soups every time.
We'll start by getting our blender ready and prepping our raw ingredients.
Then, add the liquid ingredients first before blending until we achieve that smooth, velvety texture.
Step 1. Get Blender Ready
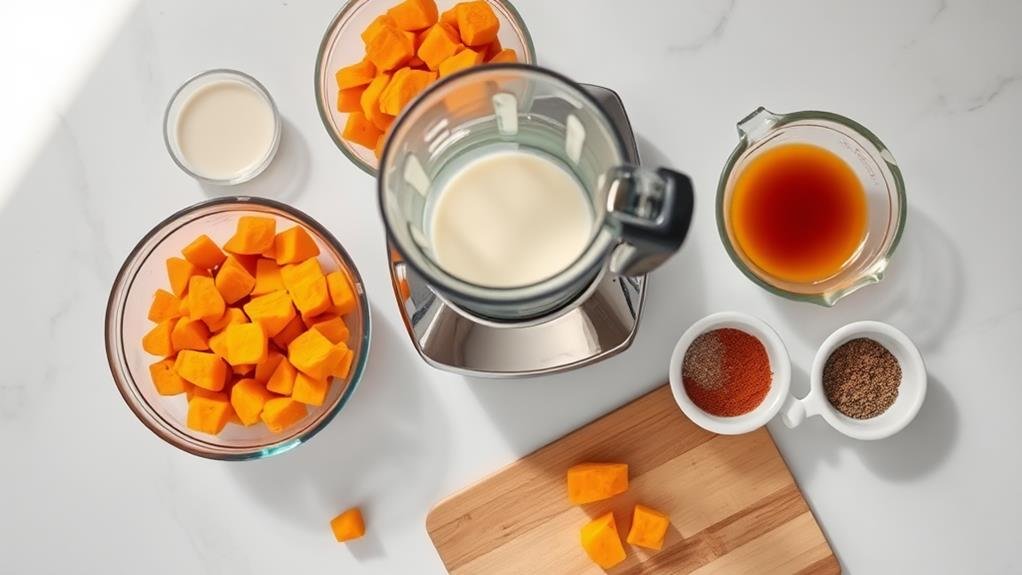
Preparing your blender correctly guarantees best results for your soup recipe. Let's confirm our blender is ready for successful soup-making by following these essential steps.
First, we'll check that our blender jar is completely clean and dry before starting. We'll then assemble all parts correctly, confirming the gasket is properly seated and the blade assembly is securely fastened. For hot ingredients, we'll always remove the center cap from the blender lid to allow steam to escape.
We'll fill our blender no more than halfway when working with hot liquids to prevent overflow. If we're working with raw vegetables like our sweet potato, we'll cut them into uniform 1-inch cubes to secure even blending. We'll also position our blender on a stable, flat surface away from the edge of the counter.
Before blending, we'll verify that all ingredients are at similar temperatures – mixing extremely hot and cold ingredients can create pressure inside the blender. We'll start blending at a low speed and gradually increase it to achieve that perfectly smooth consistency we're aiming for.
Step 2. Prep Raw Ingredients First
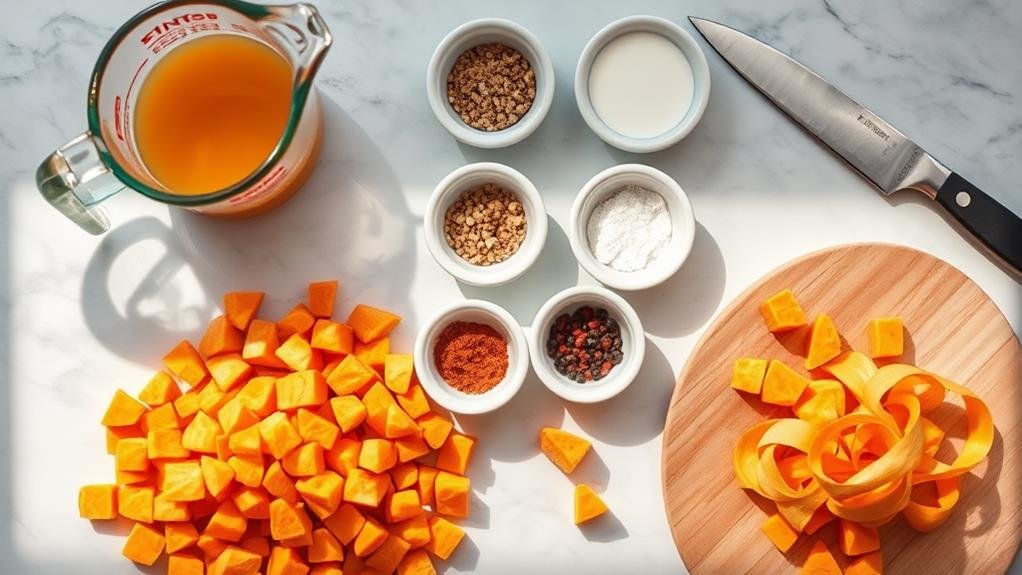
With our blender ready to go, we'll focus on getting our raw ingredients into the perfect state for blending. First, let's peel and cube our sweet potato into roughly 1-inch pieces – consistent sizing guarantees even blending and prevents any chunks in our final soup. We'll want about 2 cups of cubed sweet potato.
Next, we'll measure out our liquids. Pour the vegetable broth and almond milk into separate measuring cups, making sure to use low-sodium broth to control the salt content. Don't combine them yet – we'll add them to the blender separately for better control over the consistency.
Now, let's prep our seasonings. Measure the cumin and smoked paprika, keeping them separate until we're ready to blend. If you're planning to add any optional garnishes like fresh herbs, chop them now and set aside.
Having everything measured and prepared before we start blending prevents us from scrambling for ingredients mid-process and guarantees we don't forget anything. Remember, properly prepped ingredients are essential for achieving that silky-smooth texture we're aiming for in our finished soup.
Step 3. Add Liquid Ingredients First
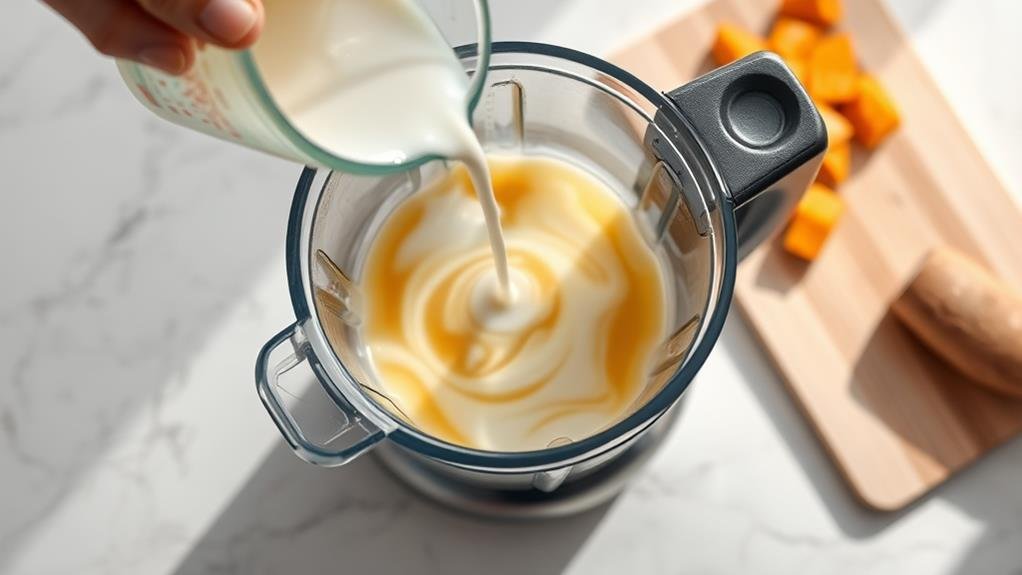
The two liquid ingredients form the base of our blender soup, so we'll add them first for the most effective blending. We'll begin by pouring the vegetable broth and almond milk directly into the blender pitcher. These liquids will help create the smooth, velvety texture we're aiming for while ensuring our blender operates smoothly.
Adding liquids first serves several important purposes. First, it prevents the blender's blades from getting stuck or straining against dense ingredients. Second, it creates a vortex effect that pulls other ingredients down toward the blades, resulting in more even blending. Third, it helps maintain the right consistency throughout the blending process.
We'll want to measure our liquids precisely – one cup of vegetable broth and one cup of almond milk. If you're using a different sized blender, maintain this 1:1 ratio for the best results.
The liquid level should cover the blender blades completely but shouldn't exceed the halfway mark of your blender's capacity. This leaves enough room for the remaining ingredients and prevents overflow when we start blending.
Step 4. Blend Until Smooth Texture
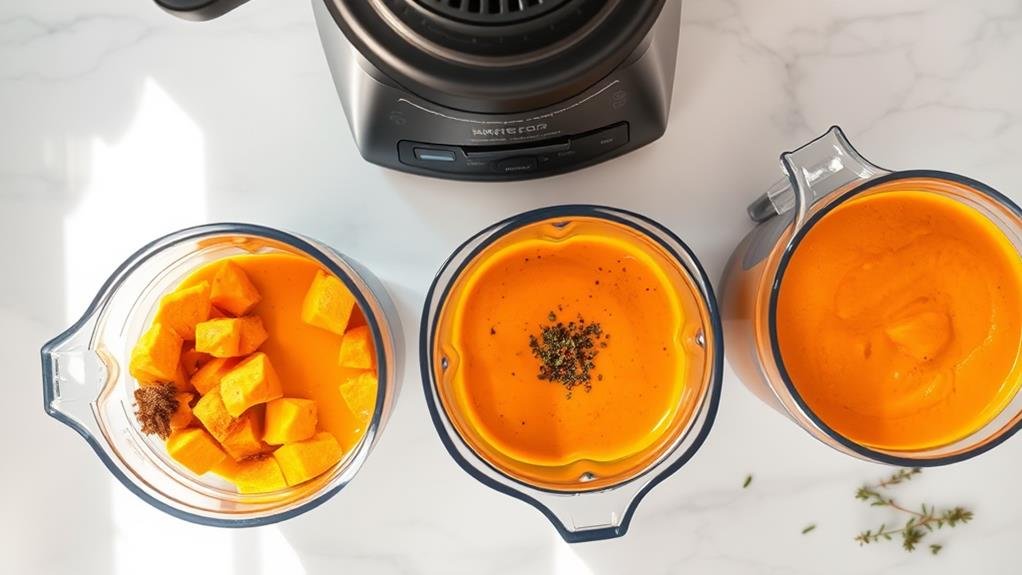
Once all ingredients are in the blender, achieving the perfect smooth texture requires a methodical approach.
We'll start by running the blender on low speed for 30 seconds to break down the larger pieces of sweet potato and incorporate the liquid ingredients evenly. This initial blend prevents ingredients from splashing or creating air pockets.
Next, we'll gradually increase the speed to high and blend continuously for 2-3 minutes. During this time, we're looking for these key indicators of proper blending:
- The mixture should be completely uniform in color with no visible chunks
- The texture should be velvety and flow smoothly when stirred
- No graininess should be detectable when rubbing a small amount between your fingers
If you notice any remaining chunks or uneven texture, continue blending in 30-second intervals until smooth. Don't rush this process – thorough blending is essential for the soup's final consistency.
For extra-smooth results, you can strain the mixture through a fine-mesh sieve, though this step isn't necessary with high-powered blenders. Once we've achieved the desired smoothness, we're ready to transfer the soup to a saucepan for heating.
Step 5. Heat Soup in Saucepan
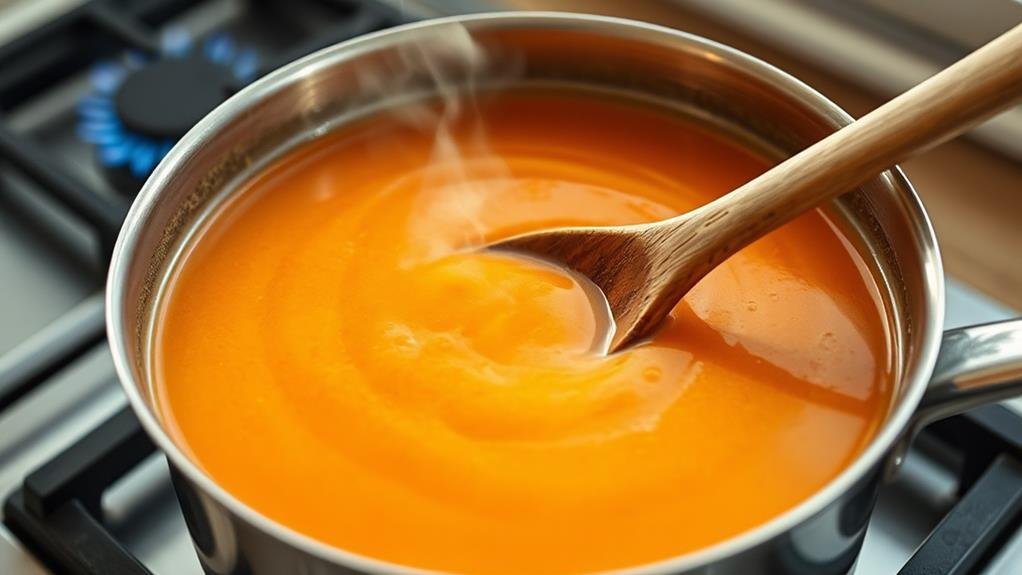
After achieving our flawlessly smooth blend, we'll move on to properly heating the soup to serve. First, we'll carefully transfer the blended mixture from our blender into a medium-sized saucepan. Make sure to scrape down the sides of the blender to get every last bit of the nutritious mixture.
Place the saucepan on your stovetop and set the heat to medium. We don't want to rush this process by using high heat, as it could cause the soup to stick to the bottom of the pan or affect its smooth consistency.
As the soup begins to warm, we'll stir it occasionally with a wooden spoon or silicone spatula to ensure even heating throughout.
Keep an eye on the temperature – we're looking for the soup to be thoroughly heated but not boiling. This usually takes about 5 minutes, depending on your stove. You'll know it's ready when you see small bubbles forming around the edges and steam rising from the surface. If you're using a thermometer, we want to reach about 165°F (74°C) for best serving temperature.
Conclusion
These healthy blender soups are like a warm embrace on a chilly day, nourishing both body and soul. We've transformed ordinary vegetables into silky, vibrant bowls of goodness that'll become staples in our kitchen repertoire. By following these simple steps, we're creating restaurant-quality soups without the added cream or complicated techniques. It's amazing how our trusty blender can turn humble ingredients into pure liquid gold.

