We’ve all stared at a crusty blender wondering why our smoothies taste a bit off. Did you know that most people never fully disassemble their blenders, leaving hidden grime in gaskets and under blades? It’s actually not that complicated once you know the right sequence. With a careful approach, you’ll avoid those finger nicks from sharp blades and prevent liquid from seeping into electrical components—problems we’ve probably all encountered at some point.
Safety First: Prepping for Disassembly
Before we dive into taking apart your blender, let’s make sure we’re being smart about safety.

The first thing—and I can’t stress this enough—is to unplug your blender.
Seriously, electricity and water don’t mix, especially when we’re aiming for a deep clean.
Next, find yourself a nice flat workspace.
You know how annoying it’s when things start rolling away mid-project!
Once you’re set up, carefully remove the jar from the base.
Watch out for any lingering liquid that might spill and create a slipping hazard.
Make sure the base is completely dry before handling it.
And if you’ve just used the blender, well, give it a minute to cool down.
Nobody wants burned fingers while trying to clean kitchen appliances!
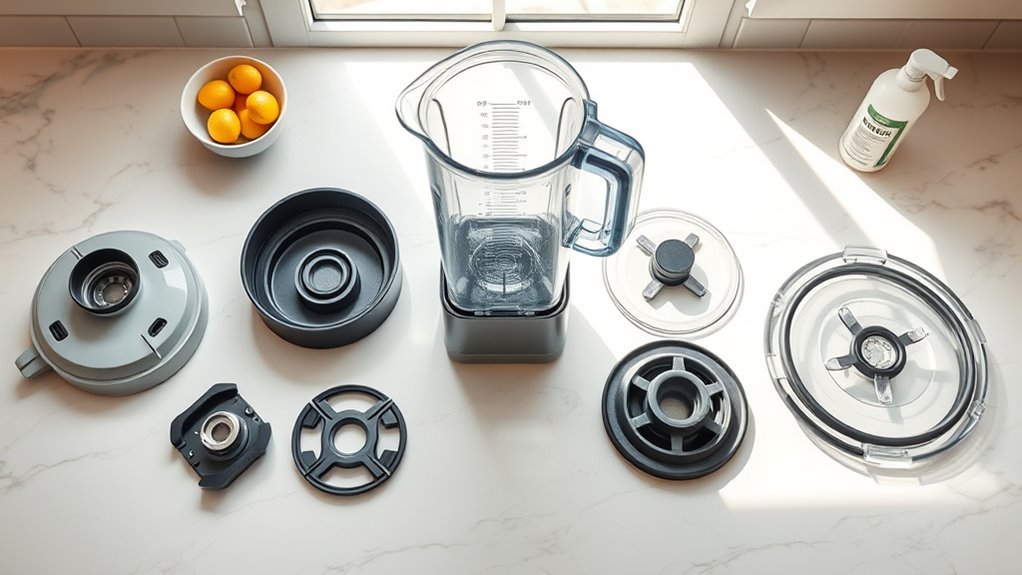
Removing the Pitcher and Lid Components
Now we’ll walk through removing the pitcher and lid components, which is pretty straightforward once you’ve unplugged your blender.
First, lift the pitcher straight up from the base, making sure it’s empty or you’ve poured out any contents to avoid messy spills.
After setting the pitcher aside, we’ll need to remove the lid by twisting counterclockwise or lifting it up, depending on your blender model, before we tackle the gasket and blade assembly.
Basic Disassembly Steps
The most important step in any blender disassembly is ensuring your safety first – we’ve gotta unplug that thing before getting our hands anywhere near those sharp blades!
Once that’s done, let’s separate the blender jar from the base.
Depending on your personal blender model, you’ll either twist it off or simply lift it up.
Now, remove the lid by unscrewing or popping it off – this gives us full access to clean your blender thoroughly.
Before we go further, it’s probably a good idea to empty whatever’s left in there into the sink.
You know how messy things can get when you fill the blender jar and then try to take it apart!
Just set the lid aside somewhere safe – we’ll need it when we put everything back together later.
Gasket Removal Techniques
So, what’s the deal with those sneaky rubber gaskets hiding in your blender? They’re actually super important for preventing leaks, but they can be tricky to clean properly.
Before we start, let’s unplug the blender—safety first!
To access the gaskets, we’ll need to remove the pitcher by twisting it off the base.
For the lid components, just pull or twist them off gently.
These rubber seals are kinda delicate, so handle with care.
Once everything’s apart, check for any built-up gunk—ugh, it can get pretty gross in there!
Place all components on a clean surface and give those gaskets a good wash in warm, soapy water.
Trust me, your blender cleaning routine isn’t complete without this step.
Make sure they’re completely dry before reassembling!
Blade Assembly Detachment
Tackling the blade assembly comes next in our blender disassembly adventure.
Before we do anything else, let’s unplug the blender—seriously, this is non-negotiable when cleaning your blender thoroughly.
Safety first!
Now, we’ll need to remove the pitcher (or jar) from the base.
Depending on your model, you might need to twist it or simply lift it straight up.
Once that’s free, go ahead and empty any leftover smoothie or soup into the sink—trust me, you don’t want that spilling everywhere!
Next, take off the lid by unscrewing or popping it loose.
I find it’s best to set these components aside separately for individual cleaning.
When it comes to blender clean routines, keeping track of all these parts makes reassembly so much easier later.
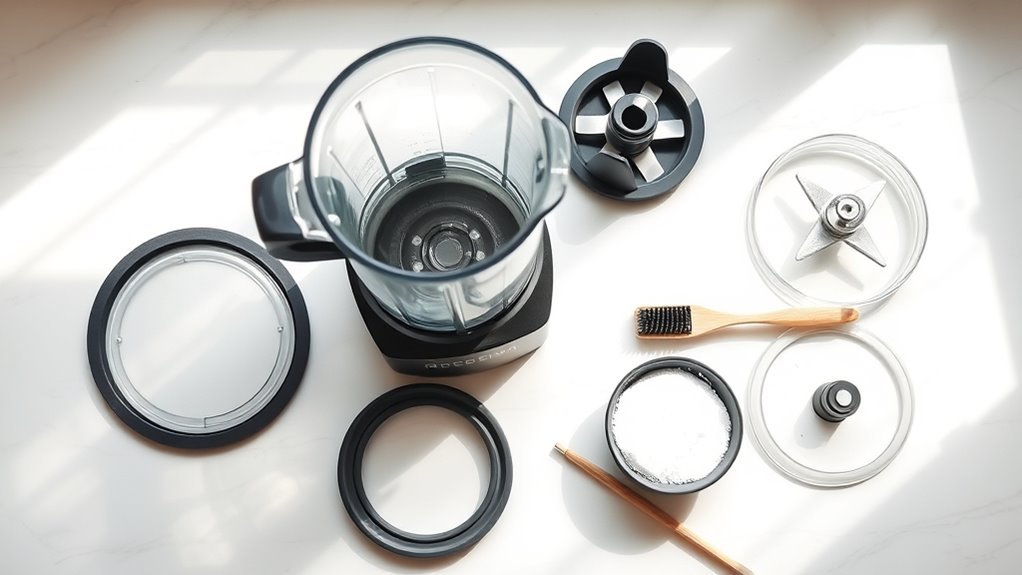
Separating the Blade Assembly
Safely separating the blade assembly requires careful attention to prevent injuries and guarantee proper cleaning.
First, we’ll need to unplug the blender and remove the jar from the base—safety first, right? Once you’ve got the jar separated, you can focus on the blade assembly at the bottom.
- Turn the jar upside down on a soft towel to protect both the jar and your countertop
- Use warm, soapy water to loosen any stuck-on residue before attempting removal
- For stubborn residues, try a mixture of ¼ cup warm water with white vinegar or baking soda
- Handle the blades carefully—they’re sharp enough to slice fingers even when stationary!
- Make sure to thoroughly rinse and dry all components before reassembling
For high-performance blenders, robust blades require extra caution due to their enhanced durability.
Managing Gaskets and Seals
While most people focus on cleaning the blades, managing gaskets and seals is equally essential for maintaining your blender’s performance. We’ve found that these small rubber components often hide the worst buildup!
When disassembling, carefully remove all gaskets and seals—they’re usually around the blade assembly or lid.
Soak them in hot water with a drop of dish soap to loosen stubborn residue.
Gently clean with a soft cloth, paying attention to crevices where smoothie remnants love to hide.
Before reassembling, inspect each gasket for wear or tiny scratches that might trap stains.
Trust us, you don’t want water seeping through damaged seals into the motor base!
Make sure everything’s completely dry—moisture trapped in gaskets can lead to mold growth, which, well, nobody wants that in their morning smoothie!
Following proper care guidelines ensures your blender maintains its longevity for years.
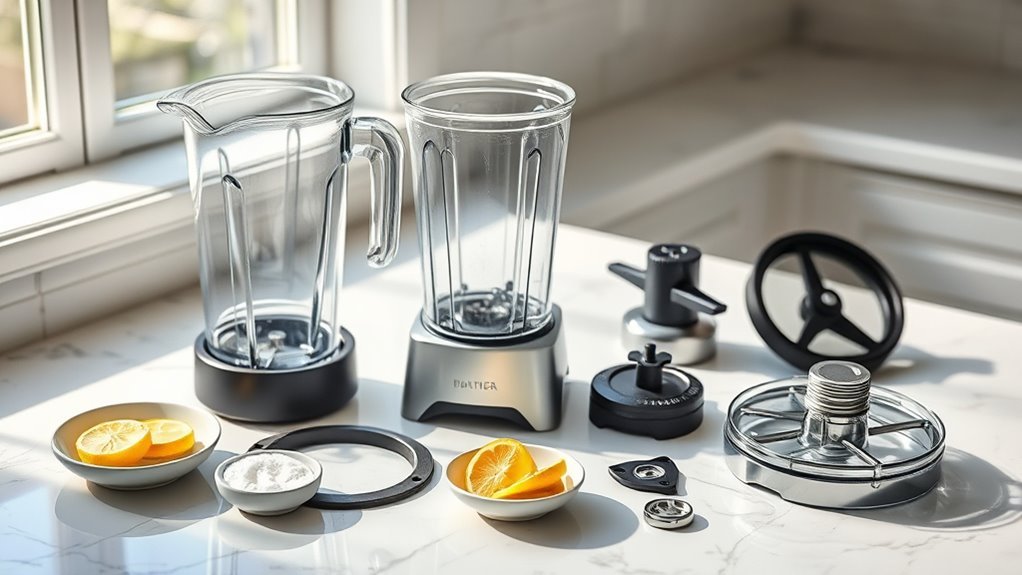
Cleaning Each Component Thoroughly
Plunge into the most satisfying part of blender maintenance—getting each component spotlessly clean!
After disassembly, we’re ready to transform those gunky parts back to their original glory.
- Fill the jar halfway with warm water and dish soap, then blend on high for 30 seconds—it’s like a mini dishwasher!
- Wipe down the base with a damp cloth, being super careful not to get water in the electrical parts (I learned that lesson the hard way).
- Scrub the lid and seals with soapy water—those edges collect so much gunk!
- For stubborn stains, try a vinegar-water mixture and run at high speed for 30 seconds.
- Dry everything thoroughly before reassembly—wet components are, well, a recipe for disaster.
Reassembly Tips for Proper Function
Now that you’ve got all those sparkling clean parts laid out, it’s time for the moment of truth—putting everything back together.
First, make sure the base is completely dry—I mean bone dry—to avoid any electrical issues.
Trust me, this won’t take much time but is super important.
Next, align the jar properly and lock it into place.
Sometimes it’s a bit finicky, kinda like when you’re trying to get that perfect consistency for frozen margaritas.
Then secure the lid tightly.
I think this is where most people make mistakes.
Finally, plug it in and test with some water.
We’ve seen too many reassembly fails to skip this step!
If everything’s working smoothly, you’re ready to blend again.
Frequently Asked Questions
How to Take a Blender Apart to Clean?
We’ll first unplug for safety measures, then twist off the jar from the base. Remove the lid, blade assembly, and gasket. Use appropriate tools for disassembly. Remember reassembly tips when finished.
How to Deep Clean a Blender?
We’ll deep clean our blender with the Vinegar Method: blend ¾ cup vinegar, ¼ cup baking soda, and ¼ cup water. These eco cleaners remove stains while routine maintenance prevents buildup.
How to Remove Cloudiness From Blender?
We’ve found several cloudiness remedies effective: blend lemon with baking soda or vinegar solution, then scrub gently. For glass polishing, use these same methods. Preventive techniques include regular cleaning after using dark ingredients.
How to Clean Under the Blade of a Blender?
We’ll tackle that pesky under blade area to reduce bacterial risks. First, unplug and disassemble your blender, then use a bottle brush with baking soda solution. Safe methods include thorough rinsing afterward.