Picture that gunky, forgotten blender sitting on your counter—we’ve all been there. We understand cleaning kitchen appliances isn’t the most thrilling task, but properly maintaining your blender is actually simpler than you might think. A dirty blender isn’t just unappetizing; it can actually damage the appliance over time and, well, nobody wants that investment to go to waste. Let’s explore how to keep your blender spotless without compromising its lifespan.
Why Hand Washing Is Better Than Dishwashers
Why should you hand wash your blender instead of tossing it in the dishwasher?

Well, washing it by hand actually takes just 1-2 minutes for basic cleanups, while dishwashers run for at least 30 minutes and often don’t clean as thoroughly.
We’ve found that hand washing lets you safely handle those sharp blades without risking damage from dishwasher agitation.
Plus, you’ll never accidentally submerge the motor base—a common mistake that can ruin your appliance.
Hot water and dish soap do a better job getting into all those nooks around the blade and under the rubber ring.
And honestly, most manufacturers like Vitamix recommend hand washing to maintain your warranty.
The heat and chemicals in dishwashers can, um…what’s the word…degrade your blender’s plastic and rubber parts over time.
Hand washing also helps preserve the robust blades found in high-performance blenders by preventing potential wear from harsh dishwasher cycles.
Essential Tools for Safe Blender Cleaning
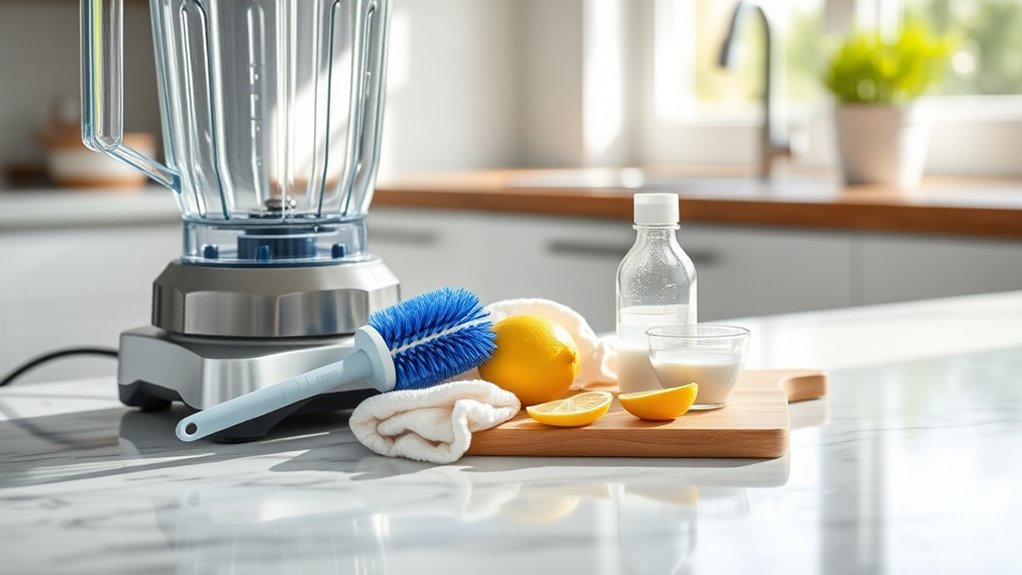
We’ve found that having the right cleaning tools makes blender maintenance both safer and more effective.
A bottle brush and silicone spatula are must-haves for maneuvering around those sharp blades without risking a nasty cut.
When you pair these with gentle cleaners like Seventh Generation Dish Liquid and a soft sponge, you’ll extend your blender’s life while keeping it spotlessly clean.
Blade Safety Essentials
When working with blender blades, safety should always be your top priority. Those sharp blades that pulverize your smoothie ingredients can be just as efficient at cutting fingers! First things first—always unplug your blender from its base before attempting any cleaning.
We’ve found these techniques to be particularly effective for safe cleaning:
| Safety Technique | Tool Needed | Risk Level |
|---|---|---|
| Hot Soapy Blend | None | Minimal |
| Towel Grip Method | Clean towel | Low |
| Bottle Brush | OXO brush | Low |
| Silicone Spatula | Long spatula | Medium |
I think the hot soapy water blend is the safest approach—just pour in some dish soap with warm water, pulse for 30 seconds, and rinse. No need to get anywhere near those dangerous blades!
Quick-Clean Tool Kit
A blender enthusiast’s tool kit can make the difference between dreading cleanup and breezing through it in minutes.
We’ve found that having the right supplies on hand saves time and protects your investment.
The OXO bottle brush is our go-to for safely maneuvering around those sharp blades without risking our fingers, while Seventh Generation dish soap effectively cuts through residue without damaging surfaces.
- A long silicone spatula—perfect for scraping stubborn bits from corners without scratching
- Clean towel or oven mitt to securely grip the lid during cleaning (I learned this one the hard way!)
- Soft sponge for exterior cleaning—you’ll want to rinse thoroughly after to prevent soap buildup
Damage Prevention Supplies
Protecting your blender during cleanup isn’t just about maintaining its appearance—it’s about extending its lifespan. We’ve found that using the right tools can prevent costly damage while still getting your blender spotless. A drop of dish soap with warm water creates an effective cleaning solution, but how you apply it matters!
| Tool | Purpose | Safety Benefit |
|---|---|---|
| Towel | Secure lid | Prevents slips and spills |
| Bottle brush | Clean blades | Keeps fingers safe |
| Silicone spatula | Remove residue | Won’t scratch surfaces |
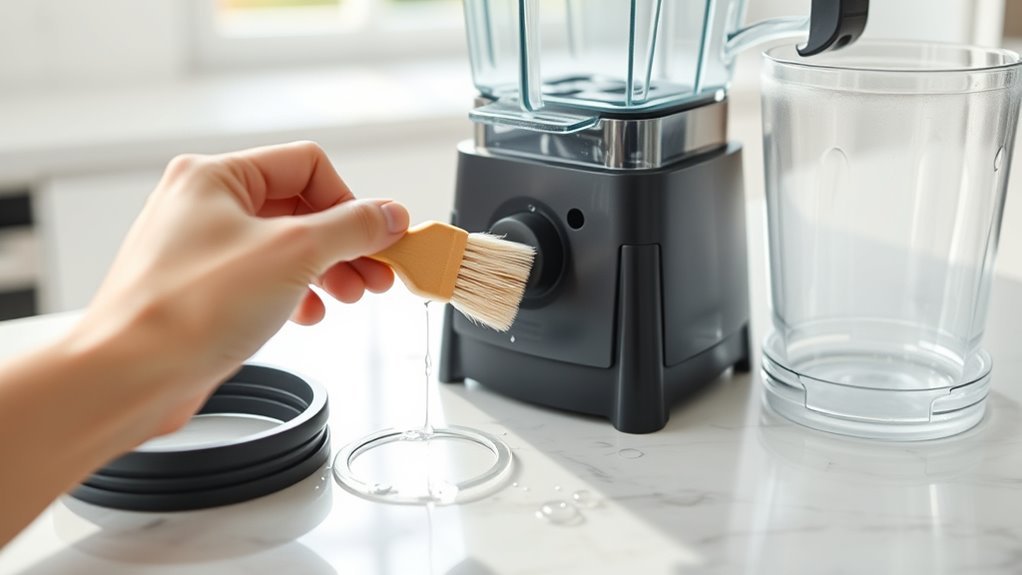
When you wipe down the motor housing, always use paper towels instead of wet cloths. This keeps water away from electrical components—trust me, I learned this the hard way after almost short-circuiting my favorite blender last year!
The 30-Second Soap and Water Method
The quickest way to clean your blender involves just soap, water, and thirty seconds of your time.
We’ve found this method not only saves scrubbing effort but also protects those sharp blades from damage during cleaning.
Simply fill your blender pitcher halfway with hot water, add a couple drops of dish soap, and secure the lid.
Then blend on high for 30 seconds – the soapy whirlwind does all the work!
- Dump the soapy water immediately after blending
- Rinse thoroughly with hot water (this prevents soap residue)
- Let it air-dry completely to protect electrical components
This technique works on both glass and plastic models and takes about a minute total.
No more risking your fingers on those dangerously sharp blades – your blender practically cleans itself.
Regular maintenance like this ensures your high-performance blender lasts for years.
Tackling Stubborn Residue and Stains

Sometimes even the 30-second soap and water method isn’t enough for those dried-on, stubborn messes.
When peanut butter or oat milk residue refuses to budge, we’ve found a powerful solution: fill your pitcher halfway with warm water, squeeze in half a lemon, and add 1 oz. of Simple Green cleaner.
Blend on high for 60 seconds and watch that grime disappear!
For a true deep clean, disassemble your blender and soak the parts in a Simple Green solution for 1-2 minutes.
We recommend using a bottle brush (the OXO Good Grips is great) to safely navigate around those sharp blades.
Made nut butter recently? Add an extra drop of dish soap to your cleaning mixture and blend for 30 seconds.
Trust us—immediate cleaning prevents long-term buildup that’ll haunt you later.
Proper Blade Cleaning Techniques
When it comes to handling those intimidating blender blades, safety should be your top priority.
We’ve found that the easiest way to clean blades without risking your fingers is to fill your blender halfway with warm water, add a drop of dish soap, and run it on high for about 30 seconds.
This method works wonders for everyday cleaning!
For more thorough maintenance, we recommend:
- Using a bottle brush (like the OXO Good Grips) to gently scrub around blades without direct contact
- Disassembling and soaking blades in a Simple Green solution for stubborn residue
- Checking under that pesky rubber ring where gunk loves to hide
Remember to rinse thoroughly with hot water after cleaning.
We always let ours air dry completely before reassembling—trust me, nobody wants rust on their morning smoothie blades!
Maintaining Rubber Gaskets and Seals
Let’s talk about getting those rubber gaskets and seals off your blender for proper cleaning.
We’ve found that gently working your fingers under the edge and lifting evenly around the circumference prevents those frustrating tears or stretching that can happen if you pull too hard on just one spot.
After cleaning, make sure you’re allowing these parts to fully dry before reassembling—we can’t stress enough how important this is for preventing the growth of mold and bacteria in those hidden, damp spaces.
Gasket Removal Tips
The humble gasket might seem like just a small rubber ring, but it’s actually the unsung hero of your blender’s functionality.
When it’s time for deep cleaning, removing it safely is essential.
We’ve found the easiest way to clean starts with proper removal—always unplug first, then gently work your fingers around the edge to free it without stretching.
- Rinse out the blender immediately after use to prevent residue from hardening on the gasket
- Soak stubborn buildup in a Simple Green solution (1 oz per cup of water) for just 1-2 minutes
- Let the gasket air dry completely—about 30 minutes—before reassembling to prevent mold
Remember to inspect your gasket every few uses.
Small cracks mean it’s time for a replacement, which is much cheaper than fixing leak damage!
Preventing Mold Growth
Proper gasket care is just the beginning of your blender maintenance journey.
We’ve found that the sneakiest culprit of blender problems is mold, which loves to hide in damp gaskets and seals.
To prevent this, we always separate the blender from the base and disassemble those rubber parts for thorough cleaning.
Don’t just rinse with water!
Soak gaskets in our Simple Green solution (1 oz per cup of water) for a minute or two.
This removes the organic gunk that mold feeds on—trust me, it makes a huge difference.
After cleaning, make sure everything’s completely dry before reassembly.
Even a little moisture can trigger mold growth within a day or two.
And while you’re at it, check for cracks—damaged seals are mold magnets compared to intact ones.
Deep Cleaning for Oily or Sticky Ingredients
Stubborn oils and sticky residues demand more attention than your standard cleaning routine.
When we’re dealing with blender pitcher gunk that won’t budge, it’s time to bring out the heavy hitters.
Fill your blender with warm water and extra dish soap, then run it on high for 30 seconds—this helps break down those stubborn oils before you even start scrubbing.
For truly stuck-on messes, we’ve found these approaches work wonders:
- Disassemble everything and soak the gasket, blades, and ring in a Simple Green solution (1 oz per cup of water) for a minute or two
- Apply Simple Green directly to the carafe and scrub inside and out
- Use a bottle brush like the OXO Good Grips to reach around those tricky blades
Regular Maintenance to Extend Blender Life
Deep cleaning tackles those tough messes, but let’s talk about what we can do between those major cleanup sessions. We’ve found that simply rinsing with hot water and add a drop of dish soap right after use prevents that stubborn buildup that can dull blades over time.
| Maintenance Task | Frequency | Why It Matters |
|---|---|---|
| Quick rinse | After each use | Prevents residue buildup |
| Disassemble & clean | Every 5-10 uses | Maintains sharp blades |
| Deep soak | Monthly | Removes persistent grime |
| Air-dry completely | Always | Prevents rust formation |
| Wipe motor base | After each use | Avoids electrical damage |
Don’t forget to dry everything thoroughly before you put it back on the base. In our experience, this simple habit alone can add years to your blender’s life!
Frequently Asked Questions
What Is the Best Way to Clean a Blender?
We recommend filling our blender halfway with hot water and dish soap, then blending for 30 seconds. It’s an eco-friendly cleaning method that maintains blender performance without scrubbing those sharp blades.
Can You Submerge a Blender in Water?
We don’t recommend blender submersion in water. The motor base must stay dry to avoid electrical water hazards. You can fill the pitcher with water for cleaning, not the entire unit.
Should I Wash My Blender After Every Use?
Yes, we’d absolutely recommend washing after every use. It’s essential for health implications, preventing bacteria growth, and easier than tackling dried residue later. We’ve found routine integration takes just a minute with hot soapy water.
Can You Use Vinegar to Clean a Blender?
Like a charm, we’ve found vinegar works wonderfully for cleaning blenders. Its acidic effects break down residue while maintaining vinegar safety when diluted with water. We recommend it for periodic deep cleaning.