We’ve found the sweet spot for family blenders lies between 64-72 ounces, but don’t max them out. Fill to two-thirds capacity max, starting with liquids at the bottom. Layer soft ingredients next, followed by harder items like frozen fruit or ice. Use manufacturer fill lines religiously, and remember: proper layering beats brute volume every time. For thick mixtures, grab that tamper instead of overfilling. Master these basics, and you’ll reveal the full potential of your kitchen workhorse.
Some of the links in this article may be affiliate links. If you make a purchase through these links, we may earn a small commission at no extra cost to you. Thank you.

Understanding Ideal Fill Levels for Maximum Performance
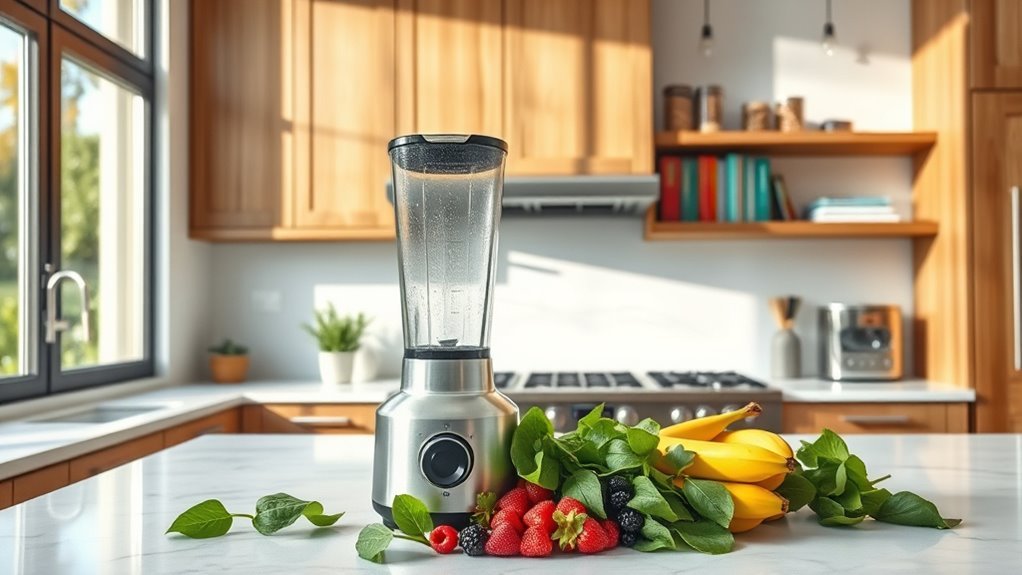
While achieving perfect blends might seem challenging, mastering your family-sized blender’s fill levels is surprisingly straightforward.
We’ll show you how to maximize your blender jar’s performance without creating a kitchen disaster.
First, let’s nail the basics: never fill past two-thirds capacity. It’s not just a suggestion – it’s your ticket to ideal performance.
Always start with liquids at the bottom, followed by softer ingredients, and crown it with the harder stuff. Watch that liquid-to-frozen ratio to prevent those pesky air pockets that love to sabotage thick mixtures.
Here’s the non-negotiable part: stick to those manufacturer’s recommendations marked on your blender jar. They’re there for a reason.
High-performance blenders are designed to handle tough ingredients with ease, making proper fill levels crucial for achieving optimal results.
Trust us – proper fill levels mean better blending action and zero cleanup headaches.
Layering Ingredients for Optimal Results
Now that you’ve got your fill levels down, let’s tackle the art of ingredient layering – it’s a game-changer for your blending success.
Start with your liquid base – water or milk – to prevent ingredients from sticking to those blades. We’re building from the bottom up here.
Next, add your soft ingredients like leafy greens or ripe fruits. They’ll blend seamlessly with that liquid foundation we’ve created.
Top it off with harder ingredients – your frozen fruits or ice cubes. Remember: never fill past two-thirds of your blender jar. That extra space isn’t wasted – it’s essential for proper blending action.
Got thick mixtures giving you trouble? That’s where your tamper becomes your best friend. Use it to guide stubborn ingredients back to the blades for ideal results. Additionally, employing a high-performance blender ensures that even the toughest ingredients are blended smoothly and efficiently.
Measuring Guidelines for Different Recipe Types
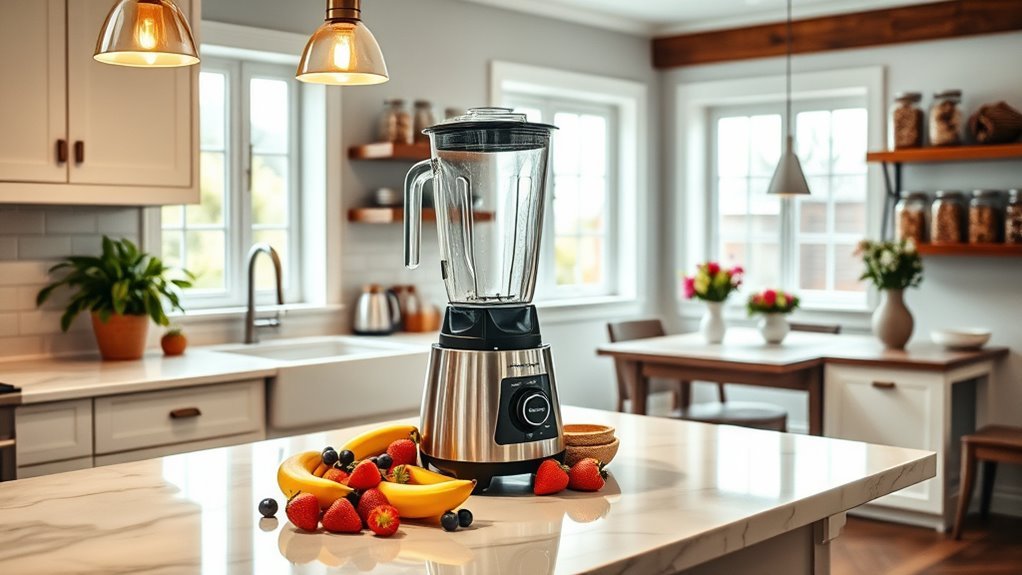
Different recipes demand different fill levels in your family-sized blender jar – let’s get specific.
For smoothies, we’ll fill to two-thirds capacity for ideal blending action.
Soups and sauces? Start with liquids first, then add solid ingredients gradually, keeping one-third of the jar empty for expansion.
Nut butters are trickier – never fill past halfway. These thick mixtures need room for efficient blending, or you’ll end up with a frustrating case of cavitation.
For large batches, we’re talking 64-ounce capacity minimum. That’s your sweet spot for family portions without compromising results.
Here’s the golden rule: Always respect your blender’s maximum fill line. It’s not just a suggestion – it’s your insurance against messy countertops and uneven blending.
Trust us on this one.
Preventing Common Overflow Mistakes
Smart measuring is just the start – let’s tackle overflow disasters head-on.
We’ll save you from the dreaded blender explosion with three non-negotiable rules.
First, never fill your blender jar beyond two-thirds capacity, period. That extra space isn’t wasted – it’s essential for proper blending action and air circulation.
Second, layer your ingredients strategically. Start with liquids and soft ingredients at the bottom, then work your way up to harder items. It’s not just about preventing overflow; it’s about ideal blending performance.
Finally, trust those measurement markings on your blender jar – they’re your ideal fill line guide, not mere decoration.
When dealing with thick mixtures, grab a tamper instead of overfilling. Your kitchen walls will thank you.
Adapting Recipes to Your Jar’s Capacity
When scaling recipes for your family-sized blender jar, precision matters more than guesswork. We’ll help you nail the proportions every time.
Let’s start with the golden rule: fill blender jars to two-thirds capacity for proper blending and zero mess.
Doubling recipes? Simple math – if you’re upgrading from a 32oz to a 64oz jar, multiply all ingredient amounts by two. Maintain those original ratios religiously.
Start with liquids to create that essential vortex action, then add softer ingredients before the tough stuff.
Working with frozen fruits? They’re notorious consistency killers. Add extra liquid to keep things moving smoothly.
Remember: successful adaptation isn’t just about size – it’s about maintaining the perfect balance between ingredients while maximizing your jar’s capacity.
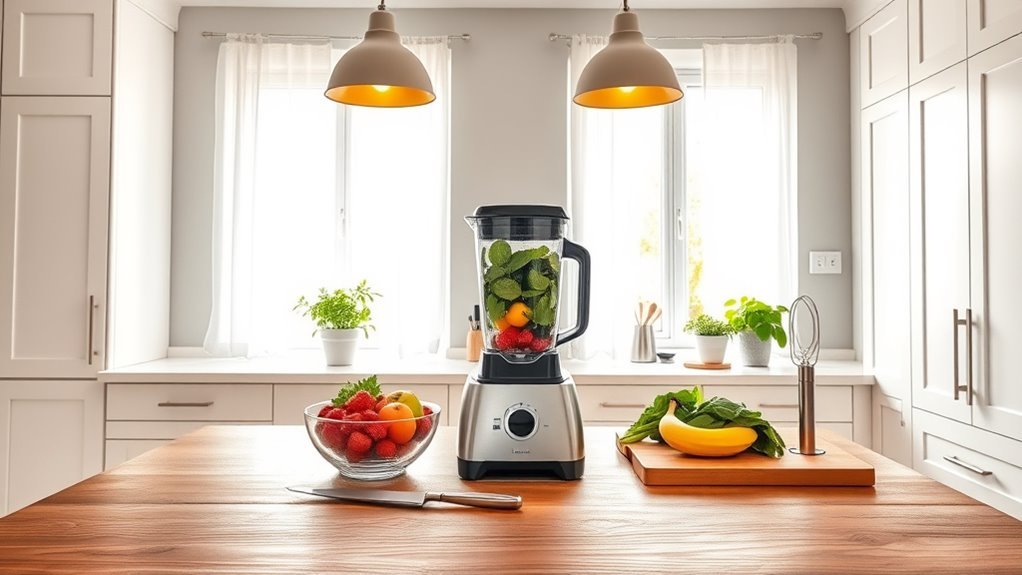
Managing Thick Vs Liquid Ingredients
Managing thick and liquid ingredients requires mastering the art of layering and ratios in your family-sized blender.
We’ll never achieve smooth results by carelessly tossing everything in – there’s a method to the madness.
Start with enough liquid at the base of your blender jar to create a smooth blending environment. Layer softer items next, then crown it with frozen products or ice.
Don’t ignore the liquid-to-solid ratio – it’s your secret weapon for nailing desired consistency. Need a thicker blend? Use less liquid. Craving soup? Add more.
Here’s the non-negotiable part: never exceed two-thirds of your jar’s capacity. Thick ingredients need room to dance.
When things get stubborn, grab that tamper tool – it’s your best friend for maximum blending efficiency.
Storage and Volume Conversion Charts
Understanding blender jar measurements doesn’t require a PhD in mathematics, but it’ll save you from recipe disasters.
Let’s break down the essential volume conversion charts you’ll need. A 64-ounce jar holds 8 standard cup measurements – perfect for family-sized servings when you’re batch cooking.
Need to convert liters to ounces? Multiply by 33.8. That means your 2-liter jar handles 67.6 ounces of smoothie-making goodness.
We’ve found that blender jar capacities ranging from 48-72 ounces work best for families, while personal-sized servings need just 16-32 ounces.
For efficient meal prep, consider a model with both large and small containers. Trust us – matching your jar capacity to your household size is non-negotiable for kitchen success.
Frequently Asked Questions
What Blenders Do Professional Chefs Use?
We’ve found professional chefs rely on high-powered blenders like Vitamix 5200, Blendtec Classic 575, and Oster Versa, choosing them for superior smoothie consistency, durability, and multi-function capabilities in commercial kitchens.
What Is the Best Blender Brand in the World?
While we’ve found Vitamix leads in high-performance blenders and brand reputation, your best choice depends on factors like budget, noise levels, and warranty coverage. Consider Blendtec and Ninja for quality alternative options.
Which Is Better Vitamix or Wolf Gourmet Blender?
Like choosing between a sports car and luxury sedan, we’d recommend Vitamix for its superior features, longer warranty, and more powerful motor, though Wolf Gourmet offers excellent precision for specific blending needs.
What Is the Best Personal Blender 2025?
Through our blender comparisons and user reviews, we’ve found the NutriBullet Pro 900 leads portable blenders for 2025. It excels in nutrient extraction, smoothie recipes, and ice crushing with minimal maintenance needed.