I’ll be honest – this two-ingredient ice cream base completely changed my perspective on homemade desserts. You simply whip heavy cream to soft peaks, then fold it into sweetened condensed milk. The magic happens when you layer this base with frozen raspberries and chocolate chips, creating gorgeous marble swirls that look almost too good to eat. After freezing for about six hours, you’ll slice into something that rivals any premium parlor creation, and there’s so much more to discover about perfecting this technique.
Some of the links in this article may be affiliate links. If you make a purchase through these links, we may earn a small commission at no extra cost to you. Thank you.

Creating Your Two-Ingredient Ice Cream Base
The beauty of no-churn ice cream lies in its simplicity—just two ingredients create the foundation for something truly special.
The most magical recipes often require the fewest ingredients—proof that simplicity creates the most extraordinary results.
I think what surprises most people is how straightforward this really is.
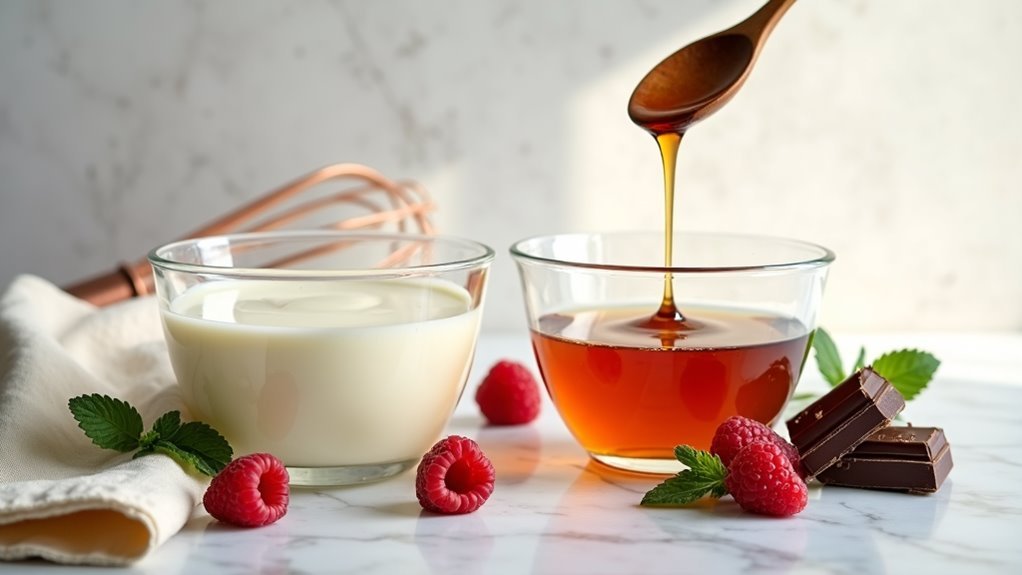
You’ll need one 14-ounce can of sweetened condensed milk and 500ml of heavy cream—the kind with 35% fat content or higher works best.
Whip that cream until soft peaks form, maybe two or three minutes.
Then gently fold the whipped cream into the condensed milk.
Perhaps the trickiest part is resisting the urge to overstir, which can deflate your mixture.
Adding Raspberry and Chocolate Layers
With your base ready, it’s time to bring in the stars of the show—frozen raspberries and chocolate chips.
I think the key here is layering rather than just dumping everything together. Start with a layer of your ice cream base, then scatter some raspberries and chocolate chips.
Repeat this process, perhaps alternating which ingredient you add first.
The swirling technique makes all the difference—I use a knife to create gentle marble patterns.
Don’t overthink it though. Those imperfect swirls actually look more appealing than anything too precise or calculated.
Freezing and Storage Tips
Once you’ve got those beautiful swirls distributed throughout your mixture, freezing becomes surprisingly straightforward—though I’ve learned a few tricks that make a real difference.
| Storage Stage | Time Required | Key Tips |
|---|---|---|
| Initial Freeze | 4-6 hours | Line pan with parchment |
| Pre-serving | 10-15 minutes | Let sit at room temperature |
| Slicing | As needed | Use warm, wet knife |
| Long-term | Up to 3 months | Cover tightly with plastic wrap |
I think the parchment paper step gets overlooked, but it’s essential for easy removal. Perhaps counterintuitively, slicing works better than scooping—gives you cleaner portions and honestly looks more impressive.
Serving Your No-Churn Masterpiece
After hours of waiting, serving becomes the moment where your patience pays off—though I’ll admit I’ve gotten a bit carried away with presentation over the years.
I think slicing works better than scooping, honestly. The layers look incredible when cut, and it’s easier to control portions.
Let it sit at room temperature for maybe fifteen minutes first. Otherwise, you’ll struggle with hard ice cream. A warm knife helps too—just dip it in water between cuts.
Perhaps the best part is watching people’s faces when they see those raspberry and chocolate swirls distributed throughout each slice.
Frequently Asked Questions
Can I Substitute Frozen Raspberries With Fresh Ones?
You can absolutely substitute fresh raspberries for frozen ones! I’d recommend chopping them slightly smaller since fresh berries won’t break down as much during mixing, ensuring they distribute evenly throughout your ice cream.
What Other Chocolate Types Work Besides Dark or Semi-Sweet Chips?
What chocolate mysteries await your frozen creation? I’ve discovered milk chocolate chips create sweeter notes, while white chocolate adds creamy contrast. You’re free to experiment with chopped chocolate bars or even cocoa-dusted truffles for adventurous results.
How Long Does Homemade No-Churn Ice Cream Last in Freezer?
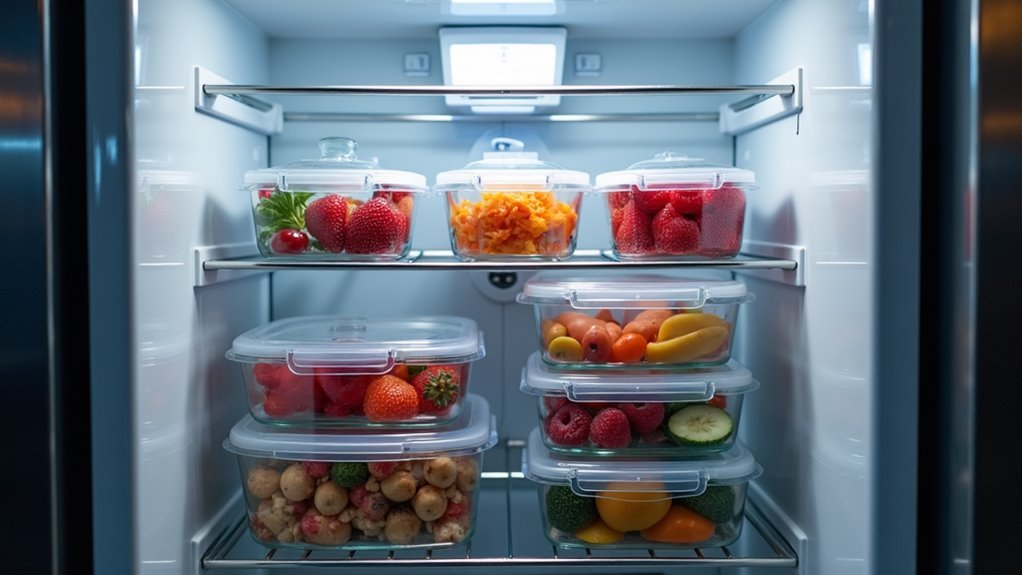
I’ve found homemade no-churn ice cream stays fresh in the freezer for up to three months when stored properly. You’ll want to cover it tightly with plastic wrap or use an airtight container to prevent freezer burn.
Can I Make This Recipe Dairy-Free or Vegan?
You’ll absolutely revolutionize your dessert game! I’d substitute coconut cream for heavy cream and use coconut condensed milk instead. These swaps create an incredibly creamy, plant-based version that’s completely customizable to your lifestyle.
What Causes Ice Crystals and How Can I Prevent Them?
Ice crystals form when water freezes in your ice cream. I’ll prevent them by using full-fat ingredients, avoiding temperature fluctuations, covering tightly with plastic wrap, and not overmixing the base before freezing.
Conclusion
As I take that first spoon, watching crimson ribbons dance through creamy swirls, I’m reminded why this recipe became my go-to indulgence. The tartness hits first, then melts into chocolate richness that lingers perfectly. Perhaps it’s the simplicity that makes it feel so luxurious—just a few ingredients creating something that rivals any premium brand. I think you’ll find yourself making this more often than you’d expect.