Just as we’ve observed blenders becoming more potent over the years, we’ve also witnessed vegan recipes evolve into an art form. We’re now creating smoothies and blended drinks that weren’t possible in our grandparents’ time, transforming simple plant-based ingredients into creamy, nutrient-rich concoctions. While mastering vegan blender recipes might seem challenging at first, we’ll show you how combining the right ingredients in the right order can make all the difference. Let’s explore some techniques that’ll help you craft the perfect vegan blend, whether you’re craving a morning smoothie or a protein-packed post-workout drink.
History
Vegan blending has evolved greatly since the first electric blenders emerged in the 1920s. The early days of blending were primarily focused on making milkshakes and fruit juices, but as dietary awareness grew throughout the 20th century, we’ve seen a dramatic shift toward plant-based ingredients and creative combinations. High-performance blenders have played a pivotal role in this evolution, allowing for a smoother texture and the ability to blend tough ingredients like nuts and seeds effortlessly, which enhances the overall quality of vegan recipes.
High-performance blenders are designed to handle a variety of ingredients, making them indispensable in modern vegan kitchens and are also great for making salad dressing, for example.
In the 1960s and 1970s, the rise of vegetarianism and health food movements sparked new interest in blended veggie drinks. We can trace modern vegan smoothies to this era, when pioneers started experimenting with combinations of fruits, vegetables, and plant-based proteins. The 1990s brought a smoothie shop boom that introduced many people to the concept of nutritious blended drinks.
Today’s vegan blending culture has been transformed by technological advances in high-powered blenders and a deeper understanding of nutrition. We’re now able to break down tough ingredients like kale, nuts, and seeds into smooth, creamy consistencies that weren’t possible with earlier machines. The explosion of plant-based milk alternatives and superfoods has also expanded our blending possibilities, making it easier than ever to create nutrient-dense vegan drinks at home.
Recipe
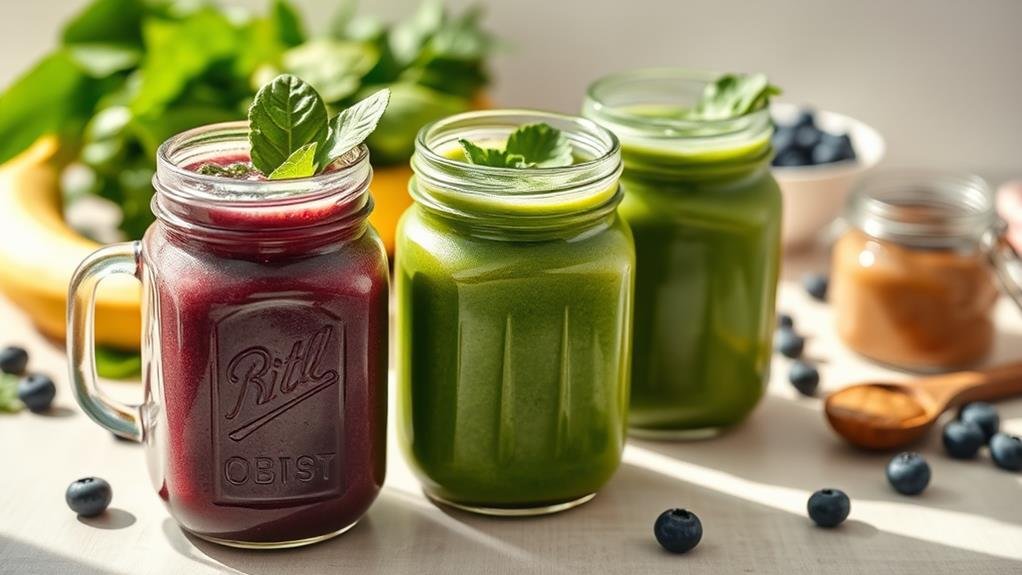
Power-Packed Vegan Green Smoothie
A vibrant and nutrient-rich smoothie is the perfect way to start your day or refuel after a workout. This vegan green smoothie combines the goodness of leafy greens with sweet fruits and creamy nut butter, creating a balanced and satisfying blend that will keep you energized. With the help of a top-performing blender, you can achieve a perfectly smooth consistency that elevates your blending experience.
This recipe takes just minutes to prepare and requires minimal cleanup, making it an ideal choice for busy mornings or when you need a quick nutrition boost. The frozen fruits eliminate the need for ice, resulting in a perfectly thick and creamy consistency that won’t get watered down.
- 2 cups fresh spinach
- 1 frozen banana
- 1 cup unsweetened almond milk
- 1/2 cup frozen blueberries
- 1 tablespoon nut butter
Add all ingredients to a high-powered blender, starting with the liquid ingredients first to help the blades move more efficiently. Blend on high speed for 1-2 minutes until completely smooth and creamy. If the mixture is too thick, gradually add more almond milk, one tablespoon at a time, until reaching desired consistency.
For best results, use frozen banana chunks rather than a whole frozen banana, as they’re easier to blend. If using fresh fruit instead of frozen, add 1/2 cup of ice to achieve the same thick texture.
The smoothie can be stored in an airtight container in the refrigerator for up to 24 hours, though it’s best consumed immediately for peak taste and nutrition.
Step By Step
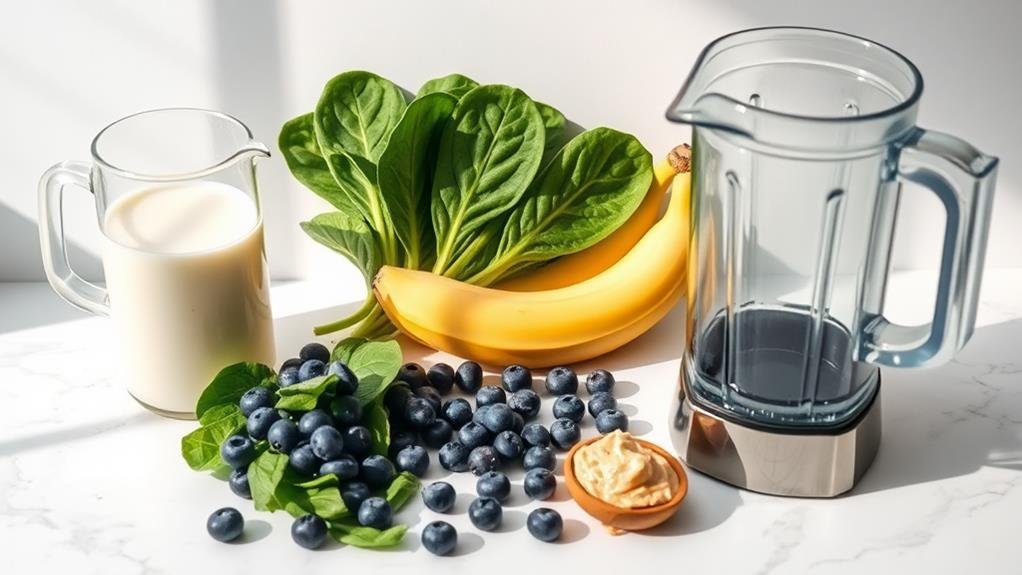
Let’s explore the simple steps to create perfect vegan blender recipes every time.
We’ll start by gathering our fresh ingredients and liquids, then blend everything until the mixture reaches a smooth, even consistency.
Step 1. Gather Fresh Ingredients Together
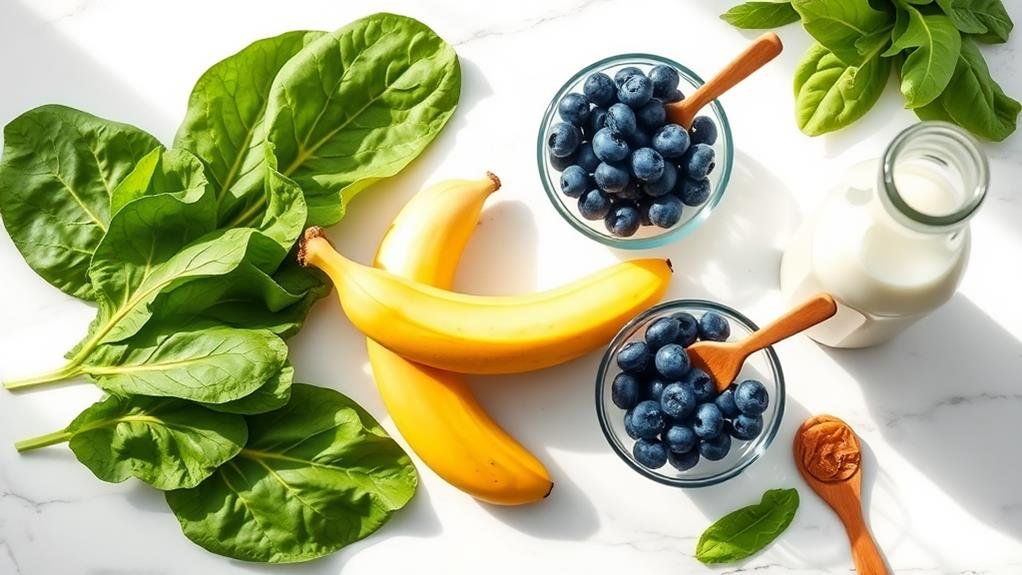
Successful smoothie preparation starts with gathering all your fresh ingredients in one place.
We’ll want to collect our fresh spinach, making sure the leaves are crisp and vibrant green.
Next, we’ll grab a ripe banana that we’ve previously frozen – the darker spots on the peel indicate it’ll be perfectly sweet for our smoothie.
Let’s measure out our unsweetened almond milk and check that we’ve enough frozen blueberries on hand.
We’ll also need to locate our favorite nut butter – whether it’s almond, peanut, or cashew butter, any variety will work well.
If we’re planning to add optional boosters like protein powder or chia seeds, we’ll want those within reach too.
We’ll place our ingredients near the blender, along with any measuring cups or spoons we’ll need.
It’s important to have everything ready before we start blending, as this prevents us from scrambling for missing items mid-preparation.
We’ll also want to check that our blender is clean and ready to use, with the blade assembly properly attached and the lid within reach.
Step 2. Add Liquid and Mix
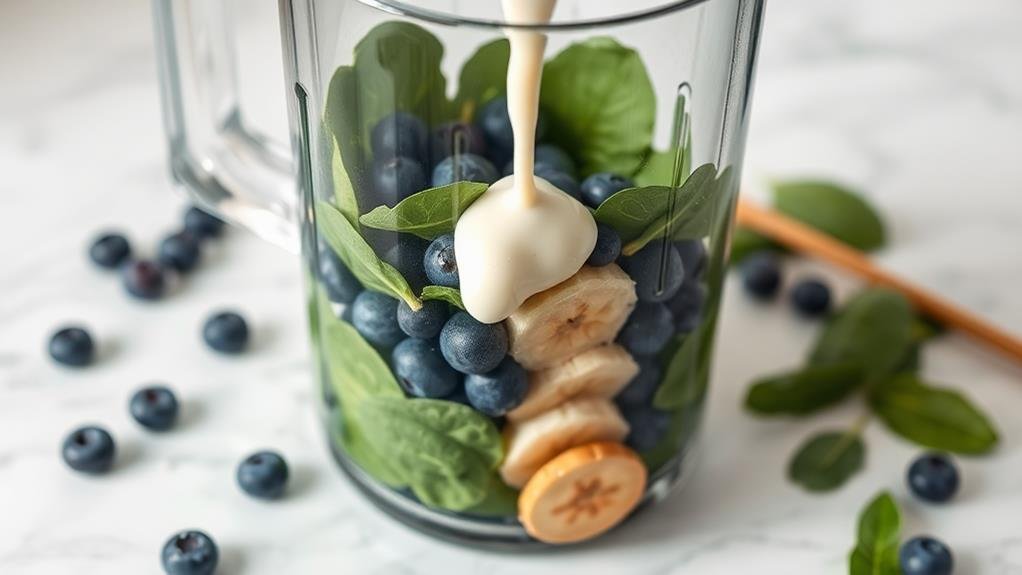
The mixing process begins with pouring the unsweetened almond milk into our blender first. This creates a liquid base that’ll help the blender’s blades move smoothly and prevent ingredients from sticking to the bottom.
Next, we’ll add our frozen banana and blueberries. Adding frozen fruits at this stage helps create that thick, smoothie-like consistency we’re looking for. The nut butter goes in after the frozen ingredients – it’ll blend more evenly when it’s not directly on the bottom or top of the mixture.
Now we’ll add our fresh spinach leaves. Don’t worry about the green color; the blueberries will help balance it out. We want to pack the spinach down slightly, but not too tightly, as this allows for better blending.
Let’s secure the lid tightly and start blending on low speed for about 30 seconds. Then, we’ll gradually increase to high speed and blend for another minute until everything’s smooth and creamy. If the mixture seems too thick, we’ll add more almond milk, one tablespoon at a time, until we reach our desired consistency.
Step 3. Blend Until Evenly Mixed
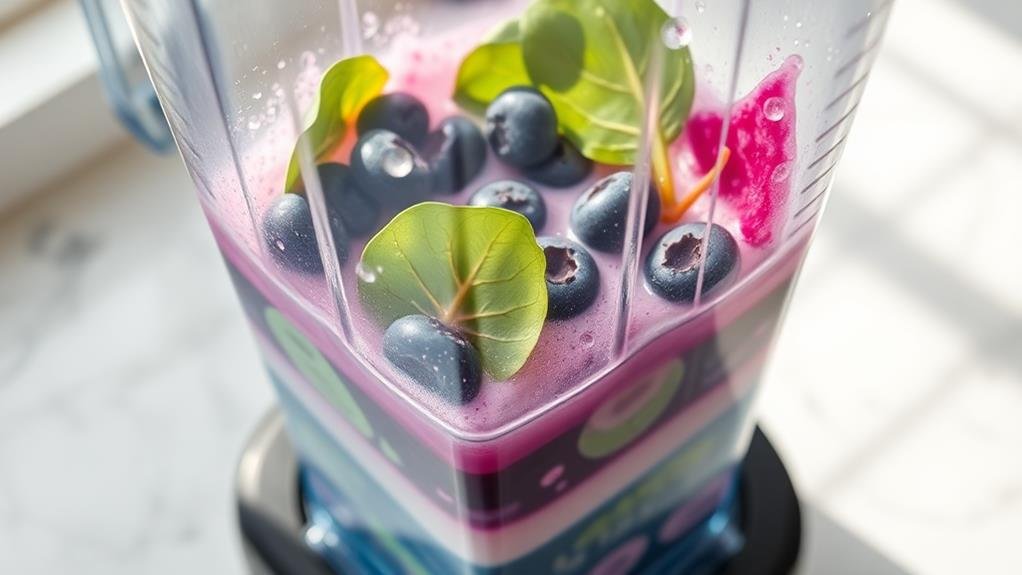
Now that all ingredients are in place, we’ll start with the detailed blending process. The key to achieving a perfectly smooth vegan blend is understanding how to operate your blender effectively and paying attention to the consistency as it develops. We’ll want to start on a lower speed setting before gradually increasing to high power, ensuring all ingredients break down evenly.
- Begin blending on low speed for 30 seconds to break down the leafy greens and frozen fruits. This prevents large chunks from getting stuck under the blades and helps create a more uniform mixture.
- Increase to medium speed for another 30 seconds, allowing the nut butter to incorporate fully with the other ingredients. You’ll notice the color becoming more uniform as everything combines.
- Finally, blend on high speed for 45-60 seconds until you achieve a completely smooth consistency. If you see any chunks or unblended ingredients sticking to the sides, stop the blender and use a spatula to scrape them down, then continue blending.
We’ll know we’re done when the mixture has a silky texture with no visible pieces of fruit or greens remaining.
Step 4. Pour Into Serving Glass
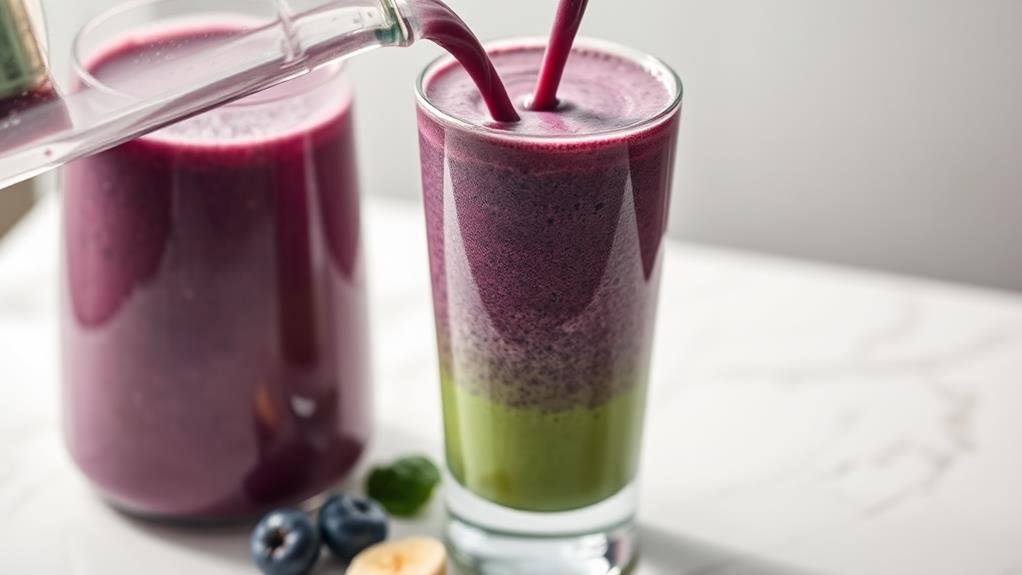
After achieving the perfect blend, pouring your vegan smoothie requires careful attention to preserve its texture and presentation. Let’s make sure we transfer every delicious drop from blender to glass without any spills or separation.
First, we’ll select a glass that’s large enough to hold the entire smoothie, typically 16-20 ounces. Before pouring, we’ll give the blender one final pulse to reincorporate any ingredients that may have settled.
Next, we’ll remove the blender lid carefully to avoid any drips on the counter.
We’ll pour the smoothie slowly and steadily into the glass, holding the blender pitcher at a slight angle. This technique helps prevent splashing and maintains the smoothie’s creamy consistency. If you notice any thick spots or chunks caught in the blender, we’ll use a silicone spatula to guide them into the glass.
For an Instagram-worthy presentation, we’ll wipe any drips from the glass rim with a clean cloth. If you’re feeling creative, we can top the smoothie with a few fresh blueberries or a sprinkle of hemp seeds for added texture and visual appeal.
Step 5. Garnish With Mint Leaves
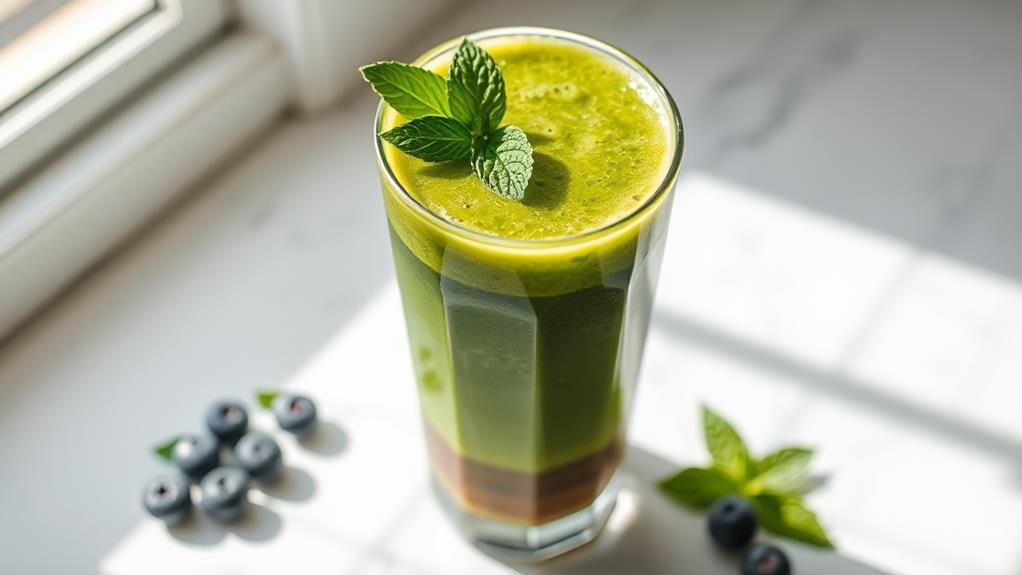
Fresh mint leaves provide a stylish finishing touch that enhances both the visual appeal and aromatic experience of our vegan smoothie. After we’ve poured our smoothie into a serving glass, we’ll carefully select 2-3 fresh mint sprigs from our herb garden or store-bought bunch. We’ll gently wash the leaves under cool water and pat them dry with a paper towel to make sure they’re clean and vibrant.
- Place the mint leaves delicately on top of the smoothie, positioning them slightly off-center for a more artistic presentation. We can also float a single leaf in the center if we prefer a minimalist look.
- For added visual interest, we’ll tuck one sprig partially into the smoothie while allowing the top leaves to stand upright, creating dimension and height.
- If we’re feeling creative, we can also create a mint leaf garnish by stacking 2-3 leaves together and rolling them lengthwise, then slicing them thinly to create elegant ribbons that we’ll sprinkle across the top.
The natural oils in the mint leaves will release a rejuvenating aroma that complements our smoothie’s fruity flavors perfectly.
Conclusion
We’ve journeyed through the vibrant evolution of vegan blender recipes, watching them transform from simple fruit combinations to today’s nutrient-packed powerhouses. Like artists with a canvas, we’ve learned to paint our glasses with fresh ingredients, swirling liquids, and careful blending techniques. As we garnish our creations with delicate mint leaves, we’re not just making smoothies – we’re crafting liquid masterpieces that nourish both body and soul.

