Let’s explore how the humble blender transformed our approach to homemade salad dressings. While we’ve all wrestled with those stubborn oil-and-vinegar separations in store-bought varieties, the blender offers us a foolproof method for creating perfectly emulsified dressings every time. Since its mid-century debut, this technique has evolved from a novel kitchen experiment to an essential culinary skill. Whether you’re looking to master the classic vinaigrette or create your own signature blend, understanding the principles behind blender dressings will elevate your salads from simple to spectacular.
History
While the exact origin of blender salad dressing isn’t well-documented, the practice gained popularity in the 1950s when household blenders became widely available in American homes. The Waring Blender, introduced in 1937, played a pivotal role in revolutionizing how we prepare salad dressings by making it easier to emulsify oils and vinegars. High-performance blenders, in particular, can blend tough ingredients effortlessly, creating smoother textures that enhance the flavor and quality of dressings more durable and efficient.
Before blenders, we’d traditionally mix dressings by hand with a whisk or fork, which often resulted in temporary emulsions that would quickly separate. The blender’s high-speed blades created more stable emulsions, leading to creamier, longer-lasting dressings. This technological advancement coincided with America’s growing interest in convenience foods and kitchen appliances.
During the 1960s and 1970s, we saw the rise of homemade blender dressings as health-conscious consumers sought alternatives to store-bought options. Cookbooks began featuring sections dedicated to blender dressings, promoting them as fresher, healthier alternatives to commercial products. Today, we continue to embrace blender dressings as an efficient way to create customized, preservative-free options that align with various dietary preferences and restrictions.
Recipe
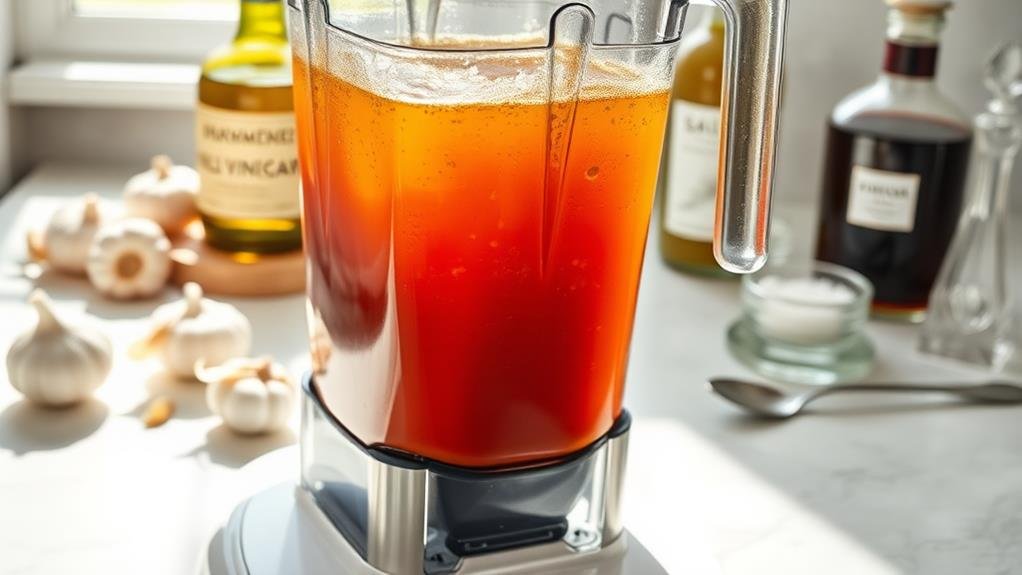
Blender salad dressing is a simple yet delicious way to elevate any salad with fresh, homemade flavors. This quick recipe combines classic ingredients that create a perfectly balanced dressing with tangy, garlicky notes and a smooth, creamy texture. Using a high-performance blender can enhance the emulsification process, guaranteeing a well-mixed dressing that rivals store-bought options. These blenders, with their powerful motors, are particularly effective for breaking down tough ingredients like garlic, giving you a more flavorful result high-powered blenders revolutionize cooking.
Making your own salad dressing in a blender (just like making green drink recipes or tasty frozen drinks in summer) guarantees proper emulsification of oil and vinegar, resulting in a well-incorporated mixture that won’t separate as quickly as hand-whisked versions. The blender also helps break down the garlic into tiny particles, distributing its flavor evenly throughout the dressing.
- 1 cup olive oil
- 1/4 cup red wine vinegar
- 2 cloves garlic
- 1 teaspoon Dijon mustard
- 1/2 teaspoon salt
Add all ingredients to a blender container. Start blending on low speed for 10-15 seconds to combine the ingredients, then increase to medium speed and blend for an additional 20-30 seconds until the mixture becomes smooth and emulsified. Transfer the dressing to an airtight container or bottle.
For best results, let the dressing sit at room temperature for 30 minutes before serving to allow the flavors to meld together. If stored in the refrigerator, the olive oil may solidify – simply remove the dressing 15-20 minutes before use and shake well to recombine the ingredients. The dressing will keep fresh for up to one week when stored properly in the refrigerator.
Step By Step
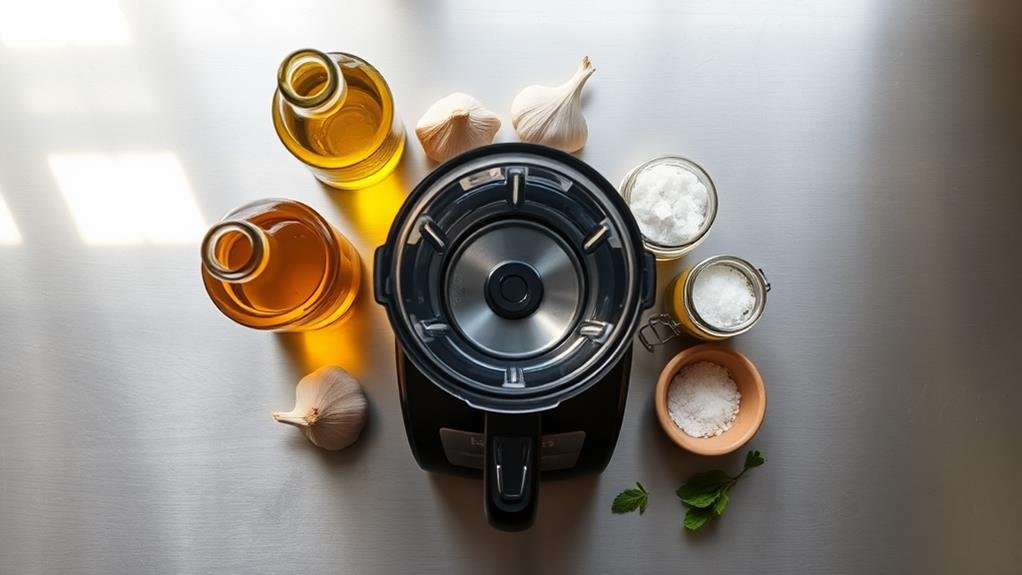
Let’s walk through creating this simple blender dressing together.
We’ll start by pouring our olive oil into the blender, followed by the vinegar and garlic, before adding the Dijon mustard and salt.
Once all ingredients are in place, we’ll blend on medium speed until smooth and transfer to a glass container for storage.
Step 1. Pour Oil in Blender
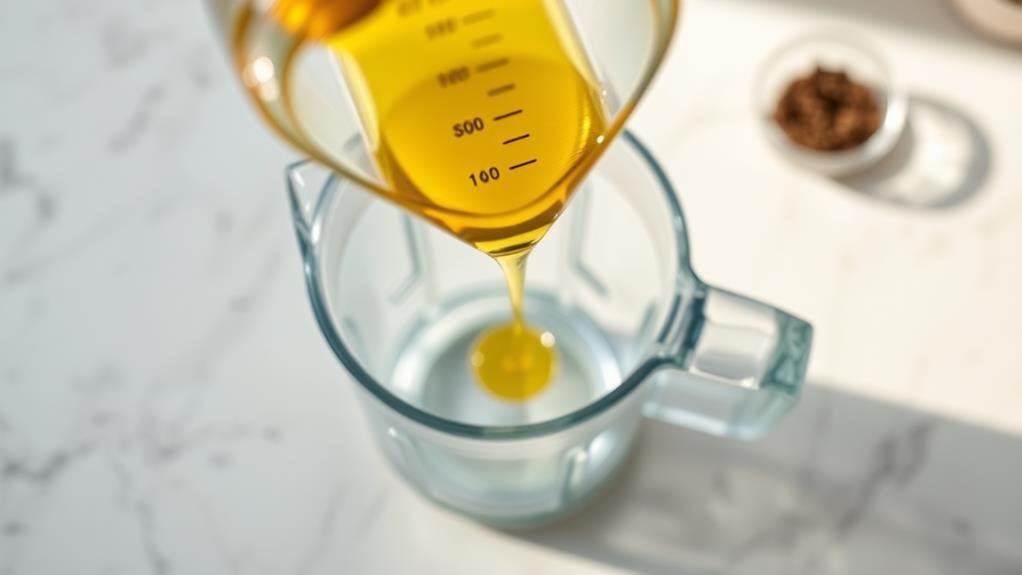
A steady flow of olive oil is the key to starting your blender dressing perfectly. We’ll want to measure out exactly one cup of olive oil and have it ready before we begin. Let’s remove the small cap from the blender lid, as we’ll use this opening to pour our oil while the blender is running.
With the blender container ready, we’ll add the olive oil in three stages.
First, we’ll pour about one-third of the oil into the blender and secure the lid.
Next, we’ll turn the blender on low speed and gradually add another third of the oil through the lid opening, which helps create a stable base for our dressing.
Finally, we’ll pour the remaining third in a thin, continuous flow while the blender continues running.
We’re looking for the oil to incorporate smoothly without splashing or creating air pockets. If we notice any oil pooling at the top, we’ll stop pouring momentarily and let the blender catch up. This careful oil-adding process guarantees our dressing will have the right consistency and won’t separate when we store it later.
Step 2. Add Vinegar and Garlic
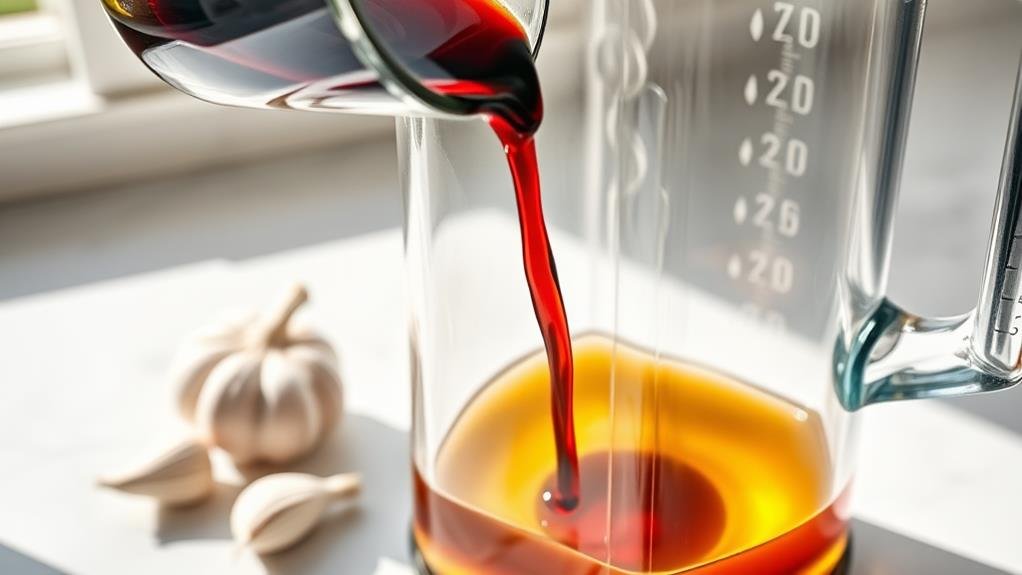
Now that our oil base is ready, we’ll add the remaining liquid ingredients to create the perfect flavor balance. Pour 1/4 cup of red wine vinegar into the blender and add two peeled garlic cloves. The vinegar’s acidity will help emulsify our dressing while adding a bright, tangy flavor that complements the rich olive oil.
When adding these ingredients, keep in mind these essential tips:
- Drop the garlic cloves through the blender lid opening while the machine is running to guarantee they’re finely minced
- Pour the vinegar slowly to prevent splashing and allow proper integration
- Listen for the sound change in the blender – it should become slightly lower as the liquids combine
- Check that both garlic cloves are fully caught by the blades
- Watch for the mixture to begin turning slightly cloudy, indicating proper emulsification
Don’t worry if the mixture looks separated at this stage – this is normal. The remaining ingredients we’ll add later will help create the perfect consistency. For now, let the blender run for about 30 seconds to secure the garlic is completely processed and the vinegar is well incorporated with the oil.
Step 3. Add Mustard and Salt
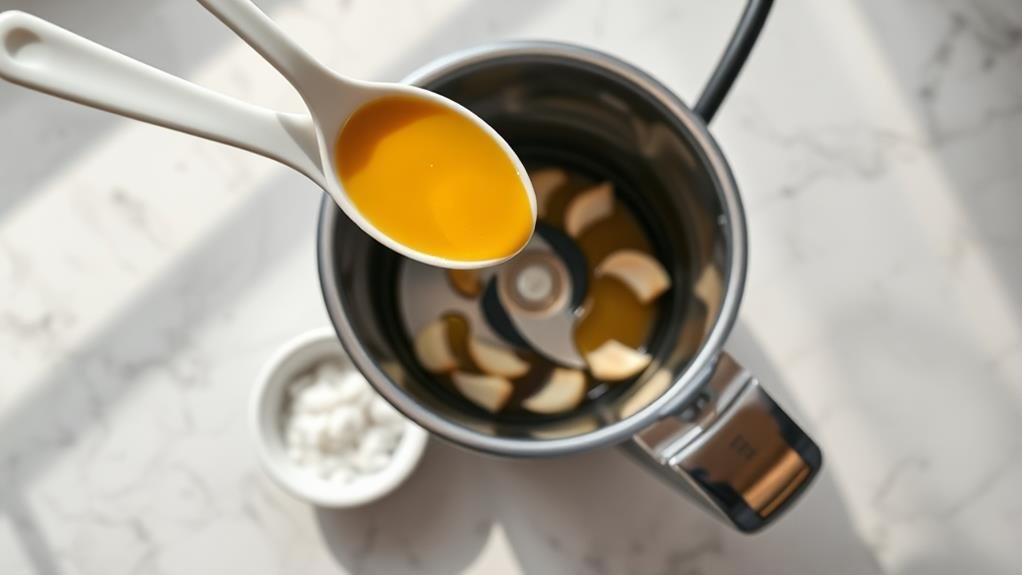
With our oil, vinegar, and garlic mixture ready in the blender, the next additions will create the perfect emulsion and seasoning. We’ll start by adding one teaspoon of Dijon mustard, which acts as a natural emulsifier to help bind our oil and vinegar together. The mustard also adds a subtle tanginess that complements the garlic and vinegar perfectly.
Next, we’ll measure out 1/2 teaspoon of salt. While this might seem like a small amount, it’s essential for bringing out the flavors of all our other ingredients. We don’t want to add too much salt at first – we can always adjust it later to taste. Let’s sprinkle the salt evenly over our mixture in the blender.
Before we start blending again, we’ll secure the lid tightly and begin with a few short pulses. This helps incorporate the mustard and salt without over-emulsifying the dressing. If we notice any mustard or salt sticking to the sides of the blender, we’ll stop and use a spatula to scrape down the sides, ensuring everything blends evenly.
Step 4. Blend on Medium Speed
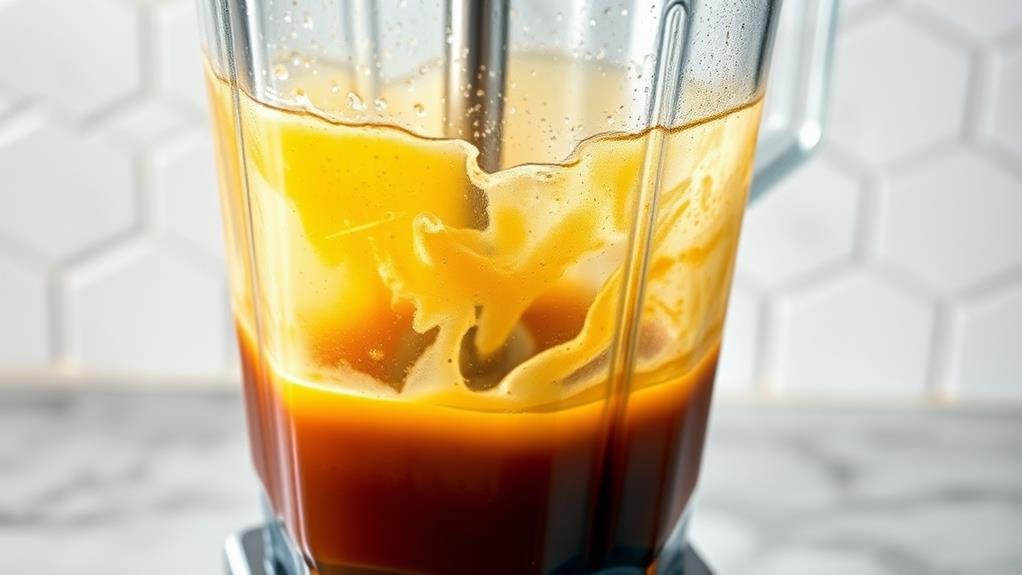
Setting your blender to medium speed creates the perfect balance for emulsifying our dressing. We’ll want to maintain this speed for about 30-45 seconds, which gives the olive oil and vinegar enough time to properly combine while preventing over-processing.
Let’s watch for these key indicators that our dressing is properly blending:
- The mixture should become slightly cloudy and begin to thicken
- Small air bubbles will form throughout the liquid
- The garlic should be completely broken down with no visible pieces
- The color should become uniform throughout
- The stream from the blender should be smooth and consistent
Once we see these signs, we’ll want to stop blending immediately. Over-mixing can cause our dressing to become too thick or bitter, especially if the garlic gets over-processed. If you notice the mixture becoming too thick, we can add a tablespoon of water and pulse briefly to thin it out. Remember to scrape down the sides of the blender with a spatula midway through to secure all ingredients are thoroughly incorporated into our final dressing.
Step 5. Store in Glass Container
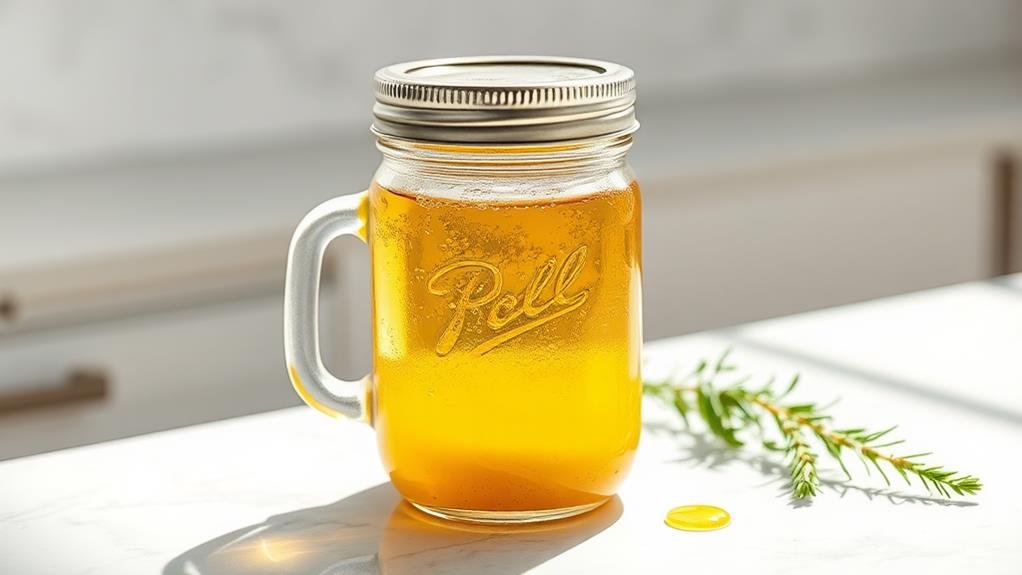
After achieving the perfect blend, proper storage is our next key step. Let’s transfer our freshly blended dressing into a clean glass container with an airtight lid. Glass containers are ideal because they won’t react with the acidic ingredients in the dressing, and they’re easy to clean and reuse.
We’ll want to choose a container that’s slightly larger than the volume of our dressing to allow for shaking before each use. Make sure to wipe the rim and threads of the jar clean before securing the lid to prevent any oil from seeping out during storage. If we’re using a mason jar, we can add a piece of parchment paper between the lid and the jar to create an extra barrier against leakage.
Now, let’s label our container with the date we made the dressing. This helps us track freshness, as our dressing will stay good for up to seven days when refrigerated. Remember to remove the dressing from the refrigerator about 15 minutes before use, as the olive oil may solidify when chilled. A quick shake will help recombine any separated ingredients.
Conclusion
Isn’t it ironic that we’ve come full circle? While we’re obsessed with artisanal, hand-crafted everything these days, we’re returning to the 1950s solution of throwing ingredients into a blender for the perfect dressing. We’ve tried whisking, shaking, and fancy gadgets, but that old-school blender method still gives us the creamiest, most stable emulsion. Sometimes the simplest technology is the smartest after all.

