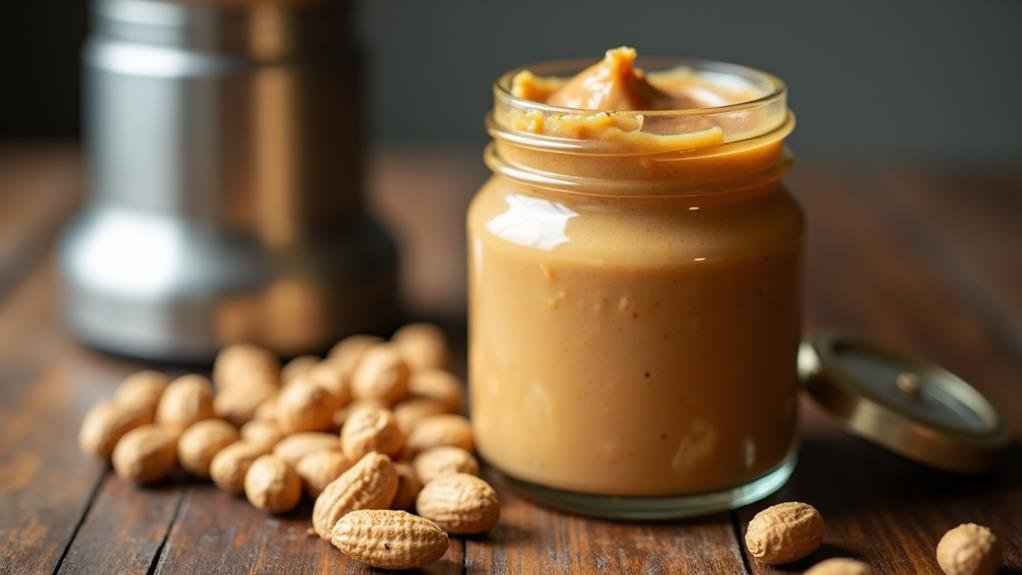
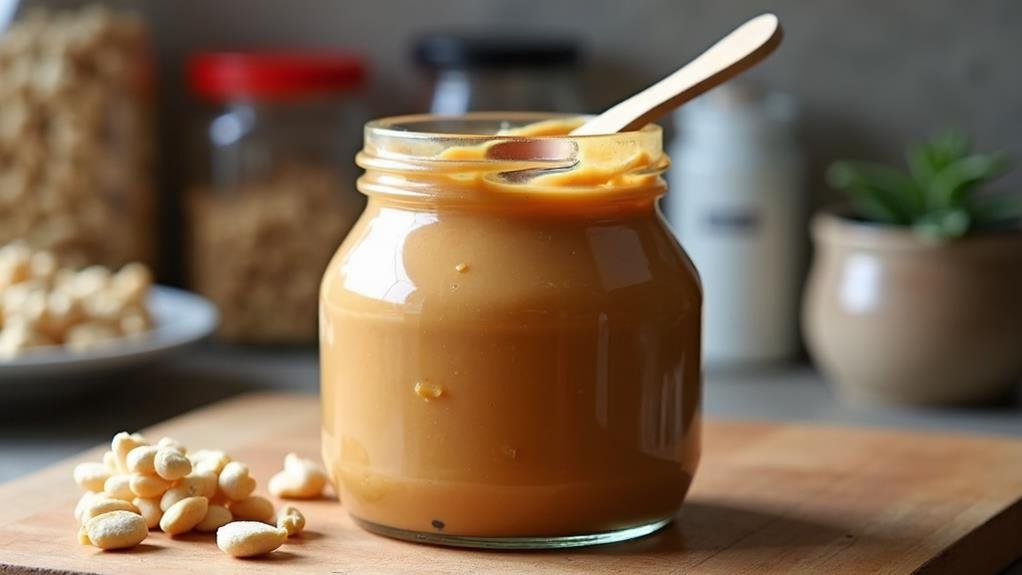
You’ve probably tasted store-bought peanut butter countless times, but have you ever considered making your own? With just a few simple ingredients and a food processor, you can whip up fresh, creamy peanut butter in minutes. Not only is homemade peanut butter more flavorful than its commercial counterparts, but it’s also free from additives and preservatives. You’ll have complete control over the texture and taste, allowing you to customize it to your liking. Plus, the process is surprisingly easy and rewarding. But there’s more to homemade peanut butter than just its superior taste and simplicity…
Simple Ingredients, Big Flavor

Surprisingly, homemade peanut butter requires just two simple ingredients: roasted peanuts and salt. You’ll need 2 cups of unsalted, roasted peanuts and 1/2 teaspoon of salt to create a delicious spread. For added flavor or texture, you can include optional add-ins like 1-2 tablespoons of oil or sweetener.
The beauty of making your own peanut butter lies in its simplicity and customization. You can control the sweetness, saltiness, and consistency to suit your taste. By roasting the peanuts yourself, you’ll enhance their natural flavors. Experiment with different types of salt or sweeteners to create unique flavor profiles.
For a smoother texture, blend the mixture longer. If you prefer a chunkier consistency, pulse the ingredients instead. With these simple ingredients, you’ll create a fresh, flavorful peanut butter that rivals any store-bought version.
Blending Your Perfect Spread
The essence of perfect homemade peanut butter lies in the blending process. Start by adding your roasted peanuts and salt to the blender. Pulse a few times to break up the nuts, then blend continuously for 3-5 minutes.
You’ll notice the mixture go through several stages: first crumbly, then paste-like, and finally smooth and creamy. Don’t be tempted to stop too soon – patience is essential for achieving that silky texture.
If you’re aiming for extra smoothness, blend for a bit longer. For a chunkier spread, reserve some chopped peanuts to stir in at the end. Remember, you can always adjust the consistency by adding a touch of oil if it’s too dry, or a sprinkle of salt to enhance the flavor.
Once you’ve reached your desired texture, transfer your fresh peanut butter to an airtight container.
Storage and Shelf Life

Proper storage is crucial for maintaining the freshness and quality of your homemade peanut butter. Store it in an airtight glass jar to prevent contamination and preserve its flavor.
You’ll notice that the oil may separate over time, but don’t worry – this is natural. Simply stir it back in before use.
For best freshness, keep your peanut butter in the refrigerator. It’ll last up to three months when refrigerated, compared to about a month at room temperature.
If you prefer a softer consistency, let it sit at room temperature for a few minutes before spreading.
Nutritional Powerhouse
Homemade peanut butter packs a nutritional punch that’s hard to beat. You’re getting a rich source of heart-healthy fats, protein, and fiber in every spoonful. It’s loaded with vitamins and minerals, including vitamin E, zinc, potassium, and magnesium, which support various bodily functions.
The healthy fats in peanut butter can help manage blood sugar levels and keep you feeling full longer. You’ll also benefit from its antioxidants, which fight free radicals in your body.
As a plant-based protein source, it’s perfect for vegetarians and vegans.
Creative Uses and Variations

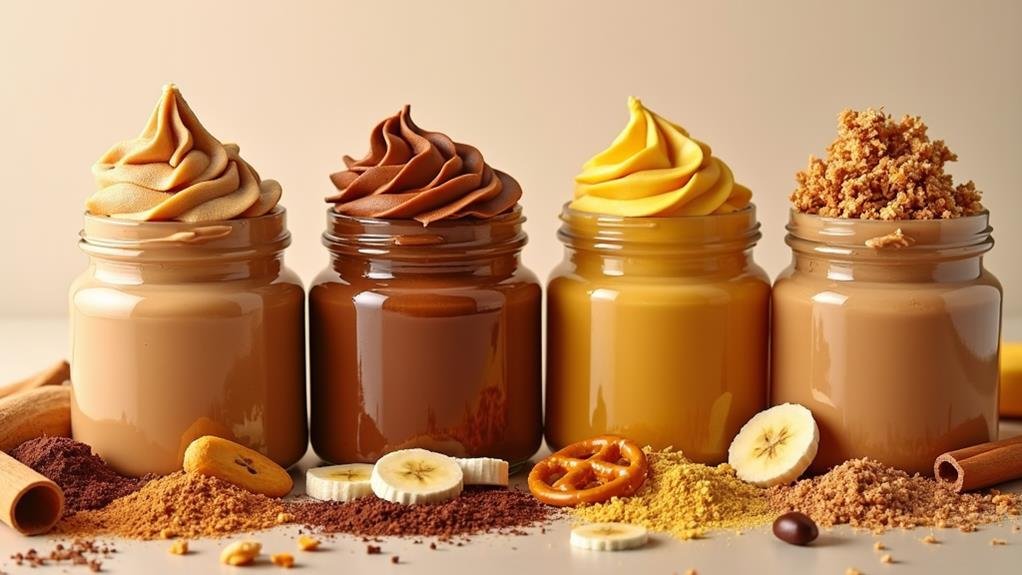
Beyond spreading on toast, homemade peanut butter offers a world of culinary possibilities. You can use it as a base for savory sauces, blend it into smoothies, or incorporate it into baked goods for added richness. Try experimenting with different flavor combinations by adding honey, cinnamon, or cocoa to your basic recipe.
For a unique twist, mix in other nuts like almonds or cashews to create custom nut butter blends. Don’t be afraid to adjust the texture to your liking; blend longer for ultra-smooth results or leave it chunky for added crunch. Remember to store your creations in airtight containers in the fridge to maintain freshness.
Frequently Asked Questions
Can I Use Salted Peanuts Instead of Unsalted?
Yes, you can use salted peanuts. However, you’ll want to omit or reduce the added salt in the recipe. Taste as you go and adjust accordingly. Remember, it’s easier to add more salt than to remove it.
How Do I Clean My Blender After Making Peanut Butter?
To clean your blender after making peanut butter, start by wiping out excess with a paper towel. Then, fill it halfway with warm, soapy water and blend for 30 seconds. Rinse thoroughly and let it air dry completely.
Is Homemade Peanut Butter Safe for People With Peanut Allergies?
No, homemade peanut butter isn’t safe for those with peanut allergies. You’re still using peanuts, which contain the allergens. If you have a peanut allergy, you should avoid all peanut products, including homemade versions.
Can I Use a Food Processor Instead of a Blender?
Yes, you can use a food processor instead of a blender. It’s actually a great alternative for making peanut butter. You’ll need to scrape down the sides occasionally, but it’ll produce smooth, creamy results just like a blender.
How Does Homemade Peanut Butter Compare to Store-Bought in Terms of Calories?
You’ll find homemade peanut butter typically has similar calories to store-bought versions. However, you’re in control of ingredients, so you can adjust fat and sugar content. It’s often fresher and free from preservatives or additives.
Conclusion
You’ve now mastered the art of making fresh peanut butter in minutes. With just peanuts and salt, you’ve created a delicious, customizable spread that’s both nutritious and versatile. Don’t forget to experiment with different add-ins and variations to suit your taste. Store your homemade peanut butter properly, and you’ll have a ready-to-use, wholesome treat for weeks. Whether you’re spreading it on toast or incorporating it into recipes, you’ll love the results of your DIY peanut butter adventure.

