Just like our trusty kitchen sidekicks, we all need a little TLC now and then, and blenders are no exception. We’ve found that a clean blender isn’t just about aesthetics—it’s about performance and longevity too. A quick 30-second rinse might seem sufficient, but there’s actually a whole world of maintenance tricks that can transform your appliance from good to great. Want to know why your smoothies don’t taste quite right, or why that motor sounds a bit… off?
The 30-Second Cleaning Method for Daily Use
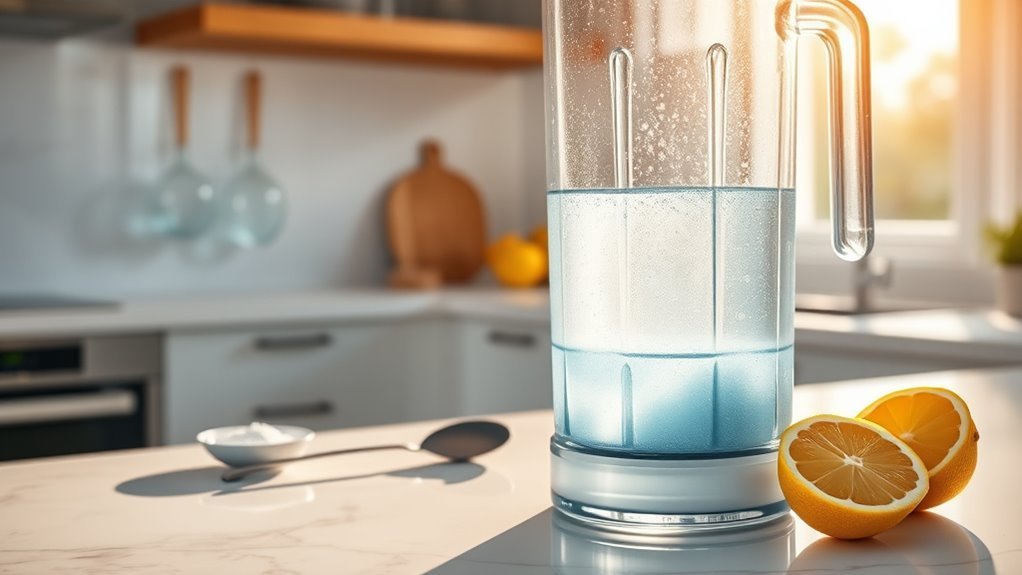
The 30-second cleaning method might just be the biggest time-saver we’ve discovered for blender maintenance.

It’s ridiculously simple: fill your blender halfway with hot water, add a drop or two of dish soap, secure the lid, and blend on high for exactly 30 seconds.
That’s it!
This technique is particularly effective for sticky ingredients like peanut butter or bananas that tend to, well, cement themselves to the sides.
The beauty of this method is that your blender actually cleans itself—no need to risk your fingers scrubbing around those sharp blades.
We’ve found this works perfectly for both glass and plastic models, and the entire process takes less than a minute.
Just a quick rinse afterward, and you’re ready for your next smoothie!
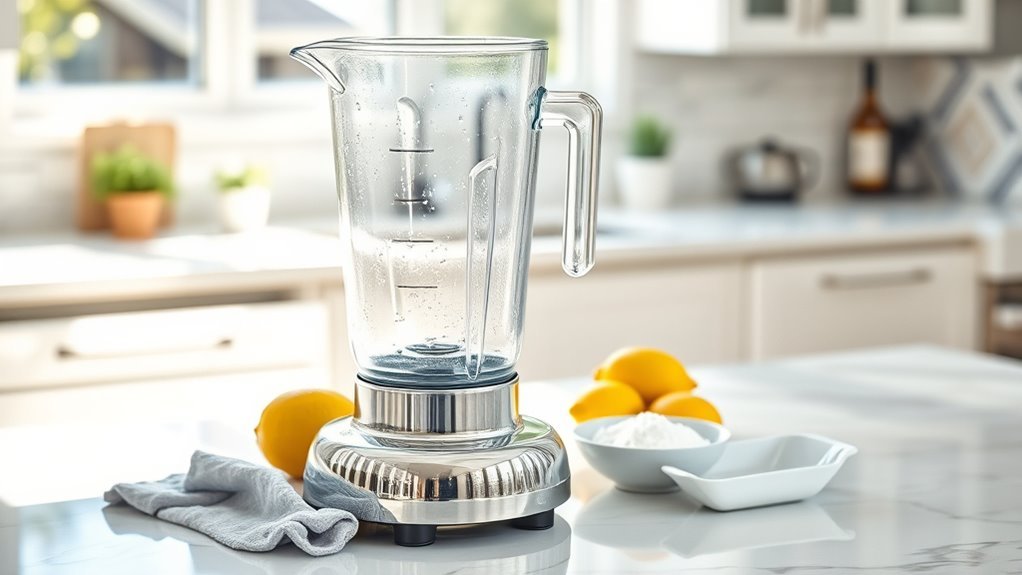
Deep Cleaning and Sanitizing Your Blender
Despite your daily quick-cleaning routine, blenders need occasional deep cleaning to tackle stubborn residues and eliminate bacteria that might be lurking beneath the surface.
We’ve found two fantastic methods for blender maintenance that work wonders.
First, try mixing ¼ cup warm water with ¾ cup white vinegar and blend on high. Or, if you prefer, combine ¼ cup baking soda with ¼ cup warm water instead.
Both options will clean the blender thoroughly—actually, they eliminate up to 99% of bacteria! After blending, always add clean water and rinse completely.
In our experience, performing this deep cleaning weekly keeps your blender in tip-top shape. It’s like giving your blender a spa day—well deserved after all that smoothie-making, don’t you think?
Essential Maintenance for Blender Components
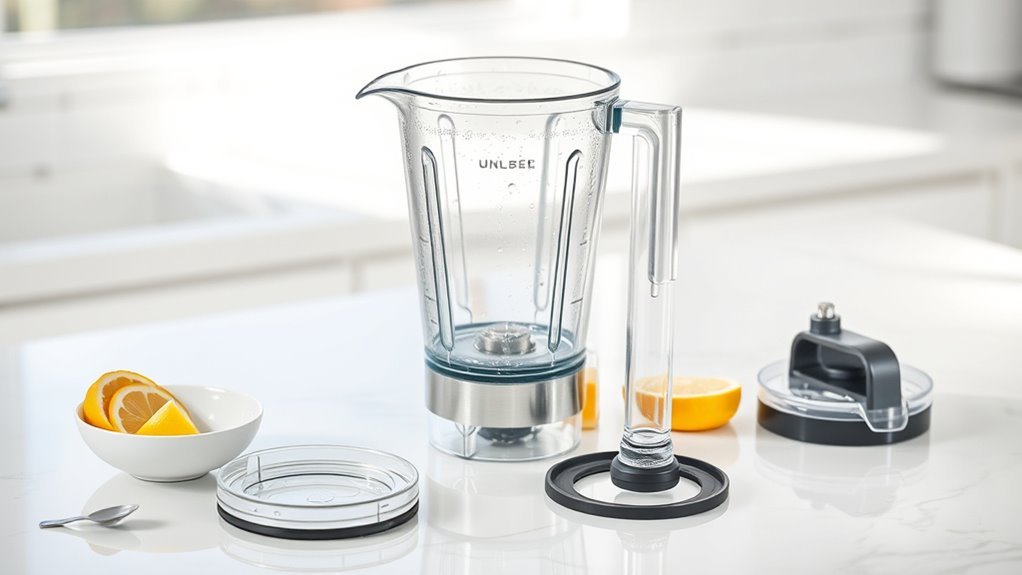
Beyond keeping your blender clean, proper maintenance of individual components guarantees your machine will keep blending smoothly for years to come.
We’ve found that the Easiest Way to Clean most parts is with a damp cloth and a few drops of dish soap, but maintenance goes deeper than that.
You’ll want to check the drive clutch weekly—it’s essential for proper blade rotation.
When blades show wear (especially after crushing ice), replace them promptly.
Actually, proper lubrication is key too, but stick to food-grade products rather than vegetable oils which can gum things up.
Don’t forget to monitor those sealed bearings for unusual noises.
And maybe the most important tip? Avoid overloading your blender.
With these simple maintenance steps, you’ll extend your blender’s life to 10-15 years!
Additionally, for high-performance blenders, these practices can enhance their durability and efficiency in handling tough ingredients.
Avoiding Common Cleaning Mistakes
Many cleaning mistakes can turn your reliable blender into a malfunctioning mess—and we’ve seen it all!
First, never place the base in water—that’s a one-way ticket to motor damage.
Instead, wipe it with a damp dish towel after unplugging it.
Don’t procrastinate on cleaning either.
Those banana smoothie remnants? They’ll cement themselves to the sides within minutes!
We always give our blender a quick rinse immediately after use.
Avoid putting it back on the base while wet, and never—I mean never—use abrasive scrubbers on those blades.
They’ll scratch faster than… well, you know how scratches happen.
Always secure the lid when running a cleaning cycle to keep your kitchen (and yourself) clean and ready for the next blending adventure!
With proper care, your blender can last over a decade.
Extending Your Blender’s Lifespan Through Proper Care
How often do you think about what’s happening inside your blender?
Those little air inlet screens actually need weekly cleaning to prevent motor damage and help your appliance reach its full 10-15 year potential.
Lubrication is another game-changer.
We’ve found that food-grade lubricants work wonders on moving parts, while vegetable oils just gum things up.
Trust me on this one!
Don’t forget about blade replacement when they start looking worn—especially if you’re an ice-crushing enthusiast.
Those blades deteriorate faster than… well, ice in a blender!
Regular inspections for container cracks or loose components are essential.
We always check the cutter assembly for any wobbling, which usually means trouble’s brewing.
With these simple habits, your blender could be whipping up smoothies for over a decade!
Frequently Asked Questions
How to Clean and Maintain a Blender?
We clean our blender with soap and water, then store it disassembled. For maintenance, we lubricate blades, guarantee motor cooling between uses, and consider parts upgrades when performance declines.
How Do You Clean the Inside of a Blender?
We fill it halfway with hot water and soap, then blend to remove residue. For tough stains, we use the vinegar method or blade scrubbing with a brush technique for thorough cleaning.
Should I Wash My Blender After Every Use?
We absolutely recommend washing after every use. User experiences confirm that immediate cleaning prevents bacterial growth and hygiene risks. The washing debate is settled—quick cleaning now prevents hardened residues later.
Do Blenders Need Lubrication?
Imagine your blender spinning without friction! Modern blenders with sealed bearings don’t need routine lubrication. We only recommend motor oiling or parts greasing during servicing to prevent bearing wear and extend performance.