We’ve all been there, struggled with it, and desperately searched for solutions when our blender jars develop that stubborn, cloudy residue. It’s frustrating when your favorite kitchen tool looks permanently stained despite regular washing. Well, we’re going to share some game-changing cleaning methods that work like magic on those tough buildup problems. From baking soda and lemon juice to vinegar solutions, these natural approaches will restore your blender to its former glory—without harsh chemicals or excessive scrubbing.
Understanding the Causes of Blender Residue

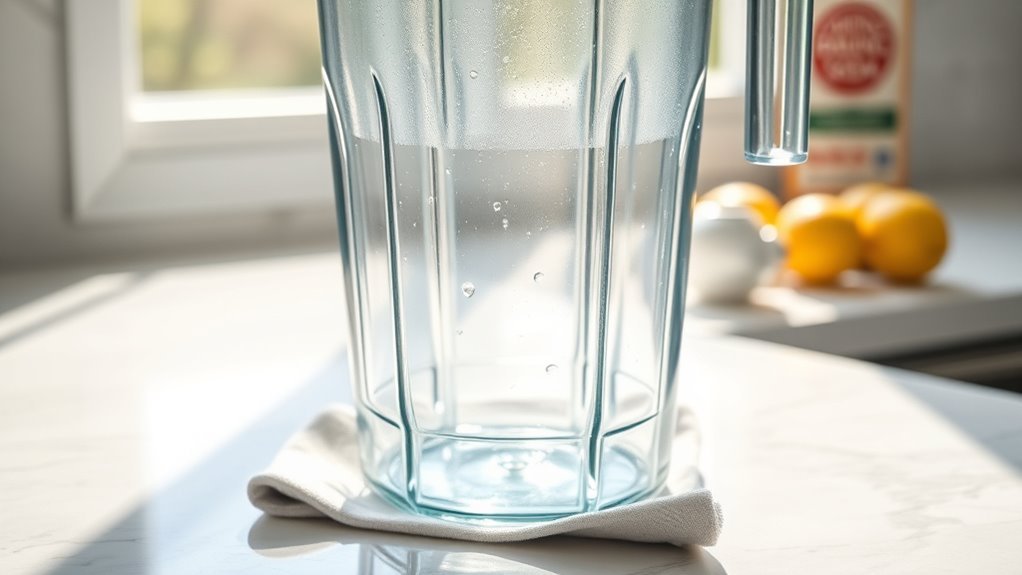
Why do our blender jars lose their crystal-clear appearance over time? If you’re using your blender almost daily like we do, you’ve probably noticed that cloudy film that won’t budge. The culprit? Mineral deposits from smoothies and nut milks that gradually build up, turning clear containers practically opaque after long-term use.
It’s not just minerals, though. Those stubborn stains and odors come from colorful ingredients like turmeric or berries that cling to micro-scratches in the jar. Plus, tiny bits of old food that didn’t get properly cleaned away contribute to the problem.
What’s interesting—actually, kind of gross—is that this residue accumulates so gradually, we often don’t notice until our blender jar looks downright dingy.
Glass jars fare better, but plastic ones? They’re magnets for this stuff. High-performance blenders often feature durable blender jar designs that resist buildup with proper care.
Essential Supplies for Deep Cleaning Your Blender
When it comes to abrasive cleaners, we’ve found that baking soda paste outperforms commercial options while being gentler on your blender’s surfaces.
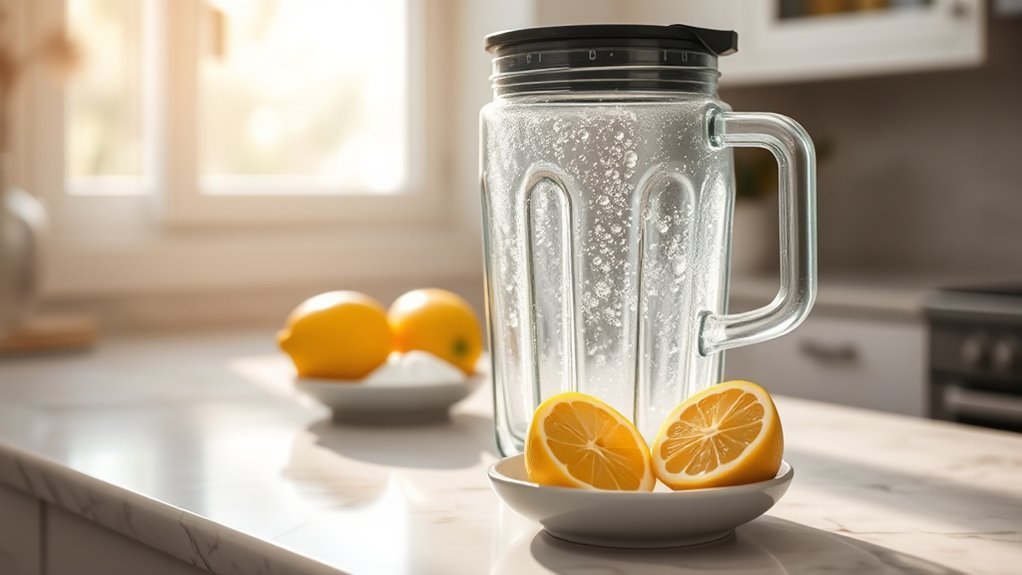
Natural scrubbing tools like lemon halves can actually work as both cleaner and scrubber—just cut one in half and rub it directly on tough stains before rinsing.
We’re also big fans of using bottle brushes specifically designed for blender cleaning, as they’ll reach those tricky spots around the blades without scratching the jar.
Additionally, choosing high-performance blenders can make maintenance easier due to their robust design and features.
Abrasive Cleaners Comparison
Although you might be tempted to reach for whatever cleaner’s closest to your sink, choosing the right abrasive cleaner for your blender jar can make all the difference between a frustrating scrubbing session and a quick, effective clean.
After testing several methods for deep cleaning, we’ve found that dish detergent powder is the clear winner. It tackles mineral deposits in just 10 minutes of scrubbing, while Baking soda requires more elbow grease. Here’s how they stack up:
| Cleaner | Rating | Cleaning Time |
|---|---|---|
| Dish Detergent Powder | 4.5/5 | 2 hrs soak + 10 min scrub |
| Vinegar and Baking Soda | 4/5 | Longer sit time needed |
| Baking Soda with Lemon | 2/5 | Less efficient alone |
| Standard Dish Soap | 2.5/5 | Multiple applications needed |
Natural Scrubbing Tools
The right scrubbing tools can transform your blender cleaning routine from a frustrating chore into a satisfying five-minute task.
After testing various methods, we’ve found that natural options often work best—and you probably already have most of them in your kitchen.
For stubborn residue removal, we recommend these essentials:
- Bottle brush – The OXO Good Grips is perfect for reaching around blades where gunky buildup hides
- Soft sponge with baking soda and water – Creates a gentle paste that removes stains without scratching plastic
- Euroscrubby sponge – Our chef-recommended favorite that conquered mineral deposits with just elbow grease
- Silicone spatula – Use this first to scrape out remnants before applying vinegar or lemon juice for natural disinfecting
We’ve seen cloudy jars return to nearly-new clarity in about 10 minutes with these tools!
Quick Daily Maintenance Techniques

We’ve found that rinsing our blender right after use and doing a quick soap-and-water blend takes just a minute but prevents those stubborn stains from setting in.
It’s amazing how much easier cleaning becomes when we make this a daily habit instead of letting residue build up and harden.
For those of us who blend daily, this simple maintenance routine means we’ll only need to do a deep clean once a week, saving us time and keeping our blenders looking like new.
Rinse Immediately
Tackling sticky residue becomes much easier when you rinse your blender jar immediately after use.
We’ve found that this simple habit saves tons of scrubbing time later on.
All you need is warm water and a squirt of dish soap to keep your blender sparkling clean.
Here’s our foolproof rinse method:
- Fill the jar about halfway with warm water
- Add a small squirt of dish soap
- Blend on high for 30 seconds
- Rinse with clean water
This quick process takes just 1-2 minutes but prevents tough residue from hardening.
It’s especially important for plastic jars, which can develop stains from dark-colored ingredients like turmeric.
Trust us—immediate rinsing with soapy water dramatically reduces the need for those deep cleanings we all dread!
Weekly Deep Clean
While daily rinsing prevents most buildup, even the best-maintained blender jars need deeper attention.
Our favorite blender cleaning method uses white vinegar and baking soda—just blend 3/4 cup vinegar with 1/4 cup baking soda and water for 30 seconds, then scrub.
It works wonders on odors and stains!
Another effective approach is using powdered dishwasher detergent with hot water.
Let this mixture sit for a couple of hours (about two), then scrub for about 10 minutes.
We’ve found this gets a solid 4.5/5 for effectiveness, especially for those stubborn mineral deposits.
Honestly, the methods to clean don’t matter as much as consistency.
Whatever technique you choose, a weekly deep clean prevents those micro-scratches from becoming permanent stain collectors.
Your future self will thank you!
Prevent Buildup Naturally
Keeping your blender spotless doesn’t require hours of scrubbing—it’s all about daily habits that prevent buildup before it starts.
We’ve found that taking just a few minutes after each use makes all the difference in maintaining a pristine container.
Here’s our quick daily routine that keeps residue at bay:
- Immediately after blending, add warm water and a bit of dish soap to the jar
- Blend on high for 30 seconds—this loosens everything before it can stick
- Rinse thoroughly and let air dry to prevent cloudy mineral deposits
- For stubborn odors, blend lemon juice with water for a natural clean
Trust me, these simple cleaning tips will save you from that frustrating scrubbing session later.
Your blender will thank you!
The Baking Soda and Vinegar Method

The baking soda and vinegar method is one of our favorite ways to tackle stubborn residue in blender jars.
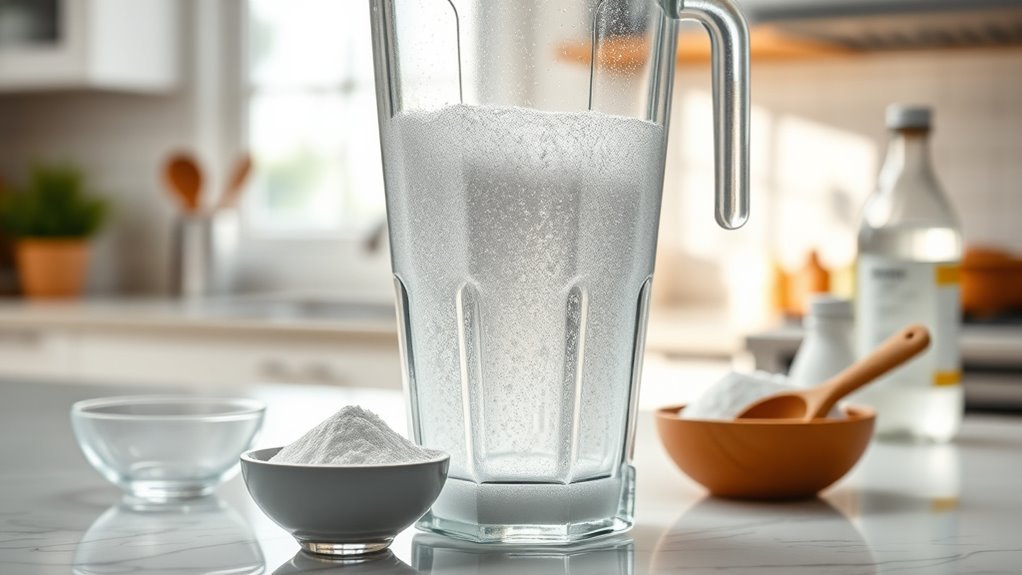
To get started, fill the blender with 3/4 cup white vinegar, 1/4 cup baking soda, and 1/4 cup water.
You’ll see it start to fizz right away—that’s the cleaning power activating!
Run the blender at high speed for about 30 seconds, then let it sit for a few minutes.
This waiting period is essential—it lets the mixture work its magic on those tough stains and mineral deposits.
After it’s had time to stand for a couple minutes, grab a soft sponge and give it a quick scrub.
In our experience, this method rates about 4/5 for effectiveness, and the whole process takes just 20 minutes.
Don’t forget to rinse thoroughly!
Using Citrus and Natural Cleaners for Stubborn Stains
Why struggle with stubborn stains when nature offers some powerful cleaning solutions?
We’ve found that lemon-based cleaners work wonders for those stubborn odors that just won’t quit, though they’re not the strongest for cloudiness removal.
Here’s our favorite citrus cleaning method:
- Fill your blender halfway with warm water and add half a cup of fresh lemon juice
- Add a drop of dish soap for extra cleaning power
- Blend for about 30 seconds, then let it sit for a minute or two
- Scrub with a soft sponge, focusing on stained areas
For really tough stains, you might need to fill halfway with hot water and add 2 tablespoons of baking soda with your lemon juice.
It takes about 5 minutes total, but your blender will smell fresh again!
Preventing Future Buildup and Cloudiness
While natural cleaners can tackle existing stains, an ounce of prevention is worth a pound of cure when it comes to your blender jar’s longevity. Blenders need to be cleaned immediately after use—especially when making nut butters or anything with peanut butter that sticks around the base.
| Cleaning Type | Frequency | Best For |
|---|---|---|
| Quick Rinse | After each use | Fresh residue |
| Soap Blend | Daily | General cleaning |
| Deep Clean | Monthly | Mineral buildup |
For a quick fix, just add water and a bit of dish soap, then blend for 30 seconds. If you’re using plastic jars, you’ll notice they cloud faster than glass—those tiny scratches trap residue that’s nearly impossible to remove later. Trust me, this small habit saves hours of scrubbing down the road!
Frequently Asked Questions
How to Clear a Cloudy Blender Jar?
We’ve found powdered dishwasher detergent works best for CloudyPrevention. Soak your jar in hot water with detergent for two hours, then scrub. HazeCauses include mineral deposits, while JarMaterials affect MaintenanceTips needed.
How to Get Film off Vitamix Container?
We’ve found powdered dishwasher detergent works best for removing Vitamix buildup. Soak with hot water for two hours, then scrub. For natural remedies, try vinegar with baking soda. Regular maintenance hacks prevent film origins.
How to Clean the Blender Jar?
We recommend daily cleaning with warm water and soap for your blender jar. Hand washing with a gentle scrub, interior rinse, lid wipe, and seal maintenance will prevent stubborn residue buildup.
How to Deep Clean a Blendtec Jar?
As clear as crystal, we’ll DeepClean your Blendtec jar! We recommend soaking it in powdered dishwasher detergent and hot water for two hours. SanitizeBlades with NaturalMethods like baking soda paste for ResidueEradication. PreventiveMaintenance includes monthly BlendtecTips cleaning.

