We’ll help you master pulse-mode blending with five game-changing tips. Start by strategically layering ingredients – liquids first, then dry components, greens, soft fruits, and frozen items last. Time your pulses with 1-3 second bursts and 5-second pauses. Manage frozen ingredients by using smaller pieces and alternating between pulse modes. Monitor consistency between pulses, scraping sides as needed. Finally, match power levels to ingredient hardness for ideal results. Let’s unleash your blender’s full potential.
Strategic Ingredient Layering for Pulse Blending

When you’re mastering pulse mode for smoothies, proper ingredient layering isn’t just helpful – it’s critical for achieving that perfect consistency.
We’ll guide you through the exact order your smoothie maker needs for that silky texture.
Start with liquid ingredients like juice or milk – they’re essential for keeping that powerful motor running smoothly. Next, add your dry components (think protein powder or oats).
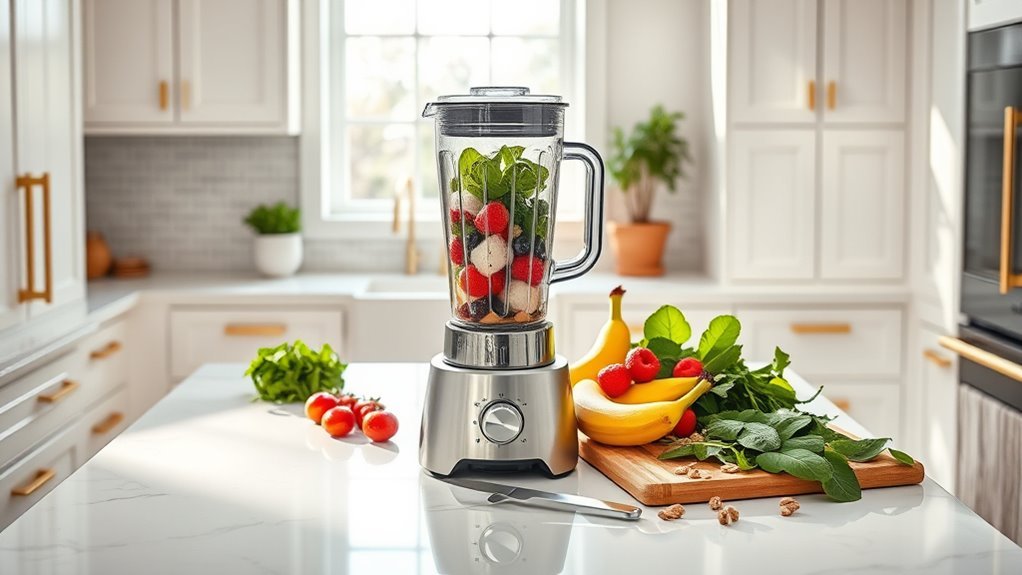
Layer in those leafy greens, followed by soft fruits. Here’s where most people mess up: frozen fruits and ice go last.
Why? When you hit that pulse button, they’ll naturally push everything down toward the blades. This strategic layering isn’t just about aesthetics – it’s about maximizing your blender’s performance for the smoothest results possible. Additionally, using a high-performance blender can significantly enhance the texture of your smoothies by efficiently blending tough ingredients.
Timing Your Pulse Bursts for Perfect Texture
Perfect pulse timing isn’t rocket science, but it’s the key to nailing your smoothie’s texture every single time.
We’re talking quick bursts of pulse mode – 1 to 3 seconds max – with 5-second breathers between each hit to keep total control over the blend.
Hard ingredients like ice or nuts? Give them longer pulses. Soft stuff? Quick taps will do. We’re aiming for precision here, not smoothie chaos.
Monitor after each pulse to nail that sweet spot between chunky and smooth – there’s no going back once you’ve over-blended.
Remember: Every recipe’s different. Some need rapid-fire pulses, others want a gentler touch.
Trust your eyes and adjust your timing. It’s about reading the blend, not following a rigid script. Additionally, using a high-powered blender can significantly enhance your blending experience due to its ability to handle tough ingredients like nuts and frozen fruits.
Managing Ice and Frozen Components

The frozen factor makes or breaks your smoothie game. Let’s crush the ice and frozen fruit dilemma with smart technique. Start by adding tough ingredients first, then drop in your ice last – it’s a game-changer for your smoothie recipe success.
Pulse mode gives us greater control when tackling frozen ingredients. We’ll get silky smoothies by using short bursts rather than continuous blending.
Here’s the pro move: opt for smaller ice cubes or slightly thawed frozen fruit. They’re easier on your blender’s blades and blend more uniformly.
Watch that crushed ice consistency like a hawk. Alternate between pulsing and liquifying until you hit that sweet spot between perfectly blended and over-processed. Trust us – this method delivers the smooth texture you’re after, every single time.
Monitoring Consistency Between Pulses
Mastering smoothie consistency requires hawk-like attention between pulses.
We’re looking for that perfect texture, and it won’t happen by chance. Between each 1-3 second burst in pulse mode, we’ll assess our blend’s progress like scientists in a lab.
When ingredients aren’t playing nice, we’ll grab our spatula and show them who’s boss. Scraping down those stubborn bits from the sides guarantees even blending – no ingredient left behind.
Listen to your blender’s motor; if it’s struggling, that’s your cue for stirring. You’re in control here.
Power Level Adjustments for Different Ingredients

While every smoothie ingredient demands respect, they don’t all deserve equal power. Let’s match pulse mode intensity to your ingredients for maximum impact.
For hard ingredients like frozen fruit and ice, we’ll use aggressive pulses – three to four seconds each.
Leafy greens? Start gentle. Two quick pulses to break them down before adding liquid.
When it comes to nuts and seeds, begin with short, sharp bursts to crack them open.
Here’s the pro move: Layer your ingredient combinations strategically. Start with the toughest textures, pulsing until they submit, then add softer items gradually.
This method isn’t just about consistency – it’s about crafting the perfect smoothie experience. Watch carefully between pulses, adjusting power as needed. Your blender’s got the muscle; you just need to direct it.
Frequently Asked Questions
What Setting Should I Use in My Blender for Smoothies?
We’ll transform your smoothie dreams by starting with Pulse to tackle those frozen fruits, then switching to Liquify for the ultimate silky-smooth consistency every single time.
What Speed Do You Blend Smoothies?
We’ll start at low speed, gradually increasing to 15,000-20,000 RPM for ideal smoothie texture. Add frozen fruits first, blend at high speed, and adjust liquid ratio for perfect consistency.
What Does the Pulse Setting on a Blender Do?
We use pulse for quick bursts of power, allowing precise texture control and ingredient layering. It’s perfect for crushing ice, preserving nutrients, and achieving our desired smoothie consistency while maximizing blender efficiency.
What Is the Best Wattage for a Smoothie Blender?
We recommend a blender with 800-1,000 watts for smooth, consistent results. While higher wattage offers better performance, especially for tough ingredients, most home smoothie makers won’t need more than 1,200 watts.

