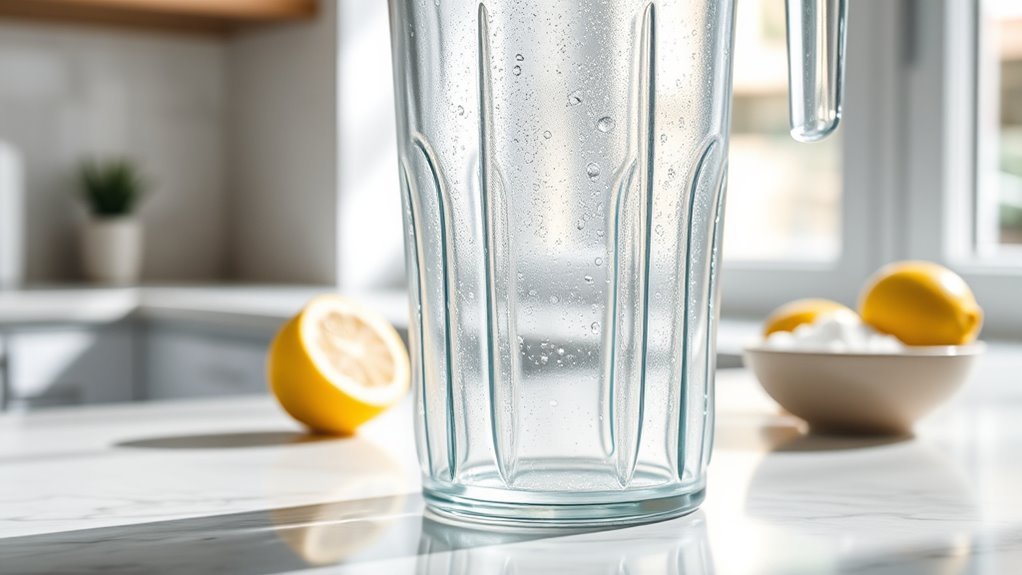
Just last week, a friend showed me her blender jar covered in black spots—a mold nightmare that made her smoothies taste off. We’ve all been there, forgetting our blender after making that morning shake. It’s frustrating when kitchen tools designed for healthy living become breeding grounds for fungi. But don’t worry, with a few simple habits and proper maintenance techniques, we can keep those blender jars pristine and mold-free for years to come.
Understanding the Mold Growth Cycle in Kitchen Appliances
Why does mold seem to target our blender jars with such persistence?

Well, it’s actually a fascinating but frustrating process.
Those microscopic mold spores—from over 100,000 species!—float through our kitchens, looking for the perfect home.
And unfortunately, blenders provide ideal conditions.
When moisture gets trapped in those hard-to-reach areas, particularly under rubber gaskets, the cycle begins.
It only takes about 24-48 hours of dampness for spores to wake up and start growing those invasive hyphae roots.
The warm water we use for cleaning, if not thoroughly dried, creates the humid environment mold loves.
To prevent mold, we need to interrupt this cycle.
Those tiny spores are just waiting for us to leave a bit of food residue and moisture behind—then they’ll multiply faster than we’d like to imagine!
Incorporating regular cleaning can further disrupt mold growth by following manufacturer guidelines for maintaining blender longevity.
Common Causes of Mold Formation in Blender Components
The battle against mold in our blender jars starts with recognizing what’s actually causing the problem in the first place. We’ve found that moisture trapped after blending is mold’s best friend – especially when combined with tiny food particles hiding in gaskets and crevices. Without proper cleaning, these areas become perfect breeding grounds.
| Blender Area | Common Culprit | Cleaning Solution |
|---|---|---|
| Rubber gasket | Trapped moisture | Hot water + vinegar soak |
| Blade assembly | Food particles | Disassemble for deep clean |
| Jar crevices | Hidden residue | Bottle brush + cleaning products |
| Lid components | Overlooked dampness | Rinse well, air dry completely |
You know, we often forget that those thousands of mold spores are just waiting for the right conditions. A quick rinse isn’t enough – thorough Blender Cleaning after each use is your best defense.
Daily Cleaning Practices That Eliminate Moisture and Residue
Regularly maintaining your blender after each use isn’t just good housekeeping—it’s your first line of defense against those stubborn mold invaders.
We’ve found that a quick rinse with warm water and a squirt of dish soap, followed by blending for 30 seconds, works wonders!
To thoroughly eliminate residue, we sometimes use a soft sponge or bottle brush to reach those tricky corners.
For particularly stubborn spots, try these powerful cleaning combinations:
- Equal parts white vinegar and water for disinfecting
- Baking soda paste for scrubbing tough stains
- A tablespoon of dish soap with warm water for daily maintenance
Don’t forget to completely air dry all components—I think this is actually the most essential step people overlook. Trust me, those 30 minutes of drying time will save you from discovering unwelcome fuzzy growth later!
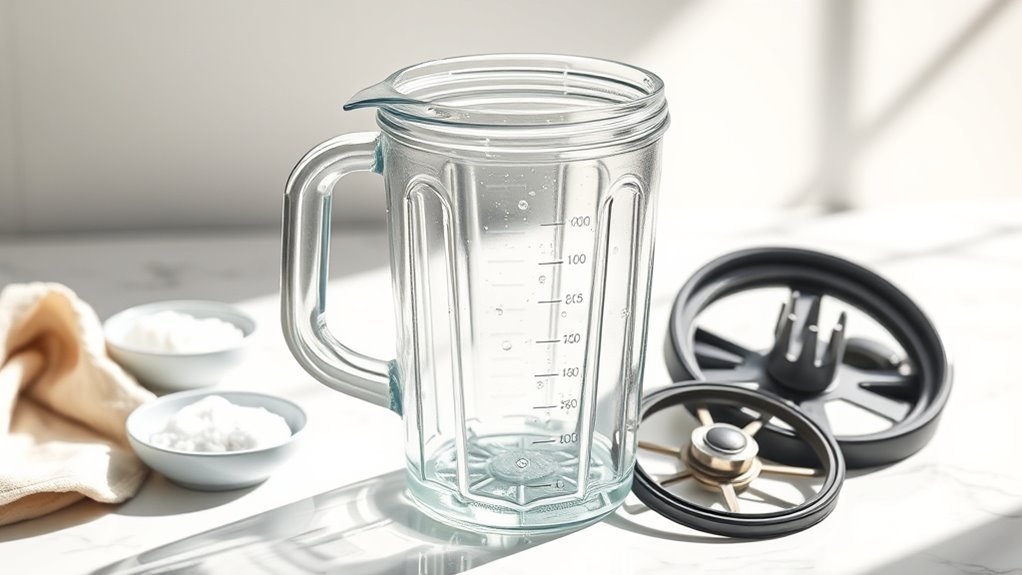
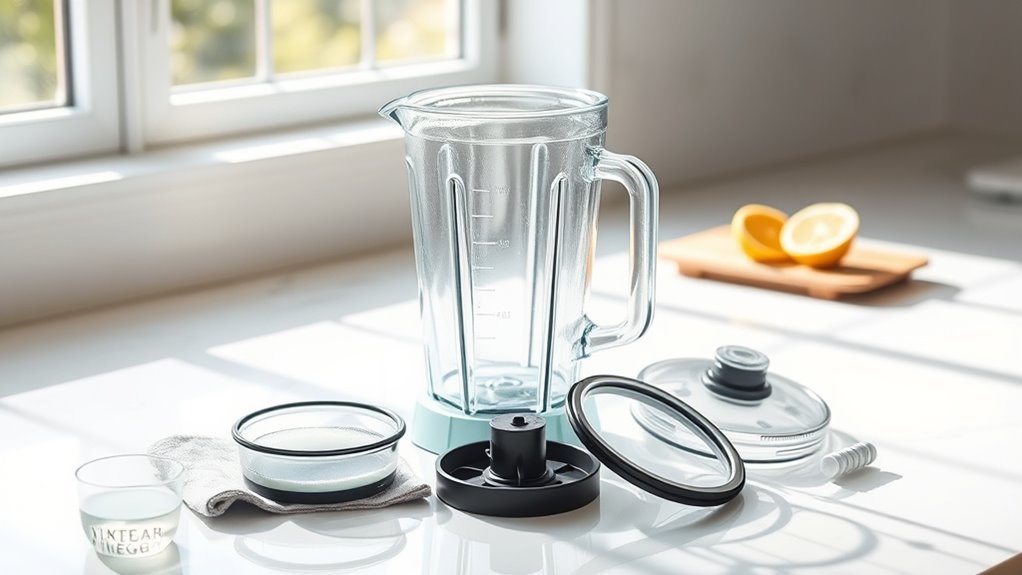
Deep Cleaning Techniques for Hard-to-Reach Blender Parts
Hidden beneath your blender’s blade assembly lurks a world of potential mold hotspots that many of us completely overlook during routine cleaning.
To practice smart cleaning, we need to pay attention to the details – like removing the jar from the base and disassembling the blade components.
We’ve found that soaking these tricky parts in a mixture of vinegar and warm water for about 15-20 minutes works wonders on stubborn residue. For extra cleaning power, vinegar and baking soda paste can tackle those stubborn stains and odors – just let it sit for 10 minutes.
Sometimes you’ll need to use a small brush like a toothbrush to get into those tight spaces. Well, maybe not your actual toothbrush! After cleaning, thorough drying is absolutely essential – probably the most important step, honestly.
High-performance blenders often include sharper blades that make disassembly and cleaning of these areas more straightforward, enhancing overall maintenance.
Storage and Maintenance Strategies for Long-Term Mold Prevention
Proper storage practices form your first line of defense against stubborn mold and mildew in blender jars. To keep your blender healthy (just like your immune system needs protection!), we’ve found these strategies work best:
- Store jars with lids slightly ajar to promote airflow and prevent the moisture buildup that mold loves
- Replace worn gaskets every 3-5 years—those tiny cracks can actually trap particles no cleaning service could reach
- Maintain kitchen humidity between 35-50% using a dehumidifier if necessary
Well, you don’t need to use bleach for regular maintenance—that’s actually overkill for daily care.
Instead, focus on thorough drying after each use.
I think moisture is truly the enemy here!
When components sit damp for over 24 hours, you’re basically inviting mold to set up shop.
Frequently Asked Questions
How to Get Rid of Mold in a Blender Bottle?
We’ll VinegarSoak the disassembled bottle for 15 minutes, scrub with a SaltScrub or baking soda paste, rinse with BoilingWater, and finish with a LemonJuice or AlcoholWipe disinfection.
How to Prevent Mold in a Jar?
We’ll prevent mold by controlling humidity, ensuring proper jar sterilization, using ventilation methods, creating moisture barriers, limiting light exposure, and following preservation tips. Always dry thoroughly after washing.
Does Baking Soda Prevent Mold and Mildew?
Picture your blender jar, sparkling clean! Yes, baking soda prevents mold and mildew through its alkaline barrier effects. We’ve found this natural fungicide works as a reliable alternative when mildew prevention science is applied correctly.
How to Remove Mold From Blender Rubber?
We’ll tackle those rubber stains by soaking the seal materials in vinegar-water solution, scrubbing with cleaning tools, then applying disinfectant options like diluted bleach. Good maintenance habits prevent future mold causes.