Non-stick containers are game-changers for smoothie cleanup – they’ve eliminated those dreaded stuck-on residues that plague traditional blenders. We can skip the lengthy soaking and scrubbing sessions, since these surfaces only need a quick rinse with warm water and minimal soap. They’re typically dishwasher-safe too, making post-blend maintenance a breeze. Plus, the smooth surface prevents bacterial buildup and extends container life. There’s more to discover about maximizing these time-saving benefits.
Benefits of Non-Stick Surfaces for Daily Blending
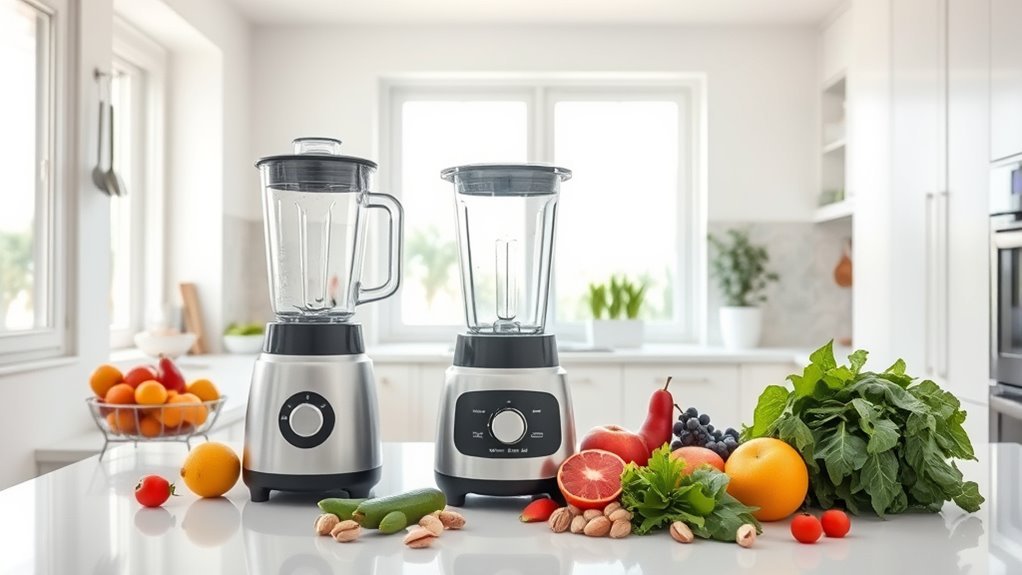
When it comes to daily smoothie prep, non-stick surfaces are a game-changer for anyone who’s tired of scraping stubborn residue from their blending containers.

We’ve found that cleaning a blender becomes remarkably simple – often just warm water is enough to rinse away ingredients that would normally cling stubbornly to traditional surfaces.
Say goodbye to lengthy soaking sessions with baking soda mixtures. Non-stick blender containers eliminate the need for excessive oils or sprays, keeping our smoothies healthier while making cleanup a breeze.
For busy mornings, this means we’re spending less time scrubbing and more time enjoying our beverages. Plus, these containers are typically dishwasher-safe, perfect for those days when we’d rather let our appliances do the work.
It’s efficient, eco-friendly, and practically maintenance-free. Additionally, using a high-performance blender can further enhance the blending experience by producing smoother textures and making cleanup even easier.
Quick Cleaning Techniques for Non-Stick Containers
Since non-stick containers have revolutionized smoothie cleanup, we’ll show you how to make the most of their time-saving potential.
These specialized blender jars eliminate the usual post-smoothie scrubbing marathon, letting you get back to your day faster.
- Rinse immediately after use – a quick water rinse dislodges most residue
- Skip the heavy dish soap – a tiny drop goes further on non-stick surfaces
- Let gravity do the work – fill halfway with warm water and let it sit for 2 minutes
- Pop it in the dishwasher – most non-stick containers are dishwasher-safe
We’re done with endless soaking and scrubbing.
Non-stick containers mean quick cleaning that actually works.
Just rinse, minimal soap, and you’re ready for tomorrow’s blend.
It’s that simple – no special tools or cleaning hacks required. Additionally, using a high-performance blender with enhanced versatility allows for a wider range of smoothie ingredients, making cleanup even more efficient.
Preventing Residue Buildup in Smooth-Surface Blenders
Although non-stick blenders make cleanup easier, they’ll still develop stubborn residue without proper maintenance.
We’ve found that the key to keeping your smooth-surface blender pristine lies in immediate action after each use.
Let’s get tactical about preventing residue buildup. Rinse your non-stick containers right after blending – don’t let smoothie remnants dry and cake on.
We’re talking quick wipes and minimal soap here. The high-temperature resistance of these containers means you can blast tough residue with hot water without damaging the surface.
Around the blender blades, where buildup loves to hide, a gentle brush does wonders. Thanks to the non-stick coating, you won’t need aggressive scrubbing.
Best part? By preventing accumulation, you’ll slash deep cleaning sessions and extend your blender’s life.
Time-Saving Maintenance for Non-Stick Technology
Non-stick technology has revolutionized smoothie cleanup, but you’ll need smart maintenance habits to keep that time-saving magic alive.
We’ve found that proper care of non-stick containers eliminates those hard to clean moments that plague traditional blenders. A quick rinse with warm water and gentle wipe-down is all it takes – no more wrestling with caked-on residue.
- Use soft sponges only – abrasive scrubbers destroy non-stick surfaces
- Rinse immediately after use while residue is still wet
- Skip harsh detergents that can damage the coating
- Let containers air dry completely before storing
With these practices, we’re maximizing the lifespan of our non-stick containers while keeping cleaning time to a minimum.
Plus, most are dishwasher-safe when we need that extra convenience.
Comparing Non-Stick Vs Traditional Container Care
When comparing container care, the differences between traditional and non-stick options couldn’t be more stark.
We’ve found that non-stick containers slash cleaning time dramatically – just a quick rinse, and you’re done. Traditional containers? They’re basically food-particle magnets, requiring intense scrubbing that nobody has time for.
Let’s get real about maintenance. Non-stick containers deliver a superior hygienic blending experience because their smooth surfaces resist bacterial buildup.
They’re typically dishwasher-safe and don’t hold onto stains or odors like their traditional counterparts. Plus, you won’t need harsh cleaning products that can damage the surface over time.
Traditional containers often end up with scratches that harbor bacteria and require constant deep cleaning. For smoothie enthusiasts who value efficiency, the choice is clear: non-stick technology wins, hands down.
Frequently Asked Questions
How to Clean Out Smoothie Containers?
Let’s tackle smoothie residue removal by rinsing containers right away. We’ll use dish soap and warm water, blend briefly, and employ eco-friendly tools like straw brushes for thorough container maintenance.
Can You Freeze Smoothies in Plastic Containers?
Like filling an ice cube tray, we can freeze smoothies in plastic containers. We’ll want BPA-free containers, leaving room for expansion, and they’ll last up to three months with proper airtight storage.
Do I Have to Wash My Blender After Every Use?
Yes, we should wash our blender after each use to maintain hygiene and prevent buildup. Even a quick rinse helps, though we’ll need thorough cleaning daily for ideal blender maintenance and smoothie quality.
How to Deep Clean a Smoothie Cup?
Let’s mix magic cleaning solutions: combine baking soda paste or vinegar-water blend. We’ll soak stubborn stains, scrub with non-abrasive sponges, and use dental brushes for thorough deep cleaning.