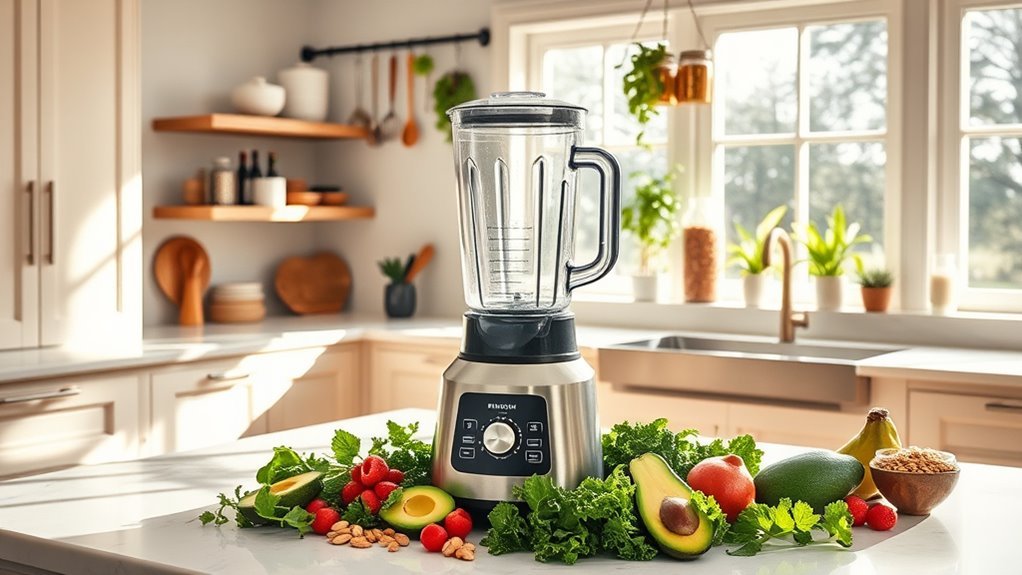
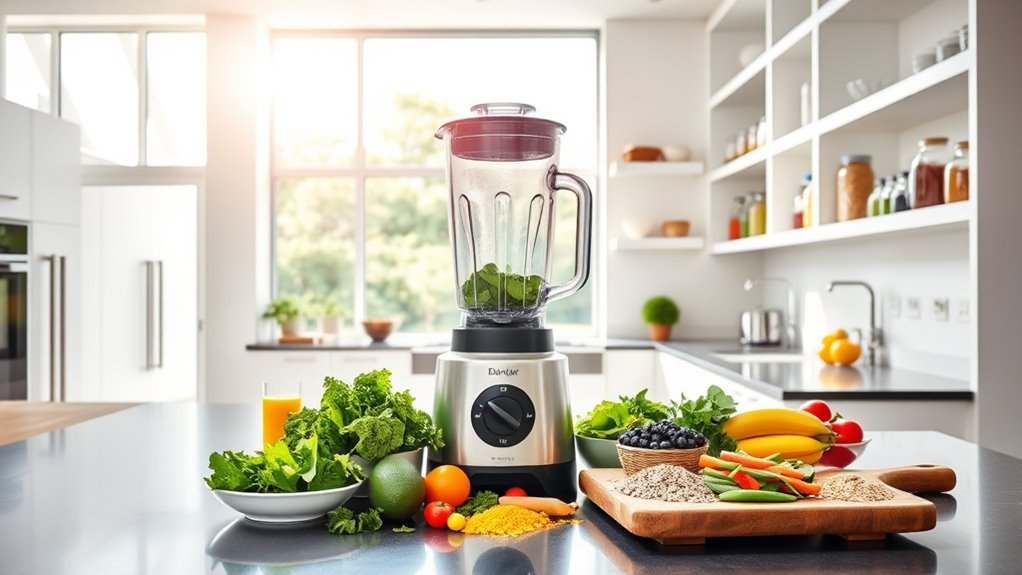
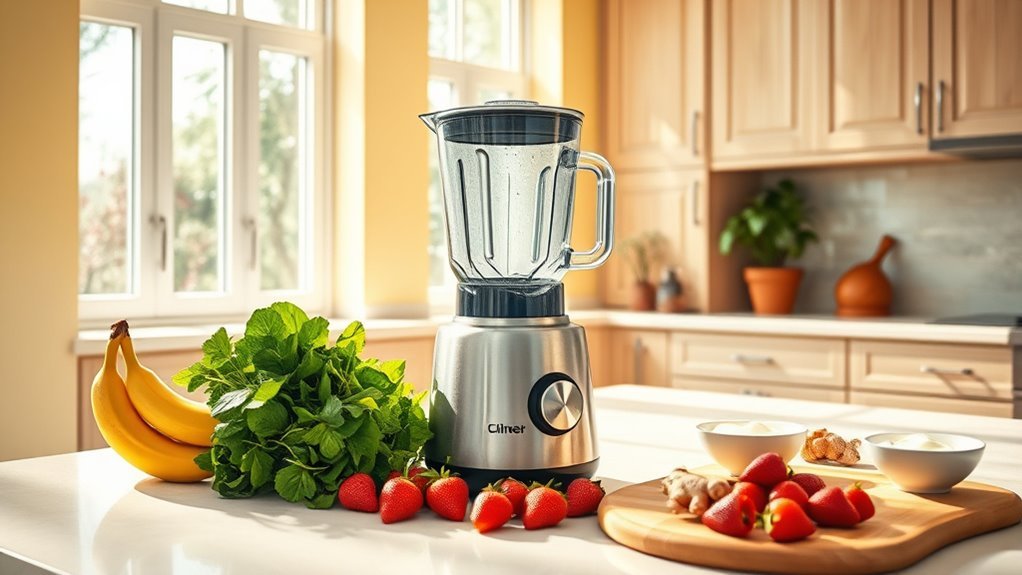
We’ll get those tough ingredients blending smoothly with five critical factors: a high-powered blender (1200+ watts), strategic layering, smart speed control, proper heat management, and effective troubleshooting. Start with liquids at the bottom, layer dry ingredients in the middle, and top with frozen items. Keep speeds low initially, then gradually increase while using the pulse function strategically. Master these fundamentals, and those stubborn ingredients won’t stand a chance.
Essential Equipment and Power Requirements

When it comes to blending tough ingredients, you’ll need serious equipment that’s up to the task.
We’re talking about blenders with 1200-1500 watts of pure muscle – anything less won’t cut it for frozen fruits or stubborn vegetables. Look for stainless steel blades that’ll maintain their edge through countless smoothies.
Variable speed control isn’t just a fancy feature – it’s crucial. We start with liquid ingredients at low speed, then gradually crank it up as we add tougher items. This prevents motor strain and guarantees smooth results.
Don’t forget the tamper tool – it’s your secret weapon for pushing down resistant ingredients and breaking up those annoying air pockets. Trust us, proper equipment makes the difference between chunky disappointment and silky perfection. Additionally, using a high-performance blender can significantly improve your blending experience, as these machines are designed to handle both wet and dry ingredients with ease.
Smart Layering Techniques for Maximum Results
Although blending tough ingredients requires powerful equipment, success depends equally on smart layering.
We’ll show you how to stack ingredients for maximum efficiency and minimal frustration.
Start with liquid before adding anything else – water, juice, or milk creates the perfect foundation for smoothie blending.
Next, sprinkle in your dry ingredients and powders.
Layer leafy greens and thick pastes like nut butter in the middle zone, where they’ll mix evenly without clumping.
Top it off with fresh produce and frozen items.
Here’s the non-negotiable part: never fill past the maximum line.
Your blender needs room to create that vortex effect. High-performance blenders, with their motor power exceeding 1,000 watts, can handle tough ingredients more effectively than standard models.
Follow this layering sequence, and you’ll transform even the toughest ingredients into silky-smooth perfection.
Speed Control Strategies and Timing

Since mastering tough ingredients demands precise control, let’s explore the essential mechanics of speed management.
We’ll start with a vital rule: Begin on low speed for 10-20 seconds, then gradually increase it. Trust us – this method breaks down stubborn ingredients without overwhelming your blender.
Smart speed control means using the pulse function strategically. It’s your secret weapon for maintaining control while preventing overheating.
We’re talking 30-60 seconds of total blending time for most tough ingredients, but watch closely – your blender’s power matters.
Add liquids progressively as you blend; they’re your best ally for achieving smooth results. Think of it as a dance: pulse, blend, add liquid, repeat.
Keep this rhythm, and you’ll master any challenging ingredient.
Managing Heat and Motor Performance
Because tough ingredients demand serious power, your blender’s motor health is non-negotiable.
We’ll show you how to maintain peak motor performance while tackling those challenging ingredients.
Let’s start with blending speed – always begin low and ramp up gradually. It’s not just about power; it’s about smart power distribution.
We never fill past the maximum line, and when dealing with frozen fruits or fibrous veggies, we break them into smaller batches.
Watch for overheating signals. The pulse function is your friend here – use it strategically to prevent motor strain.
And don’t forget regular maintenance: keep those blades sharp and clean.
A well-maintained blender handles tough ingredients like a champ, while a neglected one struggles with even basic tasks.
Troubleshooting Stubborn Ingredients

Even with a well-maintained motor, tough ingredients can still put up a fight.
Let’s tackle these stubborn items head-on with proven strategies that work every time.
First, chop those resistant carrots and beets into smaller pieces – your blender’s motor will thank you.
Next, give hard ingredients like nuts the spa treatment: a few hours soaking in water transforms them from brick-like to blend-ready.
We’re not done yet. Start with liquids and soft ingredients in your blender, then gradually add the tough stuff. It’s like training wheels for your mixture.
If things get stuck, don’t panic. Add small amounts of liquid incrementally until everything moves freely.
Remember: a powerful blender with sharp blades is your best friend here. No compromises.
Frequently Asked Questions
How Do I Make My Blender Blend Better?
Let’s optimize our blender’s performance by layering ingredients properly, starting with liquids first, using appropriate blender settings, and ensuring our blade design stays sharp through proper maintenance.
What Makes a Smoothie Thick and Creamy?
We’ll get thick, creamy smoothies by using natural thickening agents like frozen bananas and avocados, while incorporating creamy fruits and proper blending techniques that start slow and gradually increase speed.
How Do You Blend Something Thick?
Ever struggled with thick blends? We’ll start by adding liquid first, then layer thick ingredients on top. Using pulse and gradually increasing speed helps achieve smooth results every time.
Why Isn’t My Smoothie Smooth?
Let’s improve your smoothie texture by adjusting blending techniques: layer liquids first, followed by dry ingredients, then frozen items. The right ingredient combinations and proper speed progression guarantee smoothness.

