We’ve all been there – facing a crusty, stubborn blender that needs cleaning after making our favorite smoothie. Let’s be honest, those commercial cleaners aren’t doing our planet any favors. We’re big believers in using what nature provides instead. Why pour harsh chemicals down the drain when your kitchen already contains everything needed for a sparkling clean blender? The solutions might surprise you – they’re simpler, cheaper, and actually work better than the toxic alternatives.
Essential Ingredients for Non-Toxic Blender Cleaning
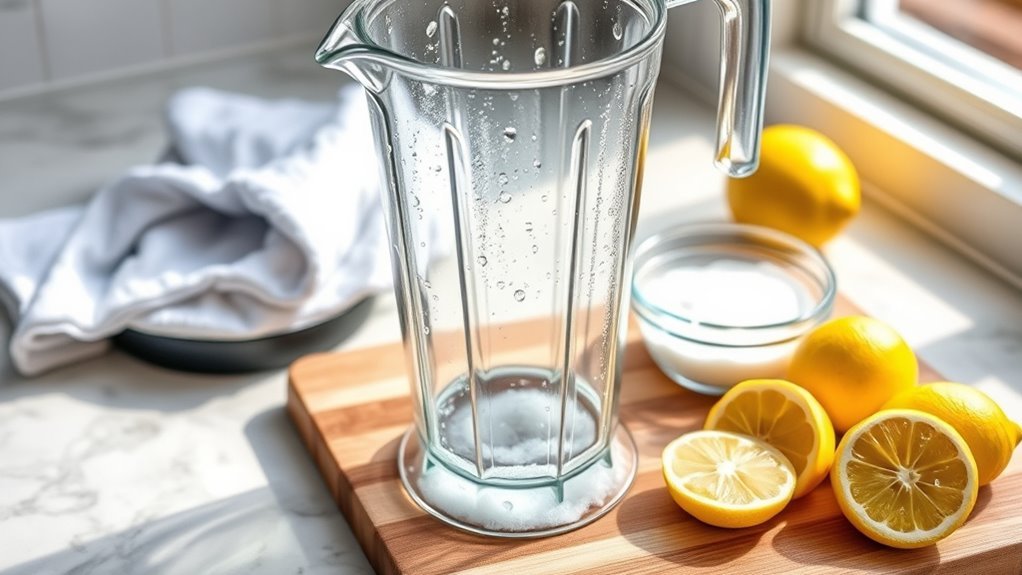
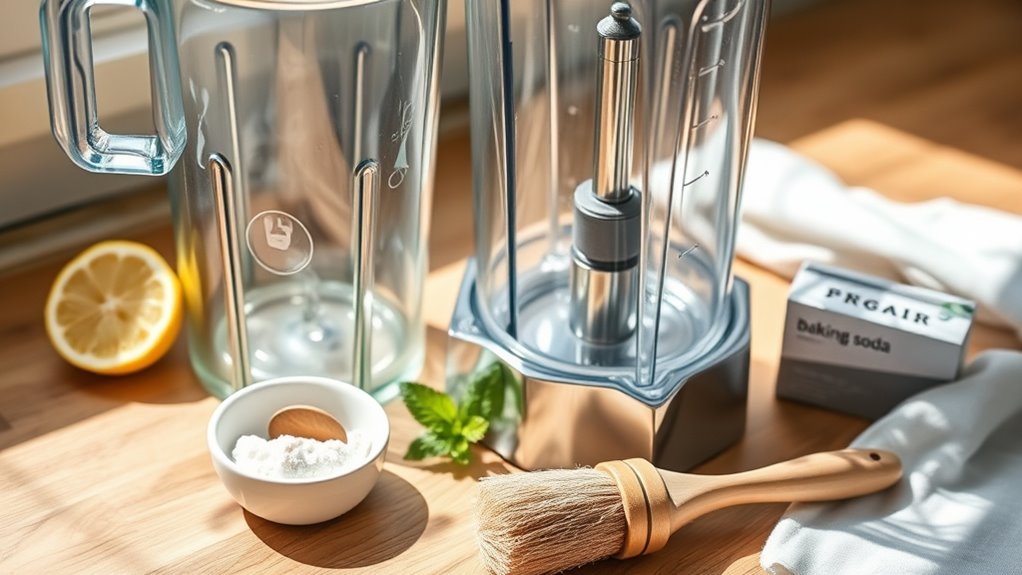
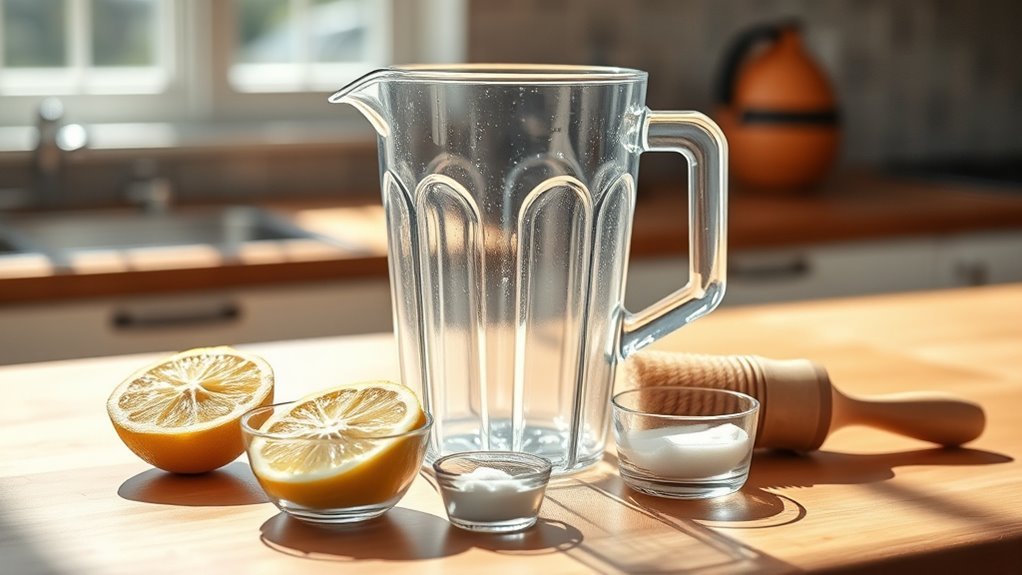
The humble kitchen blender, while a champion for smoothies and soups, can be a real pain to clean—especially when we’re trying to avoid harsh chemicals. Luckily, we’ve found that our pantry holds all the eco-friendly cleaning power we need.

Baking soda is our go-to hero, creating a powerful paste when mixed with warm water that lifts stubborn residues.
White vinegar’s acetic acid works wonders on limescale—actually, it’s probably the best solution for those cloudy films that build up over time.
For persistent odors, nothing beats fresh lemon juice, which not only deodorizes but also dissolves mineral deposits.
A few drops of liquid castile soap mixed with water creates an effective solution that cuts through oils.
No hydrogen peroxide needed—these simple ingredients work just as effectively without the harshness!
Quick Daily Maintenance With Plant-Based Solutions
We’ve found that the simplest way to keep your blender fresh is with a quick rinse-and-refresh method right after use.
For those busy mornings when you’re rushing out the door, just a 30-second rinse with warm water prevents stubborn residue from hardening and saves you from scrubbing later.
This soap-free speed clean works wonders for daily maintenance, especially when you’re planning to use your blender again later in the day.
Soap-Free Speed Clean
Why spend money on harsh chemical cleaners when your kitchen already contains everything needed for quick, effective blender maintenance? We’ve found that warm water alone works wonders for a daily quick clean—just rinse immediately after use to prevent stubborn buildup.
For those cloudy stains that won’t budge, try filling your blender halfway with warm water, add a splash of white vinegar, and run for 20 seconds.
It’s amazing how this natural DIY cleaning solution cuts through residue!
Or, if you’re like us and love the fresh scent of lemons, blend warm water with fresh lemon juice for about 5 minutes.
We’ve also had great success with baking soda paste—it’s probably the most effective natural method to remove stubborn grime without any soap.
Rinse-and-Refresh Method
Speaking of natural cleaning methods, let’s talk about our favorite daily maintenance routine that keeps your blender spotless with minimal effort.
The best practice for kitchen cleaning is to tackle food residue before it becomes a stubborn nightmare.
Here’s our rinse-and-refresh method that we swear by:
- Immediately rinse your blender with warm water after each use – seriously, don’t even think about letting those smoothie remnants dry!
- Mix up a cup warm water with a tablespoon of baking soda and a splash of castile soap, then blend for about 30 seconds.
- Thoroughly rinse all blender parts and air-dry them upside down on a rack.
We’ve found this plant-based approach works wonders to clean blender components without harsh chemicals.
It’s quick, effective, and totally eco-friendly!
Deep Cleaning Your Blender With Baking Soda Paste
We’ve found that baking soda paste works wonders on those stubborn smoothie stains that regular washing just won’t budge.
It’s particularly effective at neutralizing those lingering odors from garlic or onions that seem to cling to plastic blender containers forever.
Simply let the paste sit for half an hour, and you’ll be amazed at how easily the buildup wipes away without harsh chemicals.
This eco-friendly method aligns with proper care to ensure your blender lasts for years.
Cleaning Stubborn Stains
Tackling those stubborn stains in your blender can feel like mission impossible, especially after whipping up colorful smoothies or sticky sauces.
When stuck-on food and mineral deposits won’t budge with regular washing, it’s time for a deeper clean using ingredients you already have at home.
We’ve found that baking soda works wonders for a clean blender naturally. Simply:
- Mix equal parts baking soda and water to create a thick, spreadable paste
- Apply directly to stained areas and let sit for at least 30 minutes
- Gently scrub with a damp microfiber cloth, then rinse thoroughly
This method is particularly effective for those tough blender container stains that regular washing misses.
You’ll be amazed how this simple paste can transform your grimy blender into something that looks brand new!
Odor Neutralizing Power
Blenders, despite their everyday usefulness, often become breeding grounds for persistent odors that just won’t quit. We’ve all been there—you know, when soap and water just aren’t cutting it after blending that garlic sauce yesterday.
Here’s one of our favorite kitchen tips: create a simple paste with just two ingredients—equal parts baking soda and water.
Spread this mixture throughout your blender’s interior and let it sit for at least 30 minutes.
The baking soda works to neutralize those stubborn smells rather than mask them.
After soaking, use a damp microfiber cloth to help clean away the paste.
Follow with a hot water rinse, and voilà!
We recommend you use this method regularly as part of your deep-cleaning routine to keep those pesky odors from coming back.
Removing Stubborn Stains Using Citrus and Vinegar
Have you ever struggled with those frustrating, seemingly permanent stains in your blender?
We’ve found that combining the power of vinegar and citrus creates kitchen magic for those tough spots, especially around the blade assembly.
Our favorite method is to fill your blender halfway with warm water, add a splash of vinegar (about 1 part to 3 parts water), and let it soak for 10-15 minutes.
For stubborn stains, try:
- Blending two cups of warm water with 2 tablespoons of lemon juice at high speed
- Creating a baking soda paste for spot treatments before the vinegar soak
- Using a bottle brush for hard-to-reach areas after soaking
We’ve tried countless methods, and honestly, this vinegar-citrus combo works better than those expensive cleaners—nature’s cleaning power at its finest!
This simple technique is particularly beneficial for high-performance blenders due to their robust blades.
Eliminating Cloudiness From Plastic Containers Naturally
Why do plastic blender containers develop that annoying cloudy film that makes them look old and dirty even when they’re clean?
It’s actually mineral deposits that build up over time, but don’t worry—we’ve got some natural solutions.
Our favorite method is soaking your plastic containers in a mixture of 1 part vinegar to 3 parts warm water for about 15 minutes.
This dissolves those stubborn mineral deposits like magic!
For really cloudy blenders, try making a paste with baking soda and water, let it sit for 30 minutes, then scrub.
We’ve also found that a preventative soak with castile soap and baking soda works wonders.
Just 10 minutes in this solution helps maintain clarity and—well, it’s definitely gentler than those harsh chemical cleaners.
Kid-Safe and Pet-Friendly Cleaning Routine
A safe home for our little ones—whether they’re human kids or furry friends—starts with what we clean with.
When it comes to your kitchen appliance maintenance, we’ve perfected a routine that keeps everyone safe.
Never submerge your blender base in water! Instead, try our kid-safe approach:
- Use a soft cloth with warm water and a drop of dish soap for the base
- For the jar, blend 1 cup warm water with a tablespoon of baking soda for 30 seconds
- For tough stains, soak blender parts (not the base!) in a vinegar solution for several hours
This method is actually gentler on your blender using natural ingredients while being completely safe.
If your blender smells funny—wait, that didn’t sound right—has unwanted odors, lemon juice works wonders!
Frequently Asked Questions
What Is the Best Way to Clean a Blender?
We recommend daily maintenance with our DIY eco technique: blend warm water, baking soda, and castile soap for 30 seconds. Quick rinse prevents buildup, while proper blade care and jar storage extend lifespan.
Can I Use Vinegar to Clean My Blender?
We love vinegar’s benefits for blender cleaning. This acidic cleaning powerhouse works as a natural solution for odor elimination and residue prevention. It’s a quick method for preventive maintenance too!
Can You Clean a Blender by Putting Soap and Water in It?
We’re finally discovering what grandma knew all along! Yes, adding soap to warm water creates an effective blade-cleaning foam. We’ll prevent residue buildup with this hygienic routine—just rinse thoroughly to reduce soap residue.
How to Remove Cloudiness From Blender?
We recommend soaking your blender in 1:3 vinegar-water solution for 15 minutes to remove cloudiness caused by hard water minerals. Daily usage of citric acid prevents buildup while preserving material durability and minimizing surface scratches.