We’ve all battled crusty smoothie remnants, yet many of us don’t realize how simple cleaning a blender can actually be. When you’re working with a model that has removable blades, you’re looking at a whole different experience—one that saves time and prevents that funky smell that develops when food particles hide in hard-to-reach places. If you’ve been avoiding your blender because of cleaning hassles, what we’re about to share might change your kitchen routine forever.
Why Removable Blades Make Cleaning Easier
When it comes to kitchen appliances that we use regularly, cleaning can often be a dreaded chore, but blenders with removable blades have completely changed the game.

We’ve found that models like the Magic Bullet make cleaning your blender incredibly straightforward—just detach the blade part of the blender and pop it in the dishwasher!
No more awkwardly scrubbing around fixed blades or worrying about cutting yourself.
The ability to completely disassemble your blender means you can actually deep clean every nook and cranny.
With the Ninja BN701, for instance, we’re able to wipe down each component separately, which prevents that gross residue buildup that’s common in traditional designs.
Trust me, once you’ve experienced how quickly you can clean a blender with removable parts, you’ll never go back!
Moreover, high-performance blenders are designed with such features to enhance their durability and ease of maintenance.
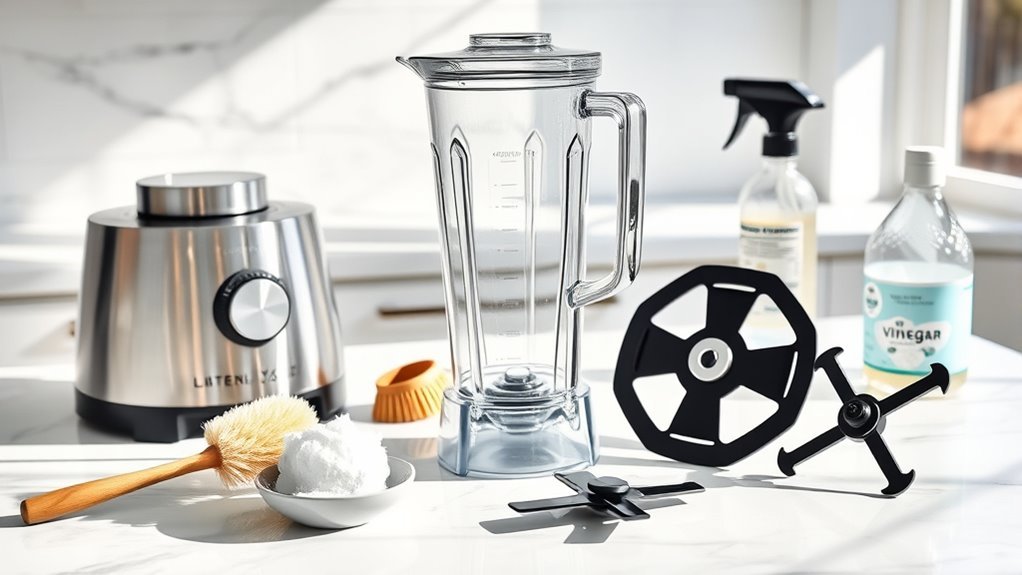
Step-by-Step Disassembly Process
Taking apart your blender correctly is actually the first step to getting it truly clean. Whether you’ve got a personal blender or larger kitchen appliances, safety comes first—always unplug before you start!
We recommend beginning by removing the jar from the base. Usually, it’s a simple counterclockwise twist, but some models just lift straight off.
Next, take off the lid and dump any leftover contents into the sink—trust me, this prevents messy surprises when washing it by hand later.
Place all components on a stable surface.
This might seem obvious, but I’ve definitely knocked blender parts onto the floor before! With everything separated, you’re now ready to clean the blender thoroughly with soapy water and reach those stubborn food particles. By following these steps as part of proper care, your blender can last over a decade.
Thorough Cleaning Techniques for Each Component
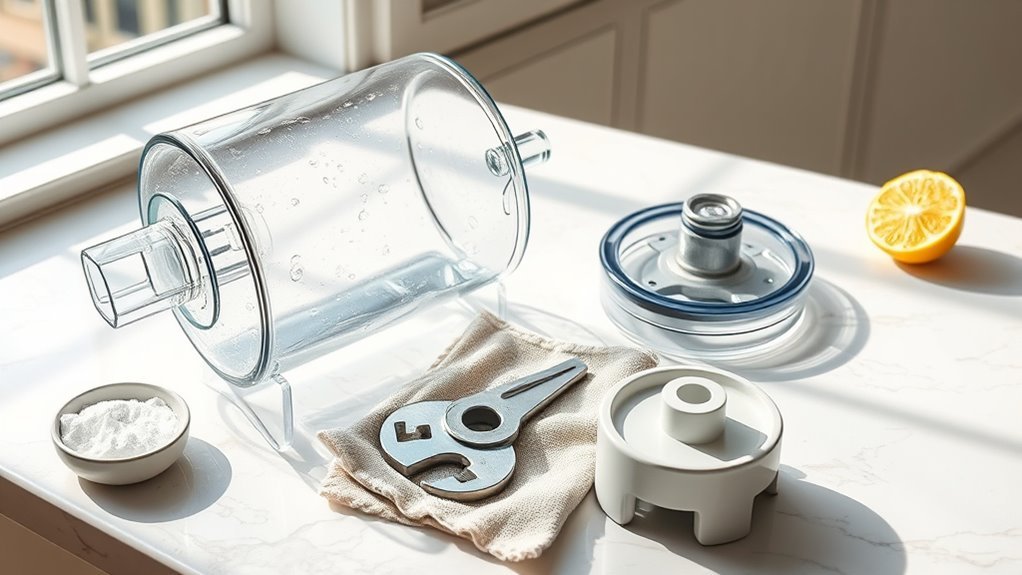
Dismantling your blender is only half the battle—now let’s tackle the cleaning process for each component.
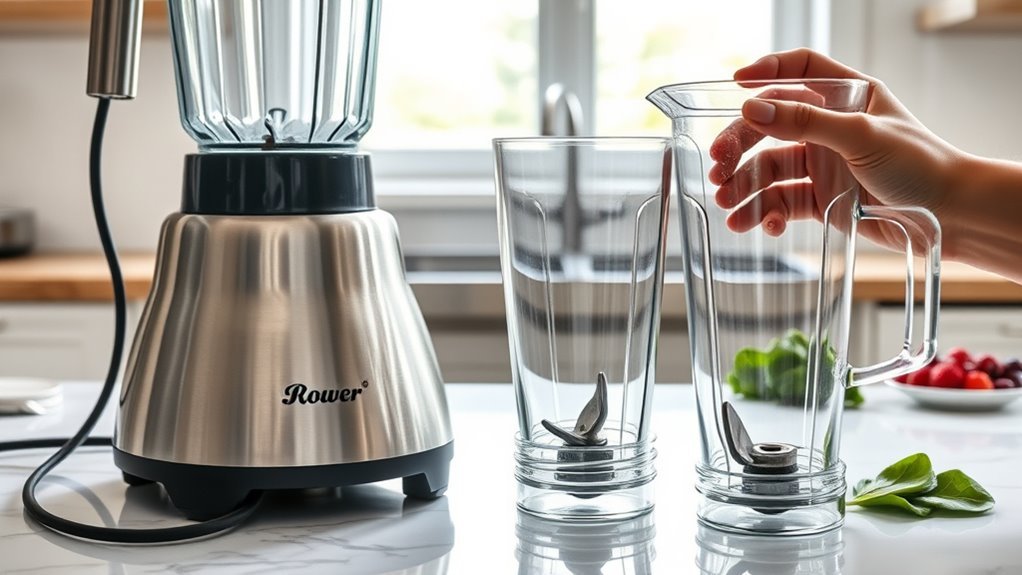
The Easiest Way to Clean the jar is to fill it halfway with hot water, add a drop of dish soap, and blend for about 20 seconds.
This loosens everything stuck inside!
For the blades, well, they need special attention.
Soak them in warm water with a few drops of dish soap, then scrub with a bottle brush.
Trust me, this works way better than trying to clean them while attached.
Don’t forget the base!
Just wipe it with a damp cloth—never submerge it in water.
That’s a mistake I’ve, um, definitely never made before.
Once everything’s dry, your blender’s clean and ready for its next job!
Preventing Bacterial Growth and Cross-Contamination
Bacteria love blenders just as much as we do, but for all the wrong reasons!
When we leave residue from our peanut butter smoothies or frozen margaritas, we’re basically creating a bacteria playground.
The best blender is a clean one, trust me.
After use, immediately rinse with warm water and add a drop of soap.
Don’t wait—even the best blender can become problematic within hours!
For deeper cleaning, we’ve found that water and a splash of white vinegar works wonders.
It’s like, um, giving your blender a natural antibacterial bath.
For those making smoothies regularly, disassemble and thoroughly clean removable parts every few uses.
This isn’t just about cleanliness—it’s about keeping your morning smoothies safe and delicious!
Reassembly Tips for Proper Performance
Now that we’ve tackled the bacteria battle, let’s put everything back together properly! Reassembly doesn’t take much time, but it’s essential for that perfect protein shake or whipped cream.
First, make sure your blender base is completely dry before attaching anything—thats right, moisture and electricity don’t mix!
Then, carefully align and lock the jar onto the base. Hmm, actually, that’s not quite right… make sure it’s properly locked, not just sitting there.
For models like the Vitamix 5200, reassemble components immediately after drying to maintain that one-minute clean cycle effectiveness. Trust me, you’ll want this working perfectly when you’re making hollandaise sauce!
Always secure the lid tightly before use. A blender thats properly reassembled guarantees no leaks and ideal blending performance.
Frequently Asked Questions
How to Clean Under Blender Blades?
We’ll unscrew removable blades first, then use bottle brushes for under blade techniques. For stubborn residue solutions, try our eco-friendly approach: warm soapy water with tool-free strategies guarantees safe scrubbing methods and preventative maintenance.
Are Blender Blades Removable?
While not all blenders offer this feature, many models do have removable blades. We’ve noticed design variations across brands, with some prioritizing blade safety and installation ease over compatibility issues—a positive market trend reflecting historical evolution.
What’s the Best Way to Clean a Blender?
We recommend filling your blender with hot water and liquid soap, then blending for 30 seconds. For removable blades, handwash separately. Quick rinses prevent stains, while natural cleaners offer eco-friendly maintenance.
How to Take a Blender Apart to Clean?
We’ll start with disassembly safety by unplugging first. Tool selection isn’t complex—just your hands for most models. Handle parts carefully, avoiding errors by noting assembly order. Reassembly advice: reverse your steps. Maintenance strategy varies between model variations.