Blender gaskets are the silent heroes of our smoothie adventures, often forgotten until that telltale funk emerges. We’ve all been there—puzzled by mysterious odors or wondering why our blends taste slightly off. It’s not just about cleanliness; it’s about protecting our health and extending the life of our beloved kitchen workhorse. Those tiny rubber rings trap more food particles than you’d think, and they’re practically paradise for bacteria if we’re not careful. Let’s fix that together.
Why Cleaning Blender Gaskets Matters
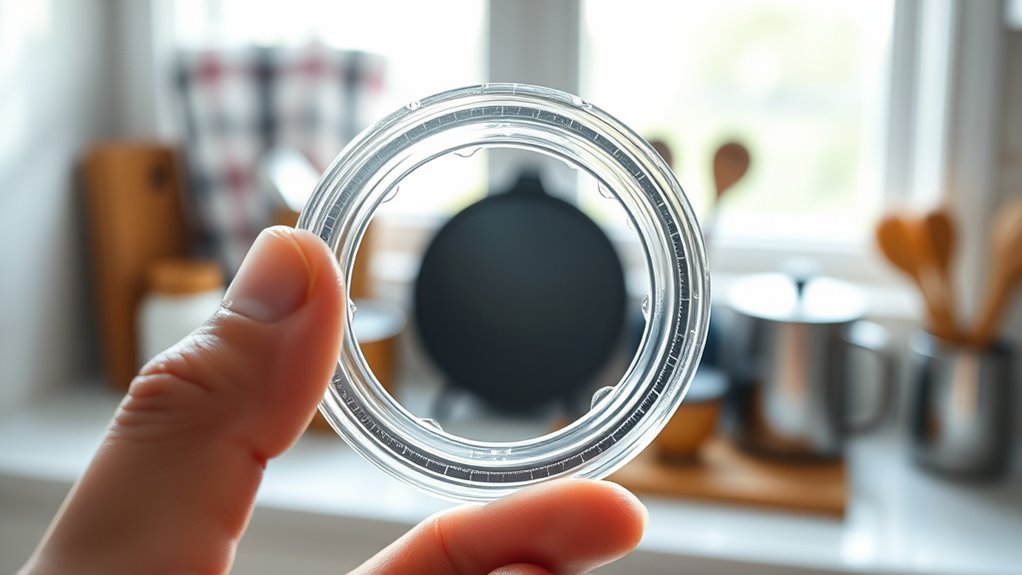
Cleanliness, when it comes to our kitchen tools, often extends beyond what’s visible to the naked eye. Those tiny rubber gaskets in your blender? They’re secretly harboring food particles that can become breeding grounds for bacteria if ignored.

We’ve seen even the most pristine-looking blenders develop unpleasant odors and contamination issues from neglected seals.
Think of these gaskets as the gatekeepers of your blender’s hygiene.
Without regular cleaning, they’ll collect moisture and debris, creating the perfect environment for mold development—sort of like leaving a wet sponge in a dark corner. What’s worse, these hidden contaminants can transfer from one blend to another, potentially causing cross-contamination from raw foods. This isn’t just about cleanliness; it’s about keeping our families safe from foodborne illnesses that might be lurking in those overlooked spaces.
Essential Tools for Gasket Maintenance
The right tools can make all the difference between a half-hearted wipe-down and a truly thorough cleaning of your blender gaskets. We’ve found that a quality dish brush or scrub brush is absolutely essential for tackling those stubborn food particles that love to hide in the seal’s crevices.
In our experience, you’ll want to keep a soft sponge handy for applying cleaning solutions (a vinegar-water mix works wonders!) without damaging the gasket.
After scrubbing, grab a paper towel to immediately dry the gasket—trust me, this simple step prevents so much potential mold growth.
Don’t forget a soft-bristled brush for those hard-to-reach spots!
I mean, who hasn’t discovered mysterious gunk in the corners after thinking everything was clean?
These basic tools will keep your gasket in top shape.
Step-by-Step Cleaning Process
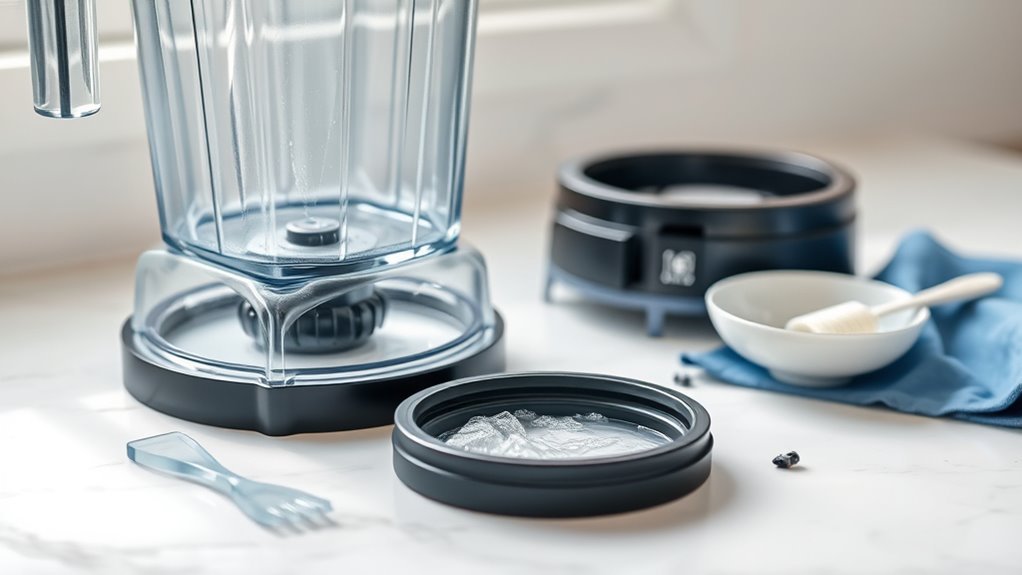
Five simple steps are all it takes to transform your grimy blender gasket into a spotless seal. First, unplug your blender and carefully remove the gasket from the base assembly. You’d be surprised how much gunk hides in there!
Next, wash by hand using warm, soapy water and a soft brush—never the dishwasher, which can warp these delicate parts. For stubborn residue, a quick 1-2 minute soak in diluted Simple Green works wonders.
| Step | Action | Time Needed |
|---|---|---|
| 1 | Unplug & disassemble | 1 minute |
| 2 | Hand wash with soapy water | 2-3 minutes |
| 3 | Soak (if needed) | 1-2 minutes |
| 4 | Rinse thoroughly | 30 seconds |
| 5 | Air dry completely | 1-2 hours |
After rinsing well, let everything air dry before reassembling. Trust me, that extra drying time prevents mold!
Removing Stubborn Residue and Odors
Ever wondered why blender gaskets seem to collect stubborn residue like a magnet? These rubber seals are practically food debris collectors, trapping everything from smoothies to soup remnants in their tiny crevices.
For stuck-on debris that won’t budge with regular washing, we’ve found that a Simple Green solution works wonders. Just mix 1 oz with a cup of water, soak for 1-2 minutes, and gently scrub.
For those persistent odors—you know, the ones that linger no matter what—try blending warm water with lemon and Simple Green for a deep clean that actually reaches hidden areas.
Or, um, maybe try a 10% vinegar solution? It breaks down residue really effectively. Whatever method you choose, always air dry completely—trust me, trapped moisture is just asking for more problems!
Avoiding Common Gasket Cleaning Mistakes
We’ve noticed that many blender users make critical mistakes when cleaning their gaskets, like removing them completely or tossing them in the dishwasher where high heat can warp the material.
It’s actually possible to sanitize your gaskets effectively without taking everything apart—just use warm, soapy water and avoid harsh chemicals that break down the rubber.
Trust us, keeping those seals intact will prevent leaks and extend the life of your blender, which is definitely worth the extra minute of careful cleaning.
Preventing Gasket Removal
Many blender users make a critical mistake when cleaning their appliances – they remove the gasket from the blade assembly.
We can’t stress this enough: never take that gasket off when cleaning your blender!
It’s actually designed to stay in place permanently.
When you remove the blender gasket, you’re basically asking for trouble.
The seal loosens over time, which leads to leaky messes and potential bacterial growth.
Think of it like removing the weatherstripping from your windows—once disturbed, it never sits quite right again.
Instead, clean around the gasket using a soft brush or sponge with warm, soapy water.
The dishwasher’s high heat is a no-go too, since it can warp the seal.
Dishwasher Heat Dangers
Speaking of proper maintenance, the dishwasher might seem like a convenient cleaning solution, but it’s actually one of the biggest enemies of your blender gaskets. Those high temperatures—often exceeding 140°F—can seriously compromise your gasket’s integrity.
| Problem | Dishwasher Effect | Hand Washing Benefit |
|---|---|---|
| Heat Damage | Warps rubber materials | Preserves elasticity |
| Loosening | Separates from blades | Maintains tight seal |
| Lifespan | Requires replacement every 6 months | Extends usability |
| Leaking | Creates messy blending | Guarantees proper function |
| Hygiene | May trap bacteria in damaged areas | Keeps food safe |
We’ve learned the hard way that hot water from your sink is much gentler than dishwasher cycles. Trust us—taking those extra 30 seconds to hand wash your Blender gaskets will save you frustration and money in the long run.
Sanitizing Without Disassembly
Why spend time taking apart your blender when you can sanitize those hard-to-reach gaskets right in place?
We’ve found that filling your blender halfway with warm water and adding a splash of vinegar (about 10%) creates a Clean and Safe solution that works wonders.
Just run it for 60 seconds, and those bacteria don’t stand a chance!
For stubborn odors—you know, when yesterday’s smoothie somehow lingers—try adding half a lemon to the mix.
It’s like a revitalizing bath for your gasket, and it smells amazing too.
Remember to rinse immediately after use with hot water.
I think we’ve all made the mistake of letting a dirty blender sit overnight, which, trust me, is basically throwing a party for bacteria in that moist environment.
Proper Drying and Storage Techniques
Drying your blender gaskets properly after cleaning is absolutely essential if you want to avoid nasty mold growth and bacteria buildup.
Never use a damp cloth to finish the job, as this defeats the purpose by leaving behind moisture.
Instead, we’ve found air drying in a well-ventilated area works best.
- Place gaskets on a clean towel with good airflow around them
- Wait several hours or until completely dry to the touch
- Check for any missed food particles before storing
- Store in a clean, dry container or drawer away from heat
- Inspect occasionally for signs of wear or damage
Trust us, taking time for proper drying prevents contamination and extends the life of your gaskets.
We always reassemble only when gaskets are 100% dry – it’s a small step that makes a big difference!
For optimal results, remember that proper care like this can help your blender last over a decade with regular maintenance.
When to Replace Your Blender Gaskets
How long do blender gaskets actually last before they need replacing?
For Nutribullet models, we recommend replacing them every 6 months during routine blade replacement.
This keeps your blender performing at its best and prevents those annoying leaks that can damage the motor housing or create puddles at the base of the blender.
Don’t wait until your gasket loosens or falls out completely—that’s a recipe for messy disasters!
When it’s time for replacement, you’ll need to purchase a new Extractor Blade since gaskets come pre-installed and aren’t sold separately.
For those of you who use your blender frequently, sticking to that 6-month schedule is essential for safety and hygiene.
Trust us, it’s worth investing in official Nutribullet replacements rather than risking it with counterfeits that mightn’t seal properly.
Preventative Maintenance Tips
Taking proper care of your blender gaskets isn’t just about cleaning—it’s about establishing a maintenance routine that extends their lifespan.
We’ve found that regular attention to those pesky nooks and crannies makes all the difference in keeping your blender functioning properly.
- Store basic cleaning supplies near your blender for immediate post-use cleaning
- Apply a tiny dab of food-grade silicone oil quarterly to maintain gasket flexibility
- Create a reminder in your phone to inspect gaskets monthly for early signs of wear
- Keep a spare set of gaskets on hand—trust me, you’ll thank yourself later!
- Use a soft toothbrush to gently scrub hard-to-reach areas without damaging the material
Frequently Asked Questions
How to Clean a Moldy Blender Gasket?
We’ll disassemble, soak in vinegar solution, scrub gently with a brush, rinse thoroughly, and air-dry completely. This prevents mold prevention issues and reduces allergen risks that can affect your health.
How Do You Clean Gasket Seals?
We clean gasket seals with warm, soapy water, followed by a Simple Green soak. Steam cleaning can remove stubborn residue, while preventive maintenance includes thorough rinsing and complete air drying before reassembly.
How to Clean Blender Bottle Gasket?
Did you know 75% of blender bottle odors come from dirty gaskets? We’ll clean yours with warm soapy water and a soft brush. Proper Shaker Maintenance includes immediate rinsing, while Bottle Storage requires complete drying first.
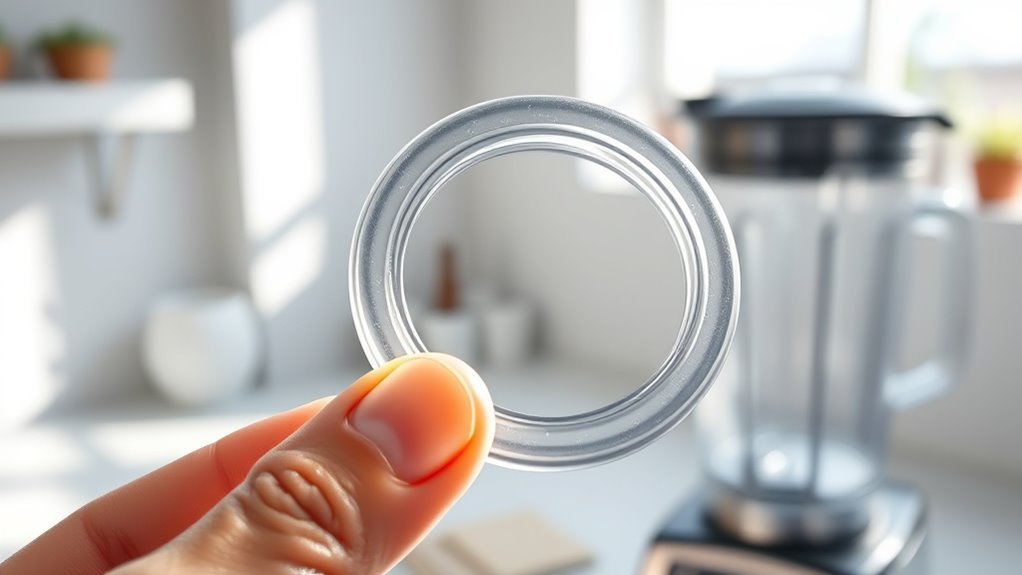
How to Clean a Silicone Ring in a Blender?
We’ll disassemble our blender, then soak the silicone ring in vinegar solution. Despite silicone durability, hand wash only—dishwashers damage seals. Maintain cleaning frequency weekly to prevent stubborn residue buildup.