Summer heat drives people toward frozen treats, though perhaps the appeal goes beyond simple temperature relief. Store-bought popsicles often disappoint with their artificial flavors and questionable ingredient lists. DIY ice pops offer something different—control over what goes into each batch. The process seems straightforward enough, yet achieving that perfect balance of flavor and texture requires more consideration than one might initially think. The growing trend suggests people are discovering benefits that extend well beyond avoiding preservatives.
Summer Memories and the Popsicle Point System
While most people remember summer for family vacations or lazy afternoons, some of the most vivid childhood memories revolve around something far simpler—those daily expeditions to the local convenience store.

For one babysitter watching two god-brothers, Mac’s Milk became their regular destination for slushies and frozen treats.
Perhaps the most ingenious discovery was the popsicle stick point system, where each stick contained values that could be traded for Nintendo games.
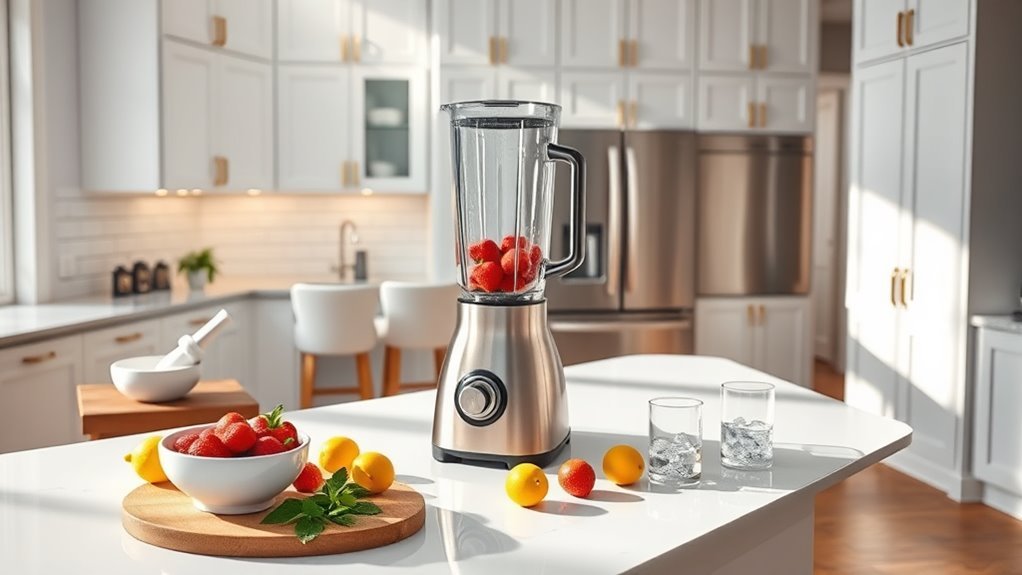
The strategy shifted quickly from expensive store-bought slushies to buying popsicles by the case, aiming for impressive totals around 30,000-50,000 points. High-performance blenders can help create delicious homemade ice pops by blending fresh ingredients into smoother textures, making the process more efficient and nutrient-rich.
The Rise of Healthy Homemade Ice Pops
Fast forward to today, and the frozen treat landscape has shifted dramatically toward homemade alternatives. Parents and health-conscious adults have discovered the appeal of controlling ingredients, perhaps driven by concerns over artificial colors and excessive sugar.
The DIY approach offers surprising flexibility—experimenting with whatever’s lurking in the freezer or fridge. This trend feels almost inevitable, really.
Making frozen treats at home lets you raid your kitchen creatively—turning forgotten ingredients into surprisingly delicious experiments.
Homemade pops provide:
- Complete ingredient control – knowing exactly what goes into each treat
- Creative freedom – mixing unexpected flavors without corporate limitations
- Nutritional benefits – sneaking vitamins and real fruit into desserts
The process itself becomes oddly satisfying, though results can vary wildly.
Two-Layer Berry Ice Pop Recipe

These two-layer berry pops emerged from a rather practical need to use up frozen fruits before they developed that peculiar freezer taste. The recipe, though simple, creates something unexpectedly elegant—perhaps more so than intended.
| Layer | Ingredients |
|---|---|
| Bottom | 1.5 cups vanilla yogurt, 1.5 cups frozen blueberries |
| Top | 1 cup mixed berries, lime juice, 1/4 cup water |
| Optional | Sugar to taste |
| Prep Time | 15 minutes active |
| Freeze Time | 4-6 hours total |
The blueberry-yogurt base provides creamy tartness, while the mixed berry top layer adds brightness. Some find the lime essential; others skip it entirely.
Tips for Perfect Ice Pop Results
Although ice pops might seem foolproof, several small details can determine whether one ends up with professional-looking treats or slightly disappointing frozen mishaps.
Perhaps the most frustrating issue involves pops that crack or fall apart during removal. Temperature plays a significant role here, and timing matters more than most people realize.
- Use warm water sparingly – A quick 10-second rinse under lukewarm water loosens molds without melting the entire pop
- Fill molds completely – Air pockets create weak spots that cause cracking and uneven freezing
- Wait at least 4 hours – Rushing the process results in soft centers that collapse when handled
Frequently Asked Questions
How Long Do Homemade Ice Pops Typically Last in the Freezer?
Homemade ice pops typically maintain peak quality for two to three months when stored properly in airtight containers or freezer bags, though they remain safe indefinitely at zero degrees Fahrenheit.
What Are the Best Ice Pop Molds for Beginners to Use?
Beginners should choose simple plastic molds with easy-release mechanisms and wide openings for filling. Silicone molds offer flexibility for removal, while traditional stick molds provide familiar popsicle shapes and straightforward freezing processes.
Can I Substitute Dairy-Free Alternatives for Yogurt in Ice Pop Recipes?
Approximately 65% of the global population experiences lactose intolerance. Coconut yogurt, almond yogurt, or cashew-based alternatives work excellently in ice pop recipes, maintaining creamy texture while accommodating dietary restrictions and preferences perfectly.
Why Do My Homemade Ice Pops Turn Out Icy Instead of Creamy?
Homemade ice pops become icy when they contain too much water or lack fat content. Adding yogurt, cream, or sugar helps create smoothness by preventing large ice crystals from forming during freezing.
What’s the Ideal Freezing Temperature for Making Perfect Ice Pops?
The ideal freezing temperature for ice pops ranges between -5°F to 0°F (-20°C to -18°C). Standard home freezers maintain this range, ensuring proper crystallization while preventing overly hard texture that makes removal difficult.
Conclusion
Creating cool, customized ice pops proves perfectly satisfying for summer seekers. Perhaps the best part isn’t just the delicious results—it’s the process itself, I think. Blending beautiful berries, layering luscious yogurt, and waiting for that final frozen formation brings back childhood excitement. These homemade treats taste tremendously better than store-bought versions, though admittedly they require more patience. Still, mastering these magnificent frozen delights means endless summer satisfaction, one perfectly crafted pop at a time.