Let me tell you – after decades of watching folks reach for those plastic jars at the supermarket, I've learned there's nothing quite like grinding your own nut butters at home. Sure, Americans go through mountains of peanut butter each year, but once you've tasted a fresh batch of roasted almond butter still warm from the blender, you'll wonder why you didn't try this sooner. In my kitchen, I've discovered that with the right blender and a bit of patience, any nut can become a smooth, rich spread. Whether it's a classic peanut butter or something more adventurous like pistachio or pecan butter, making your own means you control exactly what goes in – just nuts, maybe a pinch of salt, and nothing else. Trust me, once you start experimenting with different nuts and roasting levels, those store-bought jars will start gathering dust in your pantry.
Essential Equipment for Making Homemade Nut Butters
While making nut butter at home might seem formidable, you'll only need a few key pieces of equipment to get started. First, we'll need a high-powered food processor or blender with proper blender speed settings, which is indispensable for achieving that perfect creamy consistency. A model with at least 1,000 watts will serve us well, ensuring enough power to break down tough nuts. Smart blender features like digital controls can provide additional precision and convenience during the nut butter making process.

The ideal container size matters considerably – we recommend a processor bowl that holds at least 7-8 cups, giving nuts enough space to move freely during processing. You'll also want to have a rubber spatula for scraping down the sides and a set of measuring cups.
If you're planning to store your creations, gather some airtight containers with wide mouths for easy scooping.
Selecting and Preparing Your Nuts for Perfect Results
Now that we've got our equipment ready, let's focus on choosing and readying the perfect nuts for our homemade butter. When choosing the right nuts, we'll want to seek out raw, unsalted varieties that are fresh and free from any signs of rancidity. Raw cashews, almonds, and macadamia nuts typically create the creamiest results. High-performance blenders can help break down these nuts more effectively, ensuring a smoother and more nutrient-rich final product.
Preparing nuts for blending involves an essential step – roasting. We'll want to spread our selected nuts on a baking sheet and roast them at 350°F for about 8-12 minutes, stirring halfway through. This process enhances their natural oils and flavors while making them easier to blend. Once roasted, let them cool completely before processing. Some nuts, like cashews, may benefit from a quick soak in water to achieve an ultra-creamy consistency.
Step-by-Step Guide to Blending Smooth Nut Butters
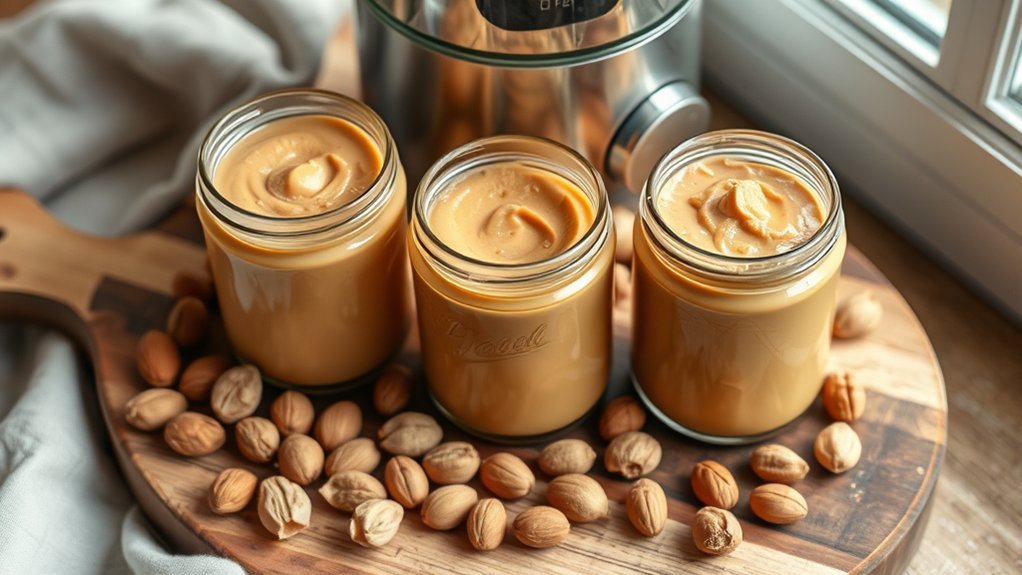
Creating silky-smooth nut butter requires a methodical blending process that transforms roasted nuts into creamy perfection. We'll start by placing our roasted nuts into a powerful food processor or high-speed blender, processing in 2-minute intervals to prevent overheating. As we blend, we'll pause occasionally to scrape down the sides, ensuring even texture variations throughout.
Watch as the nuts progress through distinct stages: first becoming a coarse meal, then forming a thick paste, and finally transforming into a smooth, flowing butter. Different roasting techniques affect the final consistency, so we can adjust processing time to achieve our desired texture. For a silkier result, we'll continue blending until the oils release completely, typically taking 10-15 minutes total, depending on the nut variety.
Creative Flavor Combinations and Add-ins
Once you've mastered the basic nut butter technique, it's time to explore exciting flavor combinations that'll transform your spreads into unique culinary creations. Let's immerse ourselves in unique spice blends that can elevate our homemade nut butters, from warming cinnamon and cardamom to zesty ginger and turmeric.
We can experiment with natural sweeteners like maple syrup, honey, or dates, while incorporating superfood add-ins such as chia seeds, hemp hearts, or cacao nibs. For those interested in DIY nut milk recipes, these flavor combinations work beautifully when blended with your favorite plant-based milk alternatives. Consider mixing different nuts and seeds to create signature blends – try almonds with cashews, or sunflower seeds with pumpkin seeds, each offering distinct nutritional benefits and taste profiles.
Storage Tips and Shelf Life of Homemade Spreads

Proper storage of homemade nut butters can mean the difference between a fresh, delicious spread and one that's turned rancid. We'll help you understand the proper storage conditions needed to guarantee extended shelf life for your creations.
| Storage Method | Shelf Life | Temperature | Container | Notes |
|---|---|---|---|---|
| Pantry | 1-2 months | Room temp | Glass jar | Dark location |
| Refrigerator | 3-6 months | 35-40°F | Airtight | Prevents oils from separating |
| Freezer | 6-12 months | 0°F | Freezer-safe | Thaw in fridge |
| Vacuum-sealed | 4-8 months | Room temp | Special bags | Best for long-term |
| Oil-topped | 2-3 months | Room temp | Glass jar | Add thin oil layer |
Remember to always check for signs of spoilage before consuming, regardless of storage method. Darker containers help protect against light degradation, while consistent temperatures prevent texture changes.
Troubleshooting Common Nut Butter Problems
Even with proper storage techniques in place, you'll likely encounter some common challenges when making nut butters at home. Let's explore how to overcome these obstacles and create the perfect spread every time.
When dealing with oil separation, simply stir the mixture thoroughly before each use, or store your nut butter upside down to help redistribute the oils naturally. For adjusting consistency issues, we've found that adding a touch more oil can help achieve the smooth, creamy texture you're after.
If your butter is too runny, try adding more nuts gradually while blending. Remember that different nuts have varying oil contents, so you'll need to adjust your recipe accordingly. A food processor that's not powerful enough can also cause graininess, so investing in quality equipment makes a difference.
Health Benefits of Different Nuts and Their Butters
When it comes to health and nutrition, nut butters offer an impressive array of benefits that make them an excellent addition to any diet. We'll explore how different nuts and their butters can boost our wellness through their unique nut protein content and nut fat composition.
| Nut Type | Protein (g/100g) | Key Benefits |
|---|---|---|
| Almonds | 21.2 | Heart health, antioxidants |
| Cashews | 18.2 | Brain function, energy |
| Peanuts | 25.8 | Muscle building, satiety |
| Walnuts | 15.2 | Omega-3s, brain health |
Each nut variety brings its own nutritional profile to your daily routine. While all nuts contain healthy fats, their individual nut fat composition varies considerably. We'll want to rotate different nut butters throughout our week to maximize these diverse benefits.
Frequently Asked Questions
Can Homemade Nut Butters Be Used in Baking Recipes Instead of Store-Bought Versions?
We can totally substitute homemade nut butters for store-bought in baking recipes using 1:1 ratios. Just guarantee your homemade version matches the store-bought texture for consistent results.
Are Nut Butters Safe for Babies and at What Age Can They Start?
Like launching a taste voyage, we'll introduce nut butters after baby's first birthday to minimize allergic reactions. Let's start with tiny, appropriate serving sizes and watch them explore newfound food freedom.
What's the Cost Comparison Between Homemade and Store-Bought Nut Butters?
We'll save money making our own nut butters! The cost per serving is typically 30-40% lower, and overall cost savings add up when we skip those commercial markup prices.
Can I Make Nut Butter Using Sprouted or Activated Nuts?
We're conjuring a whole new universe of flavors! Let's embrace sprouted nut texture differences and activated nut flavor profiles in our butters – they'll create uniquely digestible, nutrient-rich spreads we can customize freely.
Is It Necessary to Refrigerate Homemade Nut Butter Between Uses?
We'll get better storage duration by refrigerating our homemade nut butter, though it's not strictly required. For ideal storage conditions, keep it chilled and it'll last 3-4 months without spoiling.