We’ll help you nail those frosty drinks every time with our proven speed sequence. Start low to create a vortex (10-15 seconds), then bump to medium as ingredients break down. Finish with 20-30 seconds on high for ultimate smoothness. For perfect ice control, use 2-3 second pulse bursts and layer your ingredients: liquids first, then soft items, followed by frozen stuff and ice. Master these basics, and you’ll reveal pro-level techniques.
Understanding Basic Blender Speed Settings
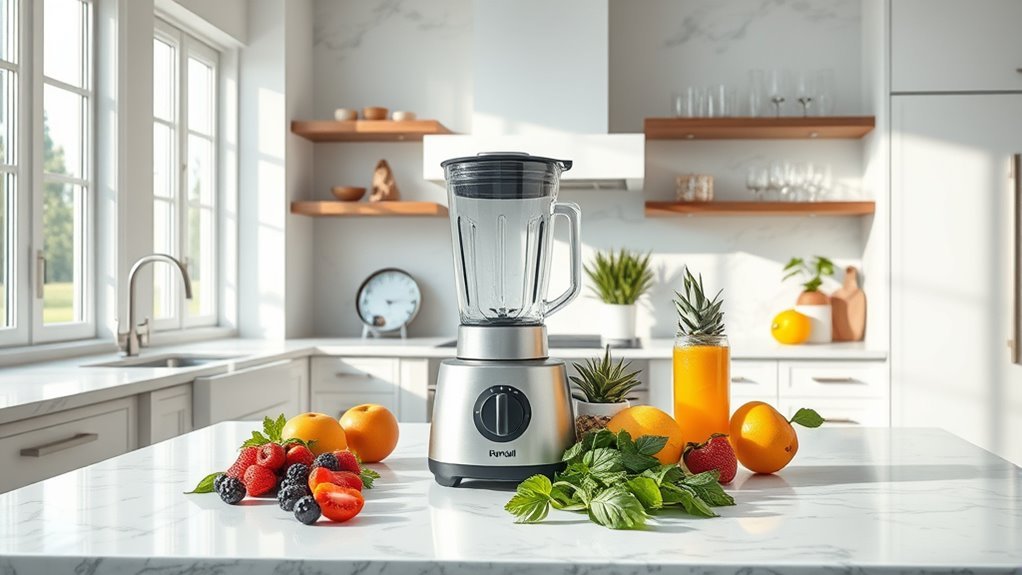
When it comes to mastering your blender’s capabilities, understanding the basic speed settings is non-negotiable.

We’re talking about three fundamental levels: low speed for gentle mixing, medium speed for everyday blending, and high speed for tackling tough ingredients like frozen fruits.
Let’s get technical. Your blender’s variable speed options might range from 1-3 on basic models to 5-11 on advanced units.
We’ll always start the blending process on low to prevent splashing, then ramp up as needed.
The pulse setting? It’s your secret weapon for precise texture control, especially when you need to crush ice.
Most modern blenders feature specialized settings designed for specific tasks, making our lives easier when crafting everything from silky smoothies to perfectly crushed margaritas.
Additionally, high-performance blenders are designed to handle both wet and dry ingredients with ease, enhancing your culinary experience.
Optimal Speed Sequence for Frozen Beverages
Since frozen beverages demand precision timing, we’ll walk you through the exact speed sequence that’ll transform your icy ingredients into perfectly blended drinks.
Here’s our tried-and-true blender tips for frozen drinks: Start low to get your ingredients moving and create that vital vortex – it’s essential for a perfect blend.
After 10-15 seconds, gradually increase to medium speed as your frozen fruit and ice break down. Don’t rush this step; your powerful motors need time to work their magic.
Hit high speed for the final 20-30 seconds to achieve that smooth, frosty finish.
Want to control the texture? That’s where the pulse feature shines. Keep a close eye on thicker mixtures and adjust your speed settings accordingly – it’s the difference between amateur hour and professional-grade results. Additionally, using a high-performance blender can significantly enhance your blending efficiency, making it easier to create those frosty cocktails and smoothies.
Mastering the Pulse Function for Ice Control
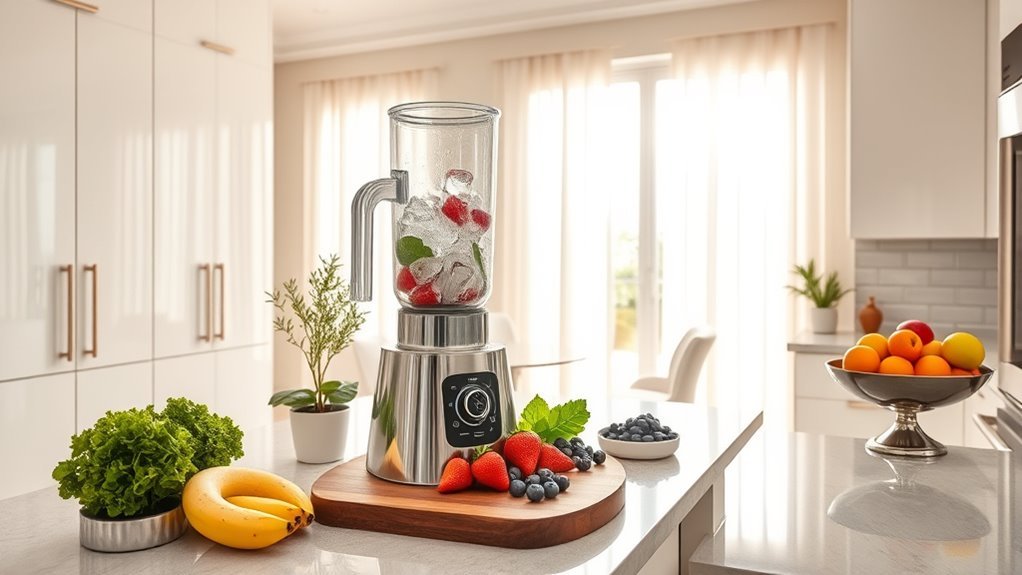
Mastering your blender’s pulse function is the secret weapon for achieving perfect ice control in cocktails and smoothies. We’ll help you nail the ideal consistency by using short bursts at strategic intervals.
| Speed Setting | Ice Control Tips |
|---|---|
| Low Pulse | Start here for coarse texture |
| Medium Pulse | Perfect for frozen cocktails |
| High Pulse | Ultimate smoothie consistency |
| Max Pulse | Emergency ice crushing only |
Let’s get technical: layer your ingredients properly, starting with liquids at the bottom. Pulse in 2-3 second bursts, gradually increasing speed. This prevents motor strain and guarantees even blending. For frozen cocktails, shorter pulses create that perfect slushy texture. Want thicker smoothies? Extend pulse duration slightly. Control thickness by adjusting your ice-to-liquid ratio through strategic pulsing.
Variable Speed Techniques for Different Textures
Beyond pulse control, the art of texture mastery lies in your command of variable speeds.
We’ll optimize your blending by starting low to create a vortex, then ramping up the power for that perfectly smooth texture you’re after.
Here’s our foolproof approach: Layer ingredients strategically – liquids first, followed by soft fruits, then frozen items, and ice on top. This isn’t just fancy technique; it’s physics working for you.
For thicker smoothie textures, don’t hesitate to wield that tamper while maintaining medium to high speeds.
Your control of the duration and speed progression is essential. Start low, let the vortex form, then gradually increase power.
Think of it as conducting an orchestra – each ingredient needs its moment to shine before joining the perfectly blended symphony.
Speed Adjustments for Specific Ingredients
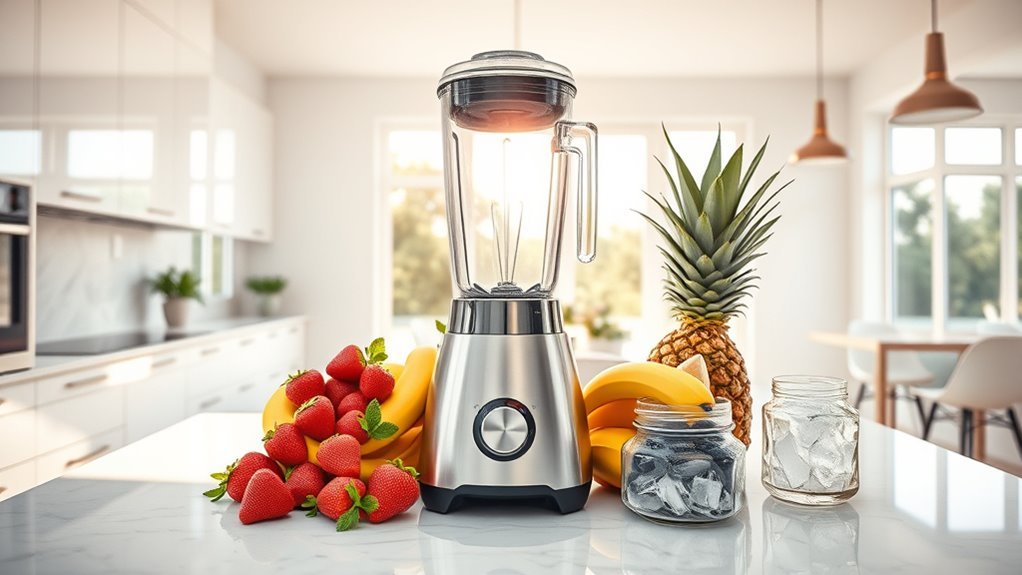
Different ingredients demand their own unique speed settings, and we’ll show you exactly how to nail them.
For frozen fruits, start low to create that essential vortex, then ramp up to high speed. Trust us on this – it prevents overheating while delivering silky smoothness.
When tackling ice, crushed is your best friend. Begin low, then gradually accelerate to high speed.
Got fibrous greens? Medium speed first to break them down, then blast on high for perfect integration.
Thicker mixtures like frozen banana smoothies need that tamper action – push ingredients down while blending at medium to high.
For cocktails, we’re layering strategists: liquids first, soft fruits next, ice last. Start low to combine, then crank it up for that frosty finish you’re after.
Power Settings for Professional-Grade Results
When you’re aiming for pro-level drinks, precise power control becomes your secret weapon. Start with slow speed to create that essential vortex, then ramp up to full power. It’s all about mastering blade speed progression.
We’ve found the ice crush setting is your best friend for frozen ingredients. Let’s keep it simple: equal parts ice to liquid, adjusting as needed.
The pulse feature? It’s perfect for controlled chopping and blending when you want chunks rather than complete smoothness.
Pro tip: frequency of blending matters as much as speed. Short bursts work better than prolonged running. For tough fruits and vegetables, start low and gradually increase power.
Specialty Blending Programs for Cold Drinks
Modern blenders pack serious programming power for cold drink perfection.
Let’s access those specialty blending programs to elevate your frozen creations.
Your smoothie setting tackles fibrous ingredients with precision, delivering that sought-after creamy texture every time.
For frozen cocktails, the Ice Crush feature is your secret weapon – it progressively ramps up speed to pulverize ice and frozen fruit into silky submission.
When you need precise control, tap the Pulse feature for quick bursts that won’t overdrive delicate ingredients.
High-speed settings are non-negotiable for ideal frozen drink consistency.
They’re specifically engineered to incorporate air while liquefying, creating that perfectly frothy finish.
Trust these pre-programmed settings – they’re your shortcut to professional-grade results without the guesswork.
Frequently Asked Questions
What Speed Should My Blender Be for Smoothies?
We’ll start low to create a vortex, then increase to high speed (level 10) for the best smoothie texture. Adding liquids first helps frozen fruits blend perfectly.
What Settings to Use on Blender for Smoothies?
Over 90% of perfect smoothies start on low speed. We’ll get best results by gradually increasing to medium or high, especially when blending frozen fruits for ideal texture variations.
What Is the Best Blender Setting for Ice?
We’ll want to use the “Ice Crush” setting, starting slow before increasing speed. Control smoothie texture by using crushed ice and maintaining proper ice-to-liquid ratios for ideal blending results.
What Are the Different Speeds on a Blender?
We’ll typically find four main blender speeds: Low for gentle mixing, Medium for thicker mixtures, High for smooth blending, and Pulse for quick bursts of power and control.