We’ll master pulse blending through strategic control of short bursts, typically ¼ to 2 seconds. Start with larger, firmer ingredients first, using longer pulses, then add softer items with shorter bursts. Quick pulses maintain texture for chunky salsas and rustic soups, while measured intervals transform nuts into butter. Monitor progress between pulses to nail the perfect consistency. There’s an art to timing those bursts for pro-level results.
Understanding the Basic Principles of Pulse Blending
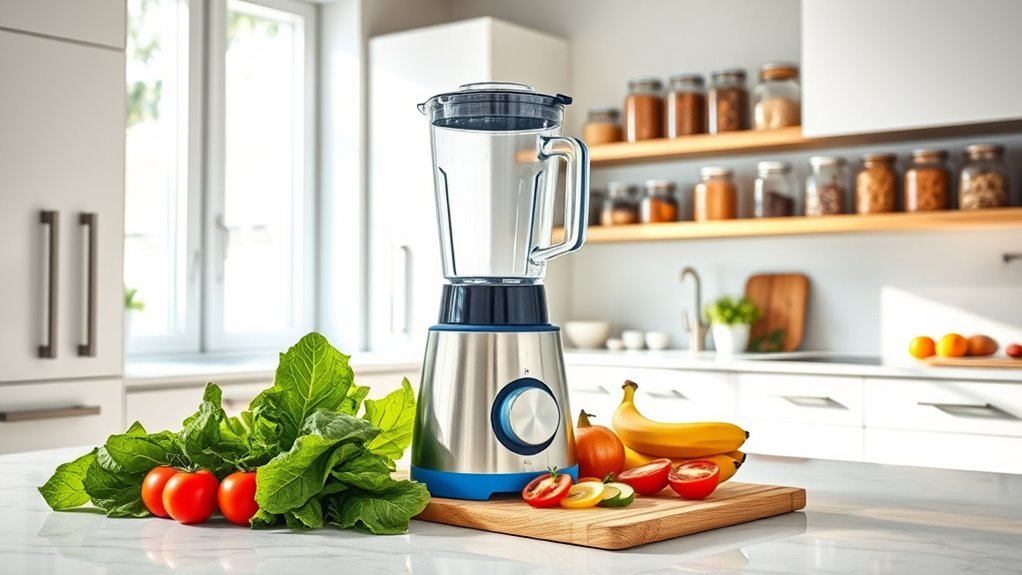
While many home cooks overlook the pulse function, it’s actually the secret weapon of precision blending.

Let’s master this underutilized feature that gives us precise control over our blending tasks. The Pulse button works through quick bursts – we’re talking ¼ to 2 seconds – perfect for achieving that ideal chunkiness in salsas and chopped veggies.
We’ll use the pulse feature strategically when handling tough ingredients, letting us chop in controlled increments for perfect consistency.
Trust us – it’s essential for recipes where texture matters. Whether we’re making dips or adding chunky elements to smoothies, the blending process becomes infinitely more manageable.
Modern blenders like KitchenAid models include this function because they know what serious cooks need: absolute control over their ingredients. Additionally, using the pulse control can help achieve smoother textures that are characteristic of high-performance blenders, enhancing the overall quality of your dishes.
Mastering Short-Burst Blending Techniques
Short-burst blending isn’t just pressing buttons randomly – it’s an art form that’ll revolutionize your kitchen game.
We’ve found that mastering the Pulse function requires precise control through short bursts of ¼ to 2 seconds, giving you supreme power over texture.
- Start with larger ingredients for rough chopping before refining
- Monitor blending progress constantly for ideal consistency
- Use quick pulses for chunkier results in salsas and dips
- Maintain control by avoiding continuous blending
When we’re aiming for effective results, timing is everything. By pulsing in controlled bursts, we’re able to achieve the perfect texture every time. High-performance blenders, with their motor power exceeding 1,000 watts, can handle tough ingredients with ease.
Whether you’re crafting fresh dips or prepping vegetables, this technique prevents over-processing while ensuring even blending. It’s all about watching closely and adjusting your approach based on the desired consistency.
Optimal Timing and Intervals for Pulse Control

When it comes to pulse control, timing is the make-or-break factor that separates amateur results from pro-level blending. We’ve got to nail those pulse durations: ¼ to 2 seconds for most jobs, adjusting based on ingredient type and desired outcome.
Let’s break it down: Start with longer pulses for firm ingredients like carrots, then decrease duration as they soften.
For soft ingredients and texture control, we’re talking shorter, more frequent bursts. Making chunky salsas? Pulse every 1-2 seconds, checking consistency between bursts.
It’s all about matching blending intervals to your ingredients – longer pauses for harder items, shorter for delicate ones. The pulse setting is your precision tool, so use it strategically.
Master these ideal timing patterns, and you’ll transform your blending game.
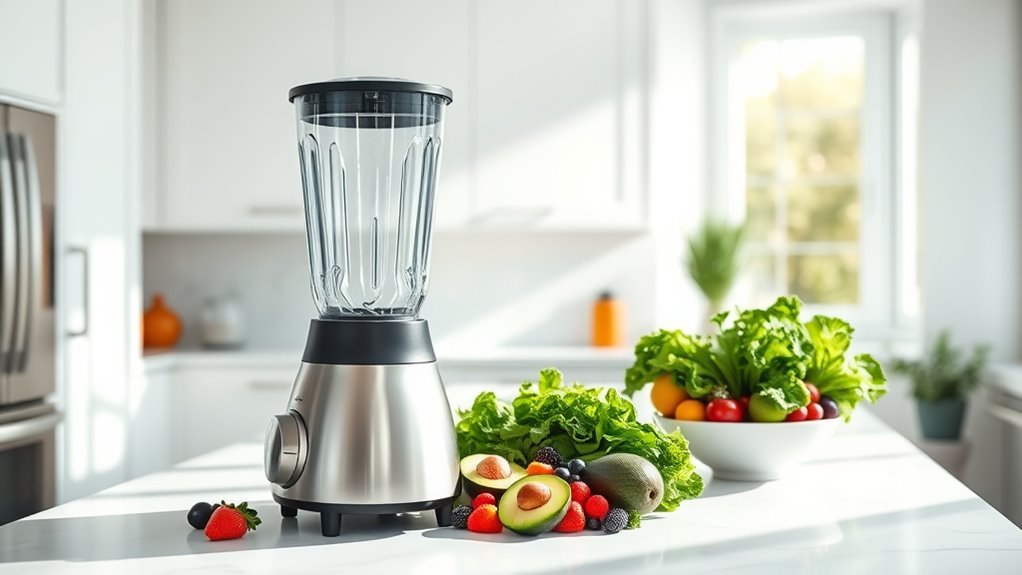
Recipe-Specific Pulse Methods and Applications
Since different recipes demand distinct textures, let’s master the pulse techniques that’ll revolutionize your cooking arsenal. The pulse setting delivers recipe-specific control for everything from chunky salsa to smooth dips.
We’ll use short bursts to control the texture of ingredients, ensuring perfect results every time.
- For fresh salsa, pulse vegetables in quick bursts for that ideal chunky texture without turning them to mush.
- Create perfectly distributed dips by first using pulse to finely chop herbs, then blend fully.
- Transform nuts into butter by pulsing for a coarser finish before smooth blending.
- Achieve rustic texture in soups by pulsing larger vegetables before final processing.
Master these techniques, and you’ll open up a whole new level of culinary precision in your kitchen.
Advanced Pulse Control for Texture Management
Mastering advanced pulse control transforms ordinary blending into precision texture management.
We’ll show you how to wield your pulse setting like a pro, achieving chunkier results while avoiding over-blending disasters.
Let’s tackle versatile blending tasks with surgical precision. Start with quick pulses – ¼ to 2 seconds – for precise control over ingredient texture.
When chopping vegetables or nuts, begin with firmer items first. Add softer ingredients gradually to maintain textural integrity.
Master varying pulse intervals to nail different textures for specific recipe requirements. Short bursts create coarse chunks; longer pulses yield finer results.
It’s a game-changer for everything from chunky salsas to perfectly textured dips.
Remember: pulse control isn’t just pushing buttons – it’s strategic timing that turns good recipes into great ones.
Frequently Asked Questions
How to Pulse With a Blender?
We’ll get perfect texture in 90% of recipes using short ¼-2 second blender pulses, pressing and releasing the button intermittently while monitoring consistency between each burst.
What Is the Best Blender Setting for Smoothies?
We’ll get the best smoothie texture using high-speed settings, starting with liquids, then adding soft fruits and leafy greens, followed by frozen ingredients. This preserves nutrients while ensuring perfect blending.
What Does “Liquefy” Mean on a Blender?
We’ll find “liquefy” is the highest blender speed setting, designed to create ultra-smooth food texture by completely breaking down ingredients. It’s perfect for smoothie consistency and thorough ice crushing.
What Are the Three Types of Blenders?
With over 90% of kitchens having at least one blender, we’ll find three main types: countertop blenders for large batches, immersion blenders for direct-in-pot blending, and personal blenders for single-serve portions.