Let’s tackle your blender base cleaning in three foolproof steps. First, unplug the unit and wipe up any immediate spills with a warm, damp cloth. Next, focus on the motor housing, carefully cleaning around buttons and knobs while avoiding excess moisture. Finally, let everything dry completely before reassembly – trapped moisture is your blender’s worst enemy. Trust us, there’s more to keeping your high-performance blender running like new.
Safety First: Preparing Your Blender Base
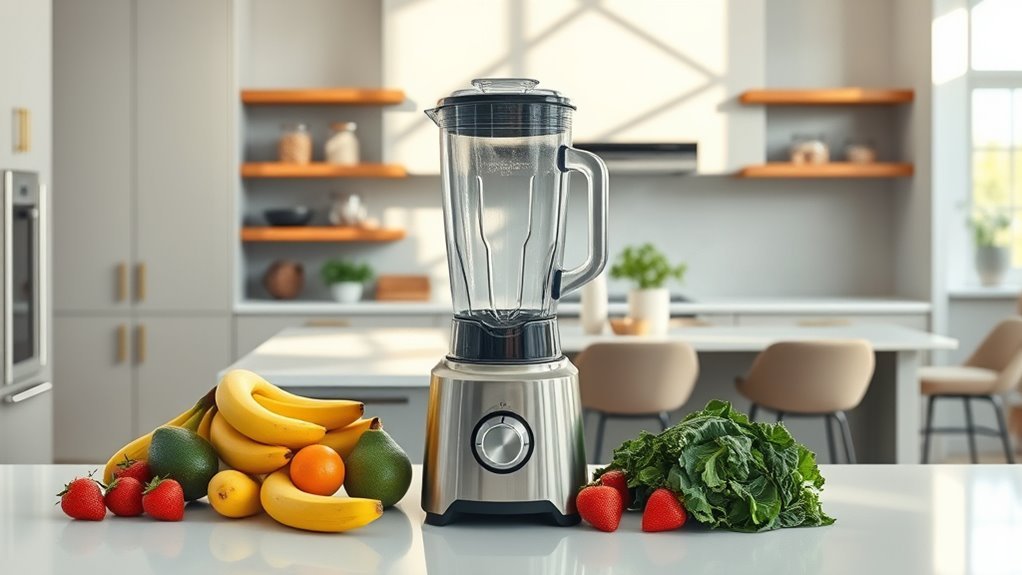
Before you even think about cleaning your blender base, let’s tackle the critical safety steps that’ll keep both you and your appliance intact.

First, unplug that beast – no exceptions. We don’t want any surprise smoothie explosions while we’re cleaning.
Now, remove the jar and lid completely from the blender base. Trust us, these cleaning tips will save your appliance’s functionality.
Grab a warm cloth to tackle those stubborn spills, but avoid water contact with electrical components like your life depends on it – because your blender’s does.
Let that base dry completely before reassembling. Moisture-related issues are the silent killer of kitchen appliances. High-performance blenders are more durable and designed to withstand regular use, so taking care of them is essential.
Skip this step, and you’ll be shopping for a new blender sooner than planned.
Essential Cleaning Techniques for the Motor Housing
With your blender base properly prepped, let’s master cleaning that motor housing.
We’ll tackle this methodically using a warm damp cloth – it’s your best friend for this job. Avoid getting moisture in those electrical components while you wipe down the surface.
Now, let’s hunt down those sneaky spills and food residue around the buttons and knobs. They’re not just unsightly – they’ll mess with your blender’s performance if left unchecked.
Remember, we’re not running a swimming pool here – excess water leads to rust and motor damage. Keep it precise and controlled.
Before reassembling, give that motor housing time to dry completely.
We’re not risking electrical issues because of trapped moisture. Trust us – a clean, dry blender base means safer, more efficient blending. Regular cleaning is essential for the longevity of high-performance blenders.
Maintaining Your Blender Base for Long-Term Use
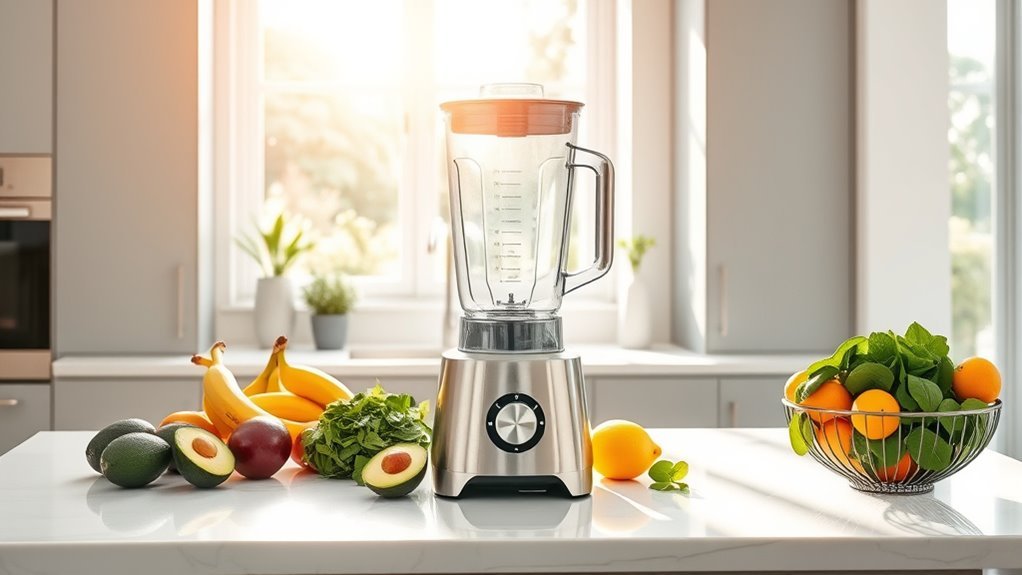
Since your blender’s longevity depends on proper maintenance, let’s plunge into a foolproof system for keeping that base in top shape.
Let’s be clear – we’re not just cleaning the blender base for looks. We’ll use a warm damp cloth to wipe down the housing regularly, preventing buildup of those sneaky food residues that kill performance.
When we clean buttons and knobs, we’re rescuing them from sticky doom. Here’s the kicker: disassemble the blender periodically to check for food particles hiding under that rubber ring. They’re bacterial party spots we can’t ignore.
Keep moisture away from electrical components – it’s a death sentence for your appliance. Always dry thoroughly before reassembly. No shortcuts here – your blender’s long-term use depends on it.
Frequently Asked Questions
How to Clean the Base of a Blender?
Like keeping a ship’s deck spotless, let’s maintain our blender base. We’ll unplug first, wipe with damp cloth, avoid water damage, clean buttons thoroughly, and dry completely before use.
How to Self Clean a Blender?
Let’s fill our blender halfway with warm water and dish soap, blend for 30 seconds, then rinse thoroughly. For stubborn stains, we’ll use baking soda or vinegar mixed with water.
How Do You Clean a Moldy Blender Base?
Like battling a tiny invader, we’ll tackle mold by unplugging, wiping with vinegar solution, applying baking soda paste, scrubbing gently, and letting everything dry thoroughly before reassembly.
What Is the Proper Sanitation of a Blender?
We’ll maintain blender hygiene by cleaning after each use with eco-friendly solutions, carefully sanitizing blades, preventing cross-contamination, and guaranteeing thorough drying. Regular disinfecting extends longevity and guarantees safe blending.