
7 Easy Kitchen Blender Tips to Make Smoothies Like a Pro in 2026
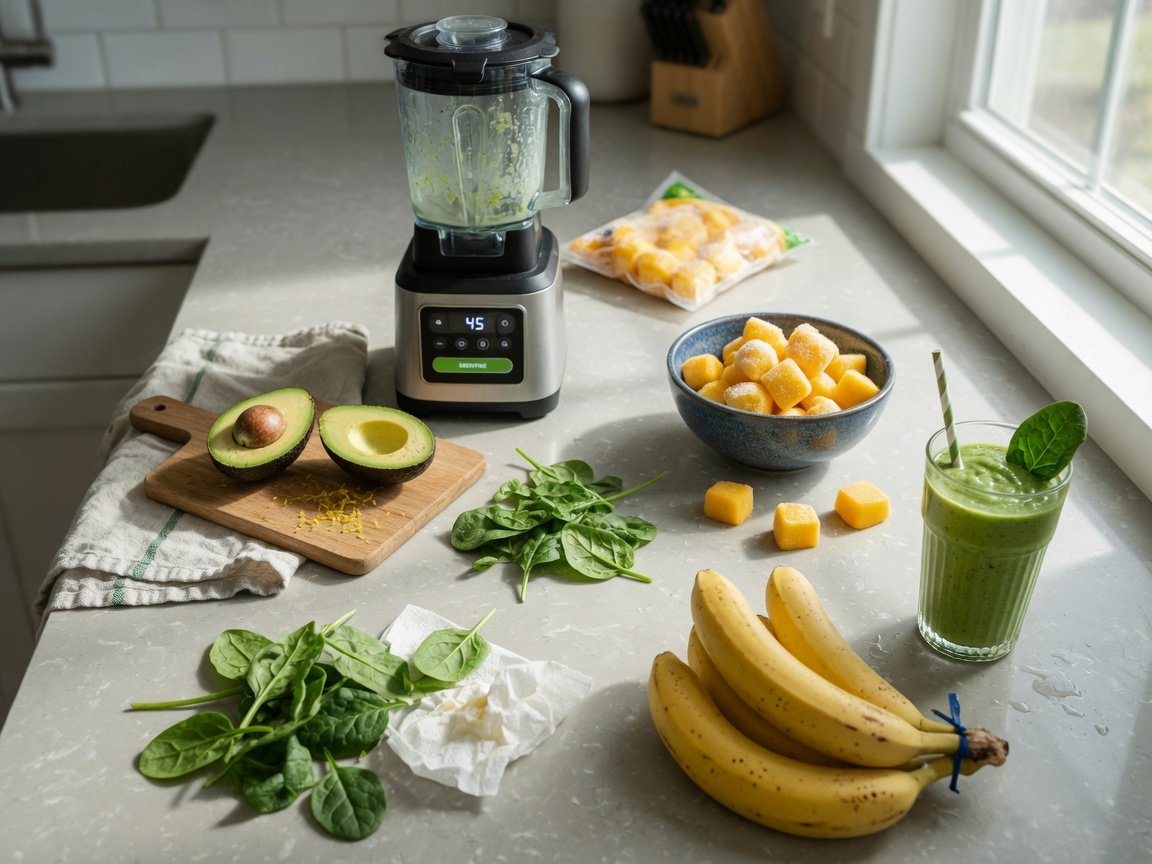
The secret to a smoother, better-tasting smoothie isn’t a fancier blender — it’s technique. By layering ingredients in the right order, managing your liquid ratio, and following a few simple safety habits, you can get consistently professional results from any kitchen blender, starting with your very next cup.
Some of the links in this article may be affiliate links. If you make a purchase through these links, we may earn a small commission at no extra cost to you. Thank you.

Quick Takeaways
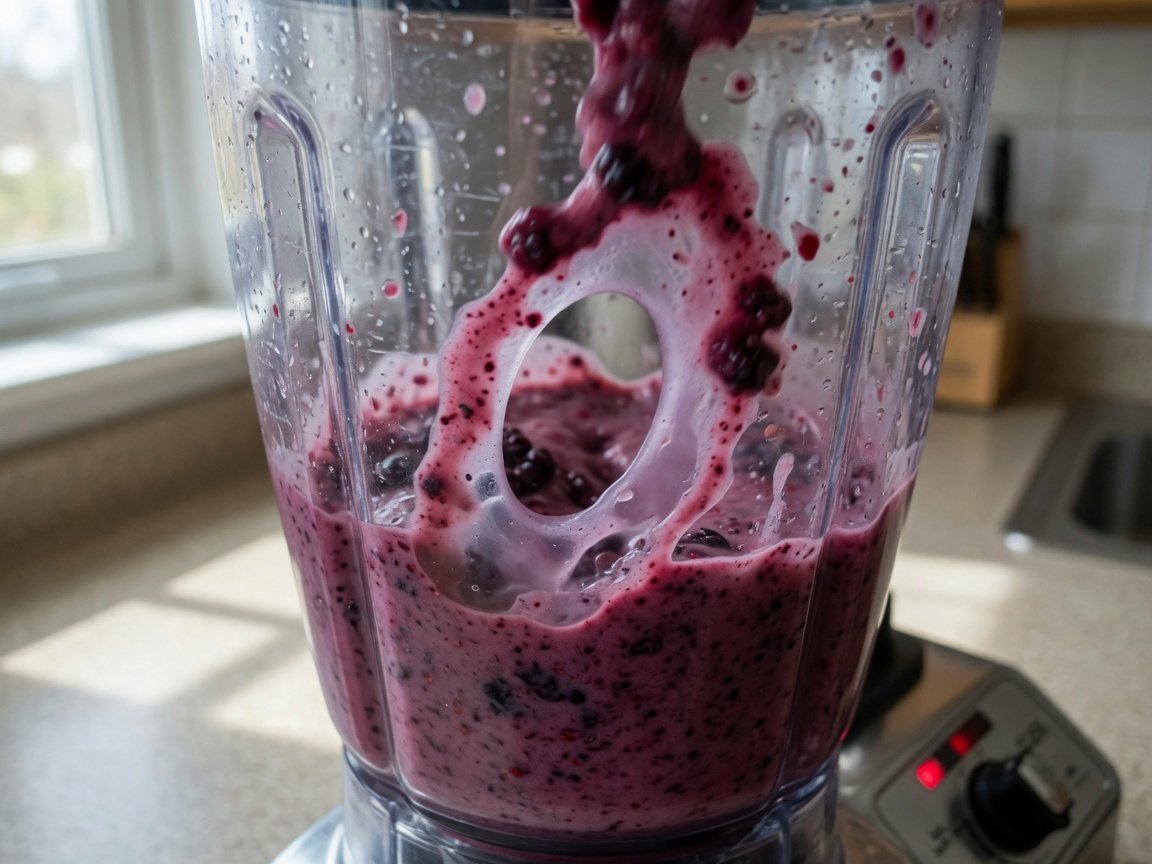
- Layer correctly: Liquids always go in first, frozen ingredients last — incorrect loading is behind the majority of home blender jams and uneven blends.
- Mind the liquid ratio: Consumer appliance data suggests up to 67% of blender jam-ups stem from too little liquid or incorrectly stacked ingredients.
- Clean immediately: Food residue on blades can reduce cutting performance by up to 30% over time, affecting both texture and taste in every future blend.
- Frozen fruit beats ice: Research consistently shows frozen produce retains comparable — and sometimes superior — nutrient levels to fresh fruit that has spent days in transit or on store shelves, while creating a thicker, colder smoothie without dilution.
Why Does Ingredient Order Make Such a Big Difference?
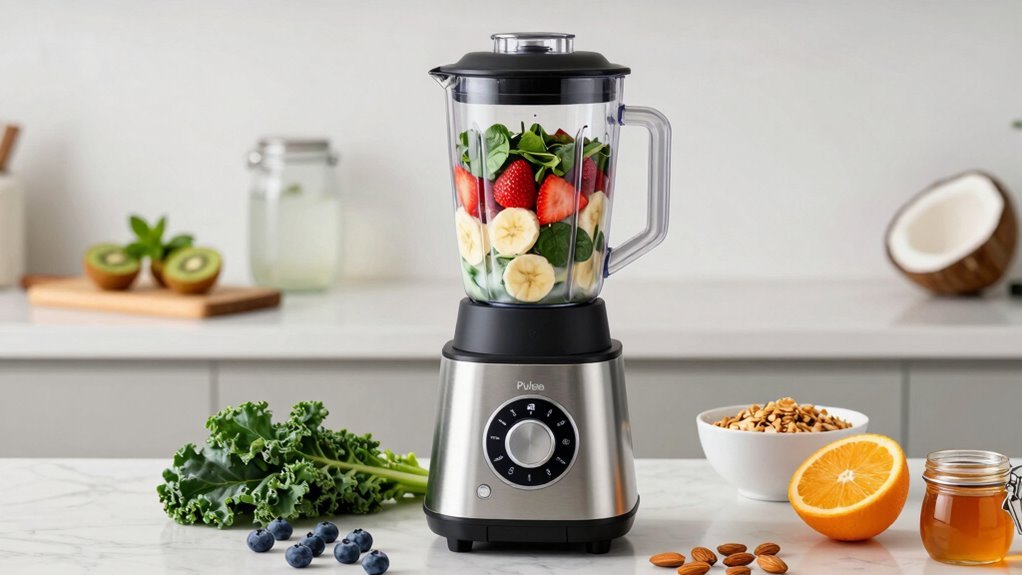
Layering your blender correctly is the single highest-impact improvement most home smoothie makers can make. The rule is simple: liquids go in first, then leafy greens or soft ingredients, then fresh fruit, then frozen items, with ice or protein powder added last. This sequence creates exactly the right conditions for your blades to work efficiently from the very first second.
When you drop a handful of frozen berries directly onto dry blades, you create resistance and risk jamming the motor before the blend even starts. But when liquid goes in first — even just a cup of almond milk, coconut water, or juice — it coats the blades and sets up the tornado-like suction pull that modern blender motors depend on. That suction is what pulls denser ingredients downward toward the cutting edge and keeps everything cycling in a smooth vortex.
Consumer appliance testing consistently shows that incorrect ingredient order is the top reason home blenders underperform. Proper layering can reduce blending time by up to 40%, which is easier on your motor and helps preserve heat-sensitive nutrients in leafy greens and berries. At blenderjunkie.com, this single change makes the biggest difference for readers who say their smoothies come out lumpy or inconsistent no matter what they try.
1. Liquid (water, milk, juice, coconut water) → 2. Leafy greens → 3. Soft or fresh fruit → 4. Frozen fruit → 5. Ice or powders last
What Are Air Pockets and How Do You Fix Them Fast?
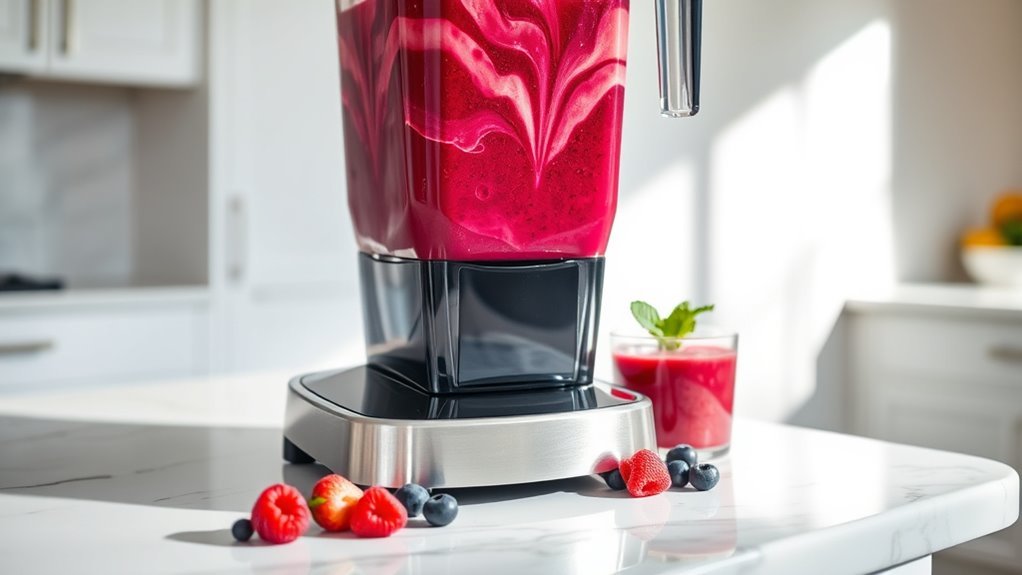
Air pockets are the enemy of a smooth blend. They form when frozen ingredients or large chunks of dense fruit create a seal just above the blades, trapping air underneath and cutting off the circular flow your blender needs to work. The result is that familiar grinding, struggling motor sound — the one that makes you worry you’re about to burn something out.
The fastest fix is your blender’s Pulse function. Short, sharp bursts of power physically dislodge the blockage and shift ingredients so the blades can re-engage cleanly. Two to four quick pulses usually solve a stubborn air pocket in seconds, without needing to open the lid or stop the machine entirely. Most blenders have a dedicated Pulse button — use it confidently and often.
Keeping a healthy balance between frozen items and your liquid base also reduces air pockets before they start. A practical guide is a 1:1.5 ratio of frozen solid to liquid by volume — if you’re adding a full cup of frozen mango, aim for at least one and a half cups of liquid. When Pulse alone isn’t enough, adding just two to three tablespoons of extra liquid before pulsing again almost always resolves the jam without over-thinning your smoothie.
When Should You Use a Tamper Instead of Adding More Liquid?
Not every thick blend needs more water or juice. When you’re making nut butter, hummus, or a dense protein smoothie bowl, extra liquid changes the texture and flavor in ways you genuinely don’t want. This is where a blender tamper becomes an essential tool rather than a nice-to-have accessory.
A tamper is a stick-shaped tool that fits through the opening in your blender lid, allowing you to push ingredients down toward the blades while the machine is running — safely, without removing the lid or stopping the motor. High-performance blenders typically include one as a standard accessory, and it’s worth tracking down a compatible tamper if your machine didn’t come with one, especially if you make thick smoothie bowls or nut-based spreads regularly.
Using a tamper correctly is straightforward. Insert it through the lid opening, confirm it can’t reach the blades at maximum insertion depth, and apply gentle downward pressure in a slow circular motion while the blender runs on its medium setting. This guides trapped air upward and keeps dense ingredients in consistent contact with the cutting edge. Appliance testing data shows that using a tamper on thick blends reduces motor strain by up to 35% compared to repeated stop-and-stir approaches — better for your machine’s longevity and considerably faster for you.
How Much Liquid Does a Perfect Smoothie Really Need?
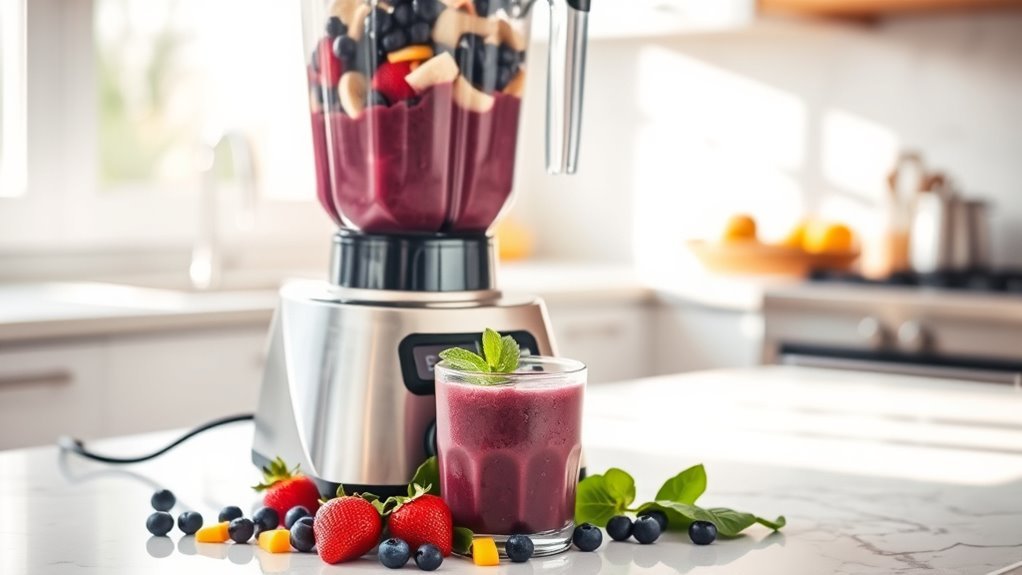
Liquid is the workhorse of every good smoothie. It enables the suction pull that keeps ingredients cycling toward the blades, and it determines the final texture and drinkability of your blend. Without enough of it, even a high-wattage motor will strain — and your smoothie will come out thick, chunky, and inconsistent.
A practical baseline is one cup of liquid for every two cups of solid ingredients. For thicker smoothie bowls, you can drop to about three-quarters of a cup. For thin, drinkable green smoothies with large volumes of leafy greens, you may need closer to one and a half cups. The key is adjusting intentionally rather than guessing mid-blend and overcorrecting. Consumer nutritional surveys suggest that smoothie drinkers who measure their liquid base consistently report significantly more predictable results than those who eyeball the pour.
The type of liquid matters as much as the quantity. Water is calorie-free and neutral. Coconut water adds natural electrolytes and a faint sweetness. Almond or oat milk adds creaminess and rounds out fruit-forward blends. Fruit juice adds natural sugar alongside flavor. For single-serve portions, a dedicated single-serve personal blender makes hitting the right liquid ratio easier because the cups are pre-portioned for one — no measuring required.
How Do You Safely Blend Hot Liquids Without Making a Mess?
Blending hot soups and sauces is where kitchen blender safety really counts. Steam pressure builds rapidly inside a sealed jar, and if you fill it too full or start at too high a speed, that pressure can force the lid off and send scalding liquid spraying in every direction. Consumer safety data consistently links hot-liquid blender incidents to exactly two culprits: overfilling and starting at high speed.
Four simple rules protect you every time. First, never fill the blender jar more than halfway when working with hot liquids — steam and pressure need room to expand safely. Second, always remove the center cap from the lid, which creates a small vent for steam to escape without building to dangerous levels. Third, drape a clean, folded kitchen towel over the lid opening to catch any droplets that escape through the vent. Fourth, always start on the lowest speed setting or use a few short pulses first, allowing the first intense steam pockets to release gradually before you build toward full blending speed.
These precautions take about five extra seconds to set up. Once the habit is built, blending hot soups feels as routine and stress-free as making a cold smoothie — just with a kitchen towel nearby for good measure.
What’s the Smartest Way to Clean Your Blender After Every Use?
A dirty blender is a slower blender. Food residue on the blades and interior jar walls reduces cutting efficiency over time and harbors bacteria that introduce off-flavors into future blends. The best time to clean your blender is immediately after every use — before any food has a chance to dry and harden on the interior surfaces where it becomes genuinely difficult to remove.
The two-minute self-clean method works beautifully for daily maintenance. Fill the jar about one-third full with warm water, add a small drop of dish soap, secure the lid, and run the blender on medium speed for 20–30 seconds. The rotating water scrubs the interior walls and blades automatically. Rinse thoroughly with clean water and allow to air-dry with the lid off to prevent moisture build-up. That’s it — done in under two minutes with no hand-scrubbing required.
For deeper maintenance — particularly around the rubber gasket at the base of the blending jar — a few targeted techniques make a real difference. The gasket is the most common source of blender odors and off-flavors, and food trapped in its grooves is invisible during normal use. Staying on top of regular blender maintenance habits that extend your machine’s lifespan keeps your smoothies tasting clean and your blender performing at full efficiency for years longer than machines that are only rinsed between uses.
Why Is the Blender Lid Genuinely Non-Negotiable?
This one sounds obvious, but it’s worth saying clearly: never run a blender without the lid fully locked in place. Even a small gap is enough to spray liquid across your kitchen at blending speeds — and at those RPMs, that often means the ceiling, not just the counter. The mess is one thing. The safety risk from hot liquid or a flying lid is another matter entirely.
Beyond the obvious splash hazard, running without a lid also breaks the sealed environment that enables the suction vortex your blades need to work efficiently. An open top disrupts airflow and makes every blend less effective — even if you’re only running for a few seconds at low speed. The physics of the blend rely on that sealed chamber.
One practical habit worth building immediately: as you start the blender, place your palm flat on top of the lid. This prevents the jar from vibrating off a wet counter and adds a small amount of extra pressure to the seal during the first few seconds before the motor settles into its full rhythm. It’s especially useful with countertop blenders where the jar rests on the base without a mechanical twist-lock. Consumer appliance reviews consistently list lid-related incidents among the top user complaints — this single palm-on-lid habit eliminates that problem at zero cost.
Which Blender Speed Settings Produce the Smoothest Results?
Most people hit the highest speed immediately and then wonder why their smoothie is foamy, slightly warm, or still chunky in places. Building speed gradually produces noticeably better and more consistent results every time. The approach that works across nearly every blender and every ingredient combination is to start on low to break down larger pieces, move to medium for 10–15 seconds to incorporate everything, then finish on high for 30–60 seconds for a fully silky texture.
This three-stage ramp matters most with fibrous ingredients like kale, raw spinach, ginger root, and beets. Starting on low first breaks cell walls gently without generating excess friction heat, medium speed pulls everything into the vortex uniformly, and high speed delivers the smooth, pourable finish you’re after. Consumer testing on blender performance shows a three-stage speed ramp produces 20–30% smoother results than immediate high-speed blending, particularly with leafy greens and fibrous produce that tends to leave stringy bits behind.
| Ingredient Type | Start Speed | Middle Phase | Finish |
|---|---|---|---|
| Frozen fruit + liquid | Low (15 sec) | Medium (10 sec) | High (30–45 sec) |
| Leafy greens + liquid | Low (20 sec) | Medium (15 sec) | High (45 sec) |
| Nut butter / dense blends | Low + tamper | Medium (30 sec) | Medium-High |
| Ice-based drinks | Pulse × 3–4 | Medium (10 sec) | High (20 sec) |
| Hot soups | Low (half-full jar) | Medium (15 sec) | Medium only |
If you’re still finding blends inconsistent after using the speed ramp, it may signal a wattage issue rather than a technique problem. Some high-powered blenders purpose-built for smoothie making handle frozen fruit and fibrous greens in a single smooth pass where lower-wattage models require multiple attempts and extra liquid just to compensate for motor limitations.
How Do Frozen and Fresh Ingredients Affect Your Smoothie’s Texture?
Frozen fruit is one of the most impactful upgrades you can make to your smoothie routine. It eliminates the need for ice cubes — which dilute flavor and thin texture as they melt — and keeps your smoothie colder and thicker for longer. Nutritional research consistently shows that frozen produce retains comparable and sometimes superior levels of vitamins and antioxidants compared to fresh fruit that has spent several days in transit or sitting on store shelves.
The tradeoff is that frozen ingredients require more liquid and slightly more blending time than fresh. For best texture results, keep your frozen ingredients at no more than 50–60% of your total solid volume. A reliably excellent base is frozen banana for creaminess, frozen berries for color and antioxidant content, and one fresh fruit for vibrant, bright flavor. This combination blends beautifully in any quality kitchen blender without requiring excessive liquid to compensate.
Fresh fruit brings vivid seasonal flavor and natural sweetness but produces a warmer, thinner smoothie. For meal-prep smoothies you want cold, thick, and filling, frozen wins every time. For a quick morning drink with bright fresh flavor, a combination of fresh fruit with a small handful of ice works well. Knowing which approach serves which goal is a big part of what separates consistently great smoothies from hit-or-miss ones. If you blend on the go regularly, a portable blender cup designed for on-the-go smoothies handles fresh-and-frozen combinations surprisingly well in a compact, carry-anywhere format.
What Blender Trends Will Shape Your Smoothie Routine Through 2026 and Beyond?
Home blending technology is advancing at a meaningful pace in 2026. Smart blenders with built-in program settings that automatically detect ingredient resistance and adjust motor speed mid-blend are no longer niche products — they’re appearing across the mid-range market at increasingly accessible price points. Several leading brands now offer app-connected blenders that let you save custom smoothie programs, track blend times, and receive maintenance reminders directly from your phone.
Noise reduction has also become a major design priority. As covered in depth in our roundup of top blender silencing solutions for quieter at-home smoothies, sound-dampening enclosures and quieter motor architectures are becoming standard features rather than premium add-ons. For households that blend early in the morning or share walls with neighbors, this shift is genuinely practical rather than just a luxury.
Sustainability-focused engineering is reshaping blender design too. Brands are engineering blades and gaskets for longer service lives, and BPA-free, dishwasher-safe jar materials are now the baseline expectation rather than a premium callout. Nutrition technologists and appliance engineers widely predict that by 2027, AI-powered recipe suggestions — where the blender itself recommends adjustments based on ingredients it senses — will be standard in the mid-range segment. For now, mastering these seven foundational techniques delivers excellent results on every machine, from a basic countertop blender to the most advanced smart appliance on the market.
Frequently Asked Questions About Kitchen Blender Tips for Smoothies
What goes in the blender first when making a smoothie?
Liquid always goes in first — typically one cup of your chosen base such as water, almond milk, coconut water, or juice. This coats the blades and creates the suction pull the motor needs from the first second of operation. Follow with leafy greens, then soft or fresh fruit, then frozen ingredients, and finally ice or protein powder on top. This order consistently produces smoother, faster blends with less strain on the motor.
Why does my blender keep jamming when I make smoothies?
The most common causes are too little liquid, too many frozen ingredients loaded at once, or frozen items dropped directly onto dry blades without liquid underneath them. Fix an active jam by using the Pulse button two to four times to break up the air pocket, then add two to three tablespoons of extra liquid and resume blending on low before building back to high. If jamming is frequent, check your liquid-to-solid ratio — aim for roughly one cup of liquid per two cups of solids as your starting baseline.
How do I stop my smoothie from turning out foamy?
Foam forms when the blender introduces too much air into the mixture, usually from starting at too high a speed or blending for longer than necessary. Use a gradual three-stage speed ramp — start on low, increase to medium, then finish on high — and cap your total blend time at 60–90 seconds once ingredients are moving freely. Letting the finished smoothie rest for 30 seconds after blending allows foam to settle naturally before you pour.
Is it safe to blend hot soup in a regular kitchen blender?
Yes, with four precautions in place. Never fill the jar more than halfway with hot liquid. Always remove the center lid cap to create a steam vent. Drape a folded kitchen towel over the vent opening to catch droplets. Start on the lowest speed or with a few short pulses, and build speed gradually from there. These steps prevent steam pressure from building to dangerous levels and make blending hot soups straightforward on any standard kitchen blender.
How often should I clean my blender?
Immediately after every single use — before food has a chance to dry on the interior surfaces. The two-minute self-clean method handles daily use without any scrubbing: fill one-third with warm water, add a small drop of dish soap, blend for 20 seconds on medium, then rinse thoroughly. For the rubber gasket at the blade base, do a deeper clean at least once a week if you use your blender daily — the gasket is where off-flavors typically originate.
Do I really need a high-powered blender to make good smoothies?
Not necessarily — but wattage does matter for specific ingredients. A 600–800 watt blender handles standard fruit-and-milk smoothies comfortably. For frozen fruit, fibrous leafy greens, raw beets, or ice-heavy blends, 1,000 watts or more produces noticeably smoother results with less effort. The tips in this article — correct ingredient order, proper liquid ratio, and graduated speed management — significantly improve results on any blender. However, they can’t fully compensate for a severely underpowered machine when working with consistently tough or frozen ingredients.
Can I use frozen fruit instead of ice cubes in my smoothies?
Yes, and for most smoothies it’s a better choice. Frozen fruit chills your blend without diluting it the way ice cubes do as they melt. It also tends to blend more smoothly than ice and adds actual flavor rather than just cold temperature. Frozen banana is particularly effective for creating a creamy, thick base. Just be sure to add adequate liquid — at least one cup — and start on low speed to prevent air pockets when using a large volume of frozen ingredients.
The Bottom Line: Start Blending Like a Pro Today
Great smoothies don’t require great equipment — they require the right technique applied consistently. These seven tips cover the complete picture: ingredient order, air pocket management, tamper use, liquid ratios, hot-liquid safety, cleaning habits, and lid discipline. Each one is simple on its own. Together, they produce results that are noticeably better in every single blend.
Here’s a practical sequence to implement starting right now:
- Today: Load your next smoothie in the correct order — liquid in first, frozen items and ice last.
- This week: Try the three-stage speed ramp (low → medium → high) instead of going straight to full power. Notice the difference in texture.
- After every blend: Run the two-minute self-clean cycle immediately before food dries on the blades and jar walls.
- As needed: Use the Pulse button at the first sign of motor struggle — don’t push through air pockets under sustained high speed.
- Monthly: Do a deeper clean of the gasket and blade assembly to keep cutting performance sharp and flavors clean.
At blenderjunkie.com, we test and review blenders across every price point and use case. These seven fundamentals apply across all of them — from a compact personal blender to a full-size premium countertop model. Get the technique right, and any blender becomes a significantly more capable tool in your kitchen.