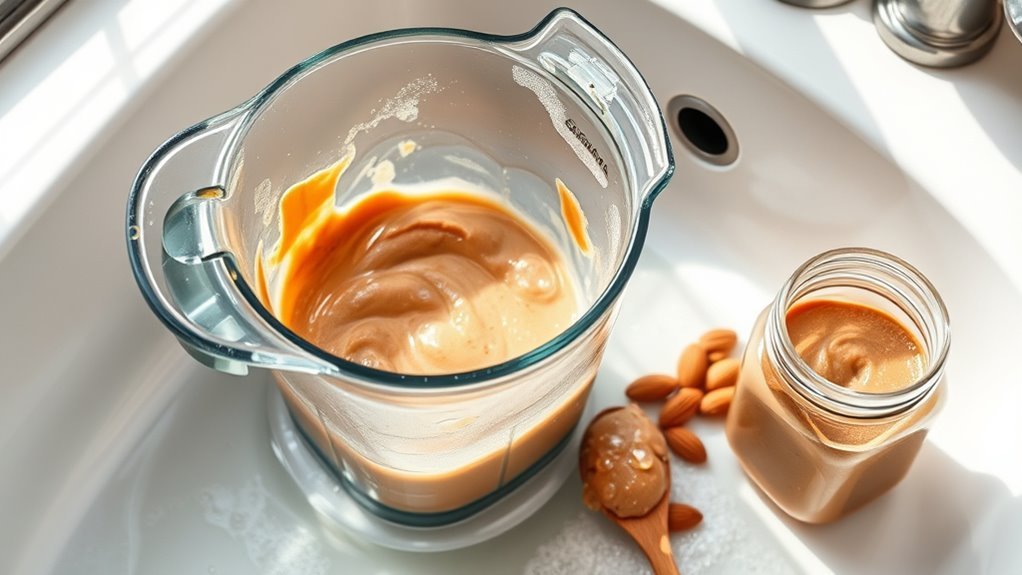
We’ve all been there – making delicious homemade almond or peanut butter only to face the nightmare of cleaning up afterward. That sticky, oily residue seems to cling to everything, especially those hard-to-reach spots under the blades. Over the years, we’ve tried countless methods that just don’t cut it. Well, after much trial and error, we’ve finally figured out some techniques that actually work without ruining our expensive equipment or spending hours scrubbing.
Some of the links in this article may be affiliate links. If you make a purchase through these links, we may earn a small commission at no extra cost to you. Thank you.

Why Nut Butters Create Cleaning Challenges
Why do nut butters make such a mess in our blenders?
It’s quite simple – peanut butter and other nut varieties have an incredibly stubborn consistency that seems almost designed to challenge our cleaning efforts.
The thick, oily nut butter residue clings to every surface, especially around those tricky blade areas where our normal dish soap barely penetrates.
You know, cleaning after making nut butter is almost like performing surgery.
We’ve found that what should be a quick rinse turns into a 5-minute ordeal!
Even after the initial wash, those tiny seed bits still hide in the crevices.
That’s why we always keep a bottle brush handy – it’s probably the only tool that can reach those seemingly impossible spots where the residue loves to hide.
To minimize these cleaning challenges, opt for a high-performance blender that features durable components for easier maintenance.
The Quick Clean Method: Almond Milk Technique
So you’ve got a blender full of sticky nut butter residue—what now? We’ve discovered an amazing trick using almond milk that’ll save your Vitamix blender from that stubborn butter buildup.
| Step | Action | Time | Result |
|---|---|---|---|
| 1 | Scrape most residue | 30 sec | Removes bulk |
| 2 | Add almond milk | 10 sec | Creates liquid base |
| 3 | Blend on high | 60 sec | Dissolves residue |
| 4 | Pour and rinse | 20 sec | Clean blender! |
The magic happens when you blend on high speed—almond milk whirls faster than thicker substances, effectively cleaning under those tricky blades. We tried this after making almond butter, and the smoothie we made right after had zero nut butter traces. It’s honestly the quickest clean method we’ve found! High-performance blenders are ideal for this technique because they can handle tough ingredients and offer efficient cleaning due to their robust features.
Deep Cleaning Strategies for Stubborn Residue
Stubborn nut butter residue requires more aggressive tactics when our quick almond milk method isn’t enough.
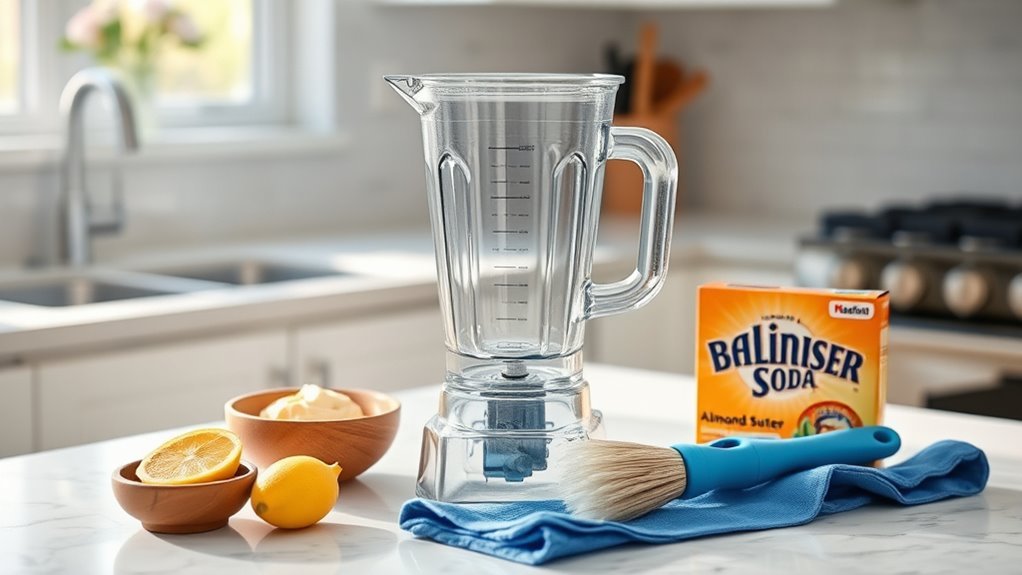
We’ve found that making a “soap smoothie” works wonders – just blend two cups of hot water with a squirt of dish soap on high speed for about 30 seconds.
This loosens up about 80% of that sticky mess!
For those really stubborn spots, grab a bottle brush and manually attack the areas around the blades.
Still seeing cloudy buildup?
Try a baking soda paste and scrub in circles – it’s amazing for restoring your container’s clarity.
For our deep cleaning secret weapon, we mix equal parts white vinegar and water, then let the container soak for several hours.
This dissolves even the most stubborn oily residues that, well, just don’t want to budge otherwise.
Preventing Damage During Cleaning
Taking care of your blender properly while cleaning it after nut butter sessions is essential for maintaining its 10-15 year lifespan.
We’ve found that hand washing the blender pitcher with warm water and a bit of soap works best, rather than subjecting it to high-heat dishwasher cycles that can damage components.
Keep the motor base completely dry—I mean, that’s obvious, right?—but you’d be surprised how many people aren’t careful with this.
For a quick clean, we recommend filling the pitcher halfway with warm water and a drop of dish soap, then blending on low before working up to high speed for about 30 seconds.
This method’s gentle on your blades but still effective.
If you notice stubborn residue, grab a soft bottle brush rather than anything abrasive that might scratch the container.
Repurposing Residue in Your Next Recipe
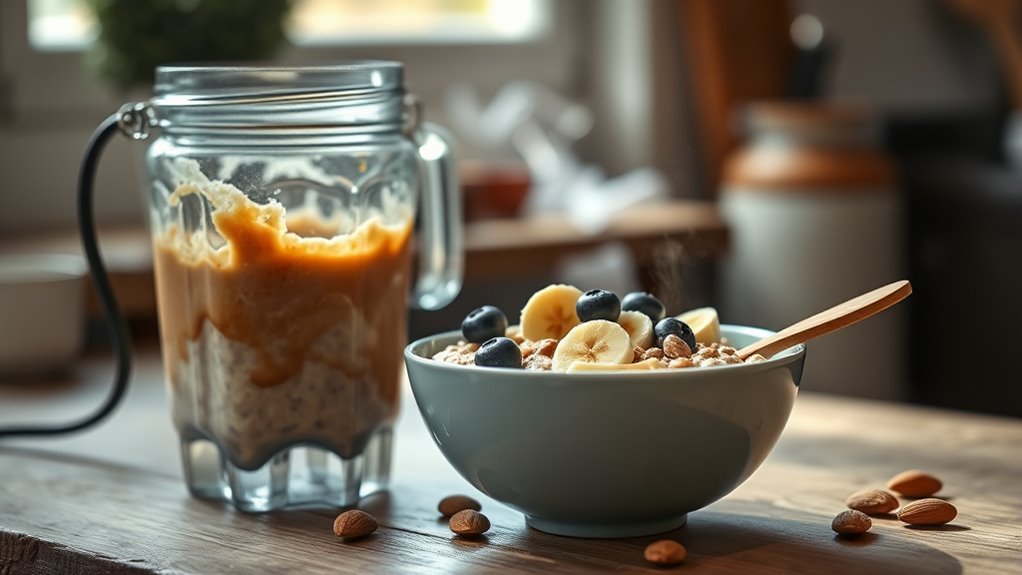
Why waste all that delicious nut butter residue stuck under your blender blades when you can transform it into something new?
We’ve found that even a small amount of leftover nut butter can be repurposed into delicious recipes.
One of our favorite tips for making the most of these remnants is adding them to smoothies – just pour in some almond milk and blend away!
You can also use this technique for soups, which works surprisingly well.
Need a thicker consistency? Add a drop or two of water to help things along, but not too much – you want to preserve that rich flavor.
If you’re feeling adventurous, throw in some fruit after the initial blend.
It’s like getting a free bonus serving from what you might’ve otherwise scrubbed down the drain!
Frequently Asked Questions
How to Clean Blender After Making Peanut Butter?
Sticky situations call for action! We’ll blend warm water with soap for residue removal around blades. For stubborn spots, we’d scrub with a brush, considering soap alternatives. Complete blade maintenance with thorough drying methods to prevent stains.
Do I Have to Wash My Blender After Every Use?
Yes, we highly recommend washing after every use. It’s our best hygiene tip for residue prevention. Daily routines like quick soap rinses in your maintenance advice will prevent storage methods from failing with buildup.
Can I Make Nut Butter in a Blender?
Yes, we can make excellent nut butter in blenders! For blender suitability, Vitamix models work best. Try various nut selections, and remember blending tips like scraping residue. Explore flavor options and recipe variations.
How to Get Peanut Butter Out of Vitamix?
We’re drowning in sticky situations! Scrape with a spatula first for yield maximization, then blend with almond milk or soapy water. A bottle brush tackles stubborn residue, ensuring your flavor additions and recipe pairings remain untainted.