We all love our smoothies and soups, but we don’t exactly cherish the cleanup afterward. Let’s face it—a neglected blender jar can quickly become a science experiment rather than a kitchen tool. With just a few simple techniques, we can keep our blenders spotless without the headache of scrubbing dried-on residue. The difference between a sparkling jar and a cloudy, smelly one often comes down to those first few minutes after use.
Some of the links in this article may be affiliate links. If you make a purchase through these links, we may earn a small commission at no extra cost to you. Thank you.

Daily Quick Clean Method for Busy Households
Why spend precious time scrubbing your blender jar when there’s a quicker way?
We’ve discovered a cleaning hack that’ll save you tons of time in the kitchen.
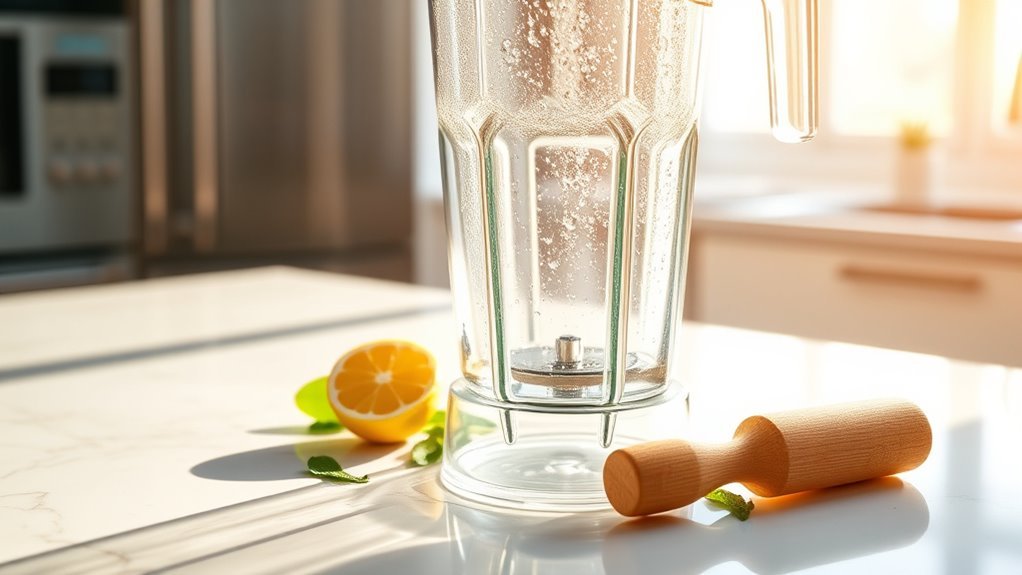
Fill your blender about halfway with warm water (just 1-2 cups), add 2-3 drops of dish soap, and you’re ready for magic!
Secure the lid and blend on high for about 30 seconds. The soapy tornado inside does all the scrubbing for you! Once done, simply pour out the mixture, give it a quick rinse under running water, and—voilà!
For extra cleanliness, we like to shake a bit of fresh water inside to remove any lingering soap. Then just air dry completely. This quick clean method takes under two minutes total—perfect for our busy households! Additionally, this technique supports the longevity of high-performance blenders by promoting regular maintenance as recommended by manufacturers.
Deep Cleaning Techniques for Stubborn Residue
Sometimes that quick soap-and-water method just isn’t enough.
When your blender jar looks cloudy or has stubborn residue clinging to it, it’s time for a deep clean.
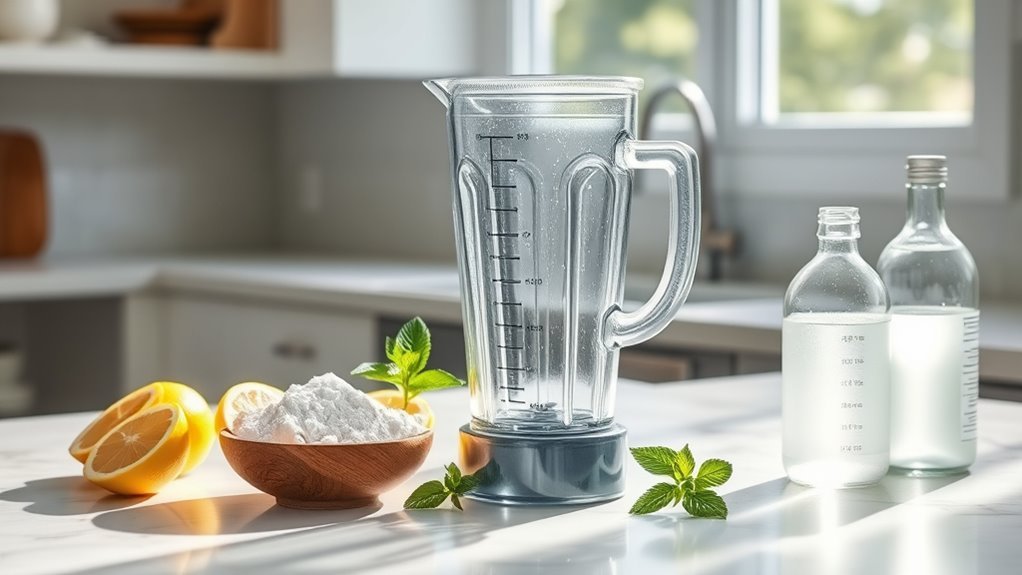
We’ve found that baking soda is practically magical for this purpose, especially when combined with a cup of white vinegar to dissolve those pesky mineral deposits.
For seriously stubborn situations, try these powerhouse methods:
- Mix powdered dishwasher detergent with hot water and soak for two hours
- Create a baking soda paste, apply to stains, and let sit for five minutes
- Blend a lemon juice solution with baking soda for a natural cleaning option
Don’t forget to soak disassembled parts occasionally in vinegar solution—it’s amazing how fresh your blender will look afterward!
Natural Cleaning Solutions for Eco-Conscious Users
How often have we hesitated to use harsh chemicals when cleaning our blender jars, worrying about both our health and the environment?
Well, we’ve got good—no, great—natural alternatives that work just as effectively.
Our favorite is the vinegar and baking soda solution: mix 3/4 cup white vinegar, 1/4 cup baking soda, and 1/4 cup water.
Blend for 30 seconds, then let it sit for a while.
It’s like giving your blender a spa treatment!
This method rates 4 out of 5 for clarity restoration.
For a blender smelling funky, try these easy steps: blend a cut lemon with water.
It’s that simple!
The citrus acids tackle odors naturally.
These eco-friendly methods might take a bit longer, but they’re gentler on our planet—and honestly, on our consciences too.
Addressing Cloudiness and Mineral Buildup
When did your favorite blender jar start looking like it’s been through a fog machine?
We’ve tested multiple cleaning methods and found that dish detergent powder reigns supreme for tackling cloudiness caused by mineral buildup.
After years of daily use (especially with staining ingredients like turmeric), those deposits can really take over your blender jar.
Our top-rated methods for blender cleaning:
- Dish detergent powder method – Mix two tablespoons with hot water, soak for two hours, then scrub around for 10 minutes with a Euroscrubby (way better than a bottle brush!)
- Vinegar and baking soda – Creates a paste that needs 12 hours total, with 20 minutes of active scrubbing
- Regular maintenance – Quick rinses prevent buildup in the first place
The detergent method’s our go-to – it’ll make your cloudy jar look practically new again!
For optimal results, pairing these cleaning techniques with high-performance blenders can enhance durability and efficiency in your kitchen routine.
Specialized Care for Different Blender Materials
Why do different blender materials require such different care routines?
It’s actually fascinating how glass and plastic react so differently to the same foods.
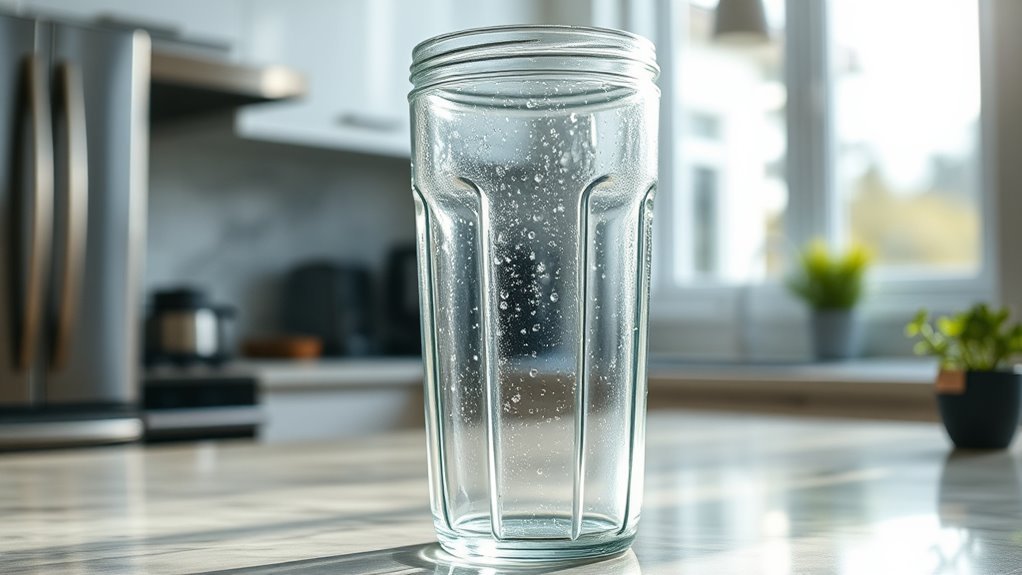
Glass jars are pretty forgiving—a quick wash with dish soap and warm water usually does the trick.
You can even run a self-cleaning cycle by adding water and a drop of soap, then hitting high speed for 30 seconds.
Plastic, though? That’s a whole different story.
We’ve found plastic blenders need special attention since they trap stains in micro-scratches.
Never put them in the dishwasher!
Instead, try a baking soda paste or—my personal favorite trick—blend equal parts water and vinegar for a minute.
It’s like giving your blender a mini spa treatment, and who doesn’t want that?
Removing Strong Odors and Stains
We’ve found that stubborn odors and stains in blender jars can be tackled with our favorite lemon-baking soda method, which cuts through even turmeric and garlic residues.
For tougher challenges, try our vinegar deep clean solution that earned a solid 4/5 effectiveness rating in our tests.
If you’re looking for an alternative approach, coffee grounds can also work as a natural abrasive that scrubs away residue without damaging your blender jar.
Lemon Baking Soda Method
Tackling those stubborn blender odors and stains doesn’t have to be complicated.
We’ve found that a simple lemon-baking soda mixture works surprisingly well.
To clean your blender effectively, fill the blender jar with the juice of one lemon (toss the rind), 2 tablespoons of baking soda, and a cup of water.
Here’s our quick process:
- Blend the mixture on high for about 30 seconds
- Use a soft sponge to scrub the interior, focusing on problem areas
- Rinse thoroughly to remove all residues
While this method isn’t perfect for tough stains (we’d rate it about 2/5), it’s great for eliminating those funky odors from previous uses.
The whole process takes about 5 minutes and, honestly, works better than some commercial cleaners we’ve tried.
Vinegar Deep Clean
The vinegar deep clean method is our go-to solution when blender jars develop those really stubborn stains and lingering odors that just won’t quit.
Keeping your blender fresh is essential, and sometimes you need something stronger than soap.
To Blender Clean the tough stuff, combine 3/4 cup white vinegar, 1/4 cup baking soda, and 1/4 cup water in your jar.
Let the blender run on high for about 30 seconds—this creates a powerful reaction that attacks residue head-on.
Next, remove the jar and gently scrub the interior with a soft sponge.
You’ll notice how the vinegar’s acidity helps lift those persistent stains.
Honestly, it’s like watching science do the hard work for you!
Just remember to rinse thoroughly when you clean your blender this way.
Coffee Grounds Scrub
Coffee grounds transform your blender jar cleanup routine with their naturally abrasive yet gentle scrubbing power.
We’ve found they’re amazing at tackling those stubborn garlic or onion smells that seem to linger forever.
To use them effectively, mix the grounds with a bit of water to create a paste, then let it stand for a couple of minutes in your jar.
Here’s our tried-and-true method:
- Apply the coffee paste to the interior surfaces
- Let stand for 5-10 minutes (longer for really tough odors)
- Scrub gently in circular motions
The natural oils in the grounds actually help keep your blender odor-free by binding to those pesky smell particles.
Just make sure you’re rinsing thoroughly afterward – nobody wants coffee-flavored smoothies unless that’s what you’re making!
Preventative Maintenance to Extend Jar Life
We’ve found that blending seeds can leave tiny scratches in your plastic jar, creating the perfect hiding spots for stains and bacteria over time.
That’s why we always recommend giving your blender a quick clean immediately after use—just 30 seconds with warm water and a drop of dish soap will do the trick.
Your future self will thank you when, three years from now, your blender jar still looks almost as clear as the day you bought it.
Avoid Seed Micro-Scratches
Have you ever noticed those stubborn stains that won’t come out of your blender jar no matter how much you scrub?
Those might actually be tiny scratches caused by berry seeds!
We’ve found that blenders performance deteriorates when these micro-scratches trap residue around the base, especially in plastic jars.
To keep your blender jar looking clear longer, try these simple strategies:
- Strain seeds from fruits before blending
- Limit blending time when using seedy ingredients
- Clean immediately after making seedy salad dressings (no quick fix exists for existing scratches!)
Since 2012, studies have shown plastic jars scratch much faster than glass ones.
With proper care, though, we can extend a plastic jar’s life to about three years before it becomes too cloudy.
Trust us, prevention is way easier than dealing with a permanently stained jar!
Immediate After-Use Cleaning
When you’ve just finished blending your favorite smoothie or sauce, the last thing you might want to do is clean up, but those few minutes of immediate maintenance will save you hours of scrubbing later.
Here’s our quick method: fill the jar halfway with warm water, add a drop of dish soap, and blend on high for about 30 seconds.
This soapy water loosens everything stuck to the sides—even those stubborn berry stains!
Then thoroughly rinse the jar to avoid any soap residue, which can, well, make your next smoothie taste like dish soap (yuck!).
We’ve found that this use-quick cleaning routine not only prevents staining but also extends your blender’s life by reducing those tiny scratches from seeds. It’s probably the best two-minute investment you’ll make in your kitchen tools!
Safe Cleaning Methods to Protect Blades and Seals
Maintaining your blender’s blades and seals requires gentle but effective cleaning techniques that won’t compromise their integrity.
We’ve found that using just a few drops of dish soap (not tablespoons of dish detergent—that’s overkill!) with warm water works wonders.
Always keep the motor base dry—never submerge it in water!
For thorough cleaning that extends your blender’s life, follow these steps:
- Disassemble removable parts and soak in warm soapy water for 10-15 minutes
- Use a soft-bristled brush like the OXO Good Grips to clean around blades without scratching
- Apply baking soda paste to stubborn stains, letting it sit for 5 minutes before gently scrubbing
We’ve learned the hard way that dishwashers can damage seals over time.
Trust us—hand washing is definitely worth the extra minute!
Frequently Asked Questions
What Do You Need to Put Inside the Blender Jar to Clean It?
We can clean our blender jar with a soap foam solution, vinegar mixture with baking soda, lemon paste to remove odors, or a salt scrub for stubborn residue.
How to Deep Clean a Blender Jug?
For a truly spotless refresher, we’ll combine vinegar, baking soda and water, then blend. After Jar Disassembly, apply Scrub Techniques with a Euroscrubby. Tool Usage and Residual Wiping guarantee Preventive Care success.
How to Clean a Blender Glass?
We’ll keep our glass blender spotless with Hand Washing using warm soapy water, a Quick Rinse after use, and an Exterior Wipe with a damp cloth. Daily Maintenance and Preventive Care prevent stubborn stains.
How to Clean a Cloudy Blendtec Jar?
Isn’t it frustrating when jars get cloudy? We’ve found powdered dishwasher detergent with hot water works best for Jar Clarity. For Stain Fixes, try vinegar and baking soda. Daily Maintenance Hacks prevent Cloudy Blendtec issues altogether.