To achieve perfectly creamy green smoothies, we’ll show you the essential blade setup tricks. Start with 700+ watts of power and sharp, angled stainless steel blades that hit 20,000+ RPM. Layer ingredients strategically: liquids first to create a vortex, then leafy greens, powders, and frozen items on top. Keep blades properly tightened and clean after each use. There’s more to mastering the perfect blend than meets the eye.
Some of the links in this article may be affiliate links. If you make a purchase through these links, we may earn a small commission at no extra cost to you. Thank you.

Understanding Blade Design for Green Smoothies
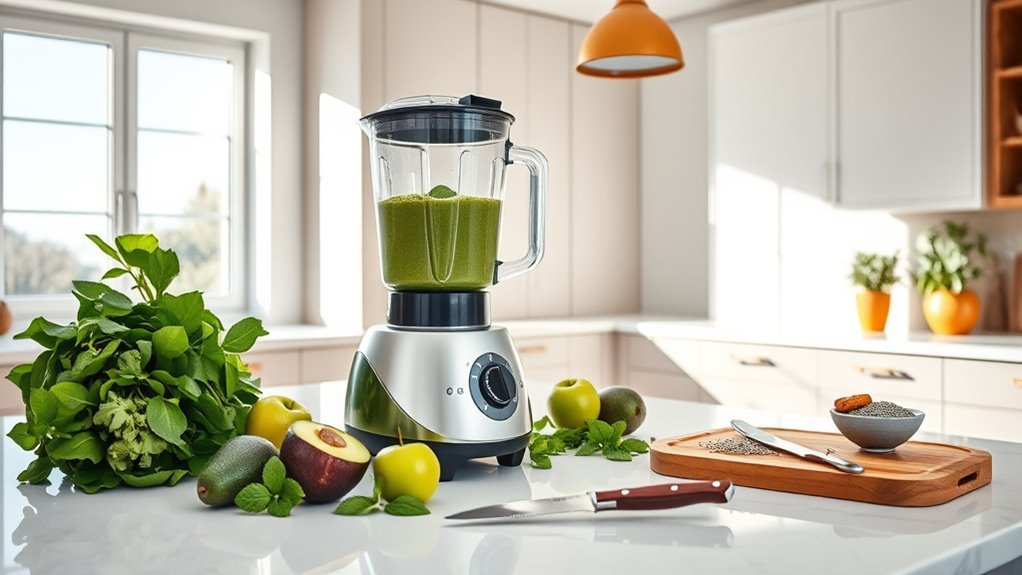
Blade design stands at the heart of smoothie-making success. We’ve found that high-performance blenders with uniquely angled blades create the perfect vortex action, pulling leafy greens down for thorough blending efficiency.
Don’t let those dull blades fool you – they’re intentionally designed that way to handle tough ingredients while keeping your fingers safe.
When we’re aiming for ideal results in green smoothies, we’re looking at two vital factors: stainless steel blades that won’t corrode, and at least 700 watts of power. High-performance blenders are versatile and durable, making them ideal for achieving that creamy texture we all desire.
The blade height matters too – taller for big batches, shorter for personal blenders. It’s this precise combination of power and blade design that transforms chunky ingredients into that creamy texture we’re all chasing.
Trust us, proper blade setup makes all the difference.
Essential Ingredient Layering Techniques
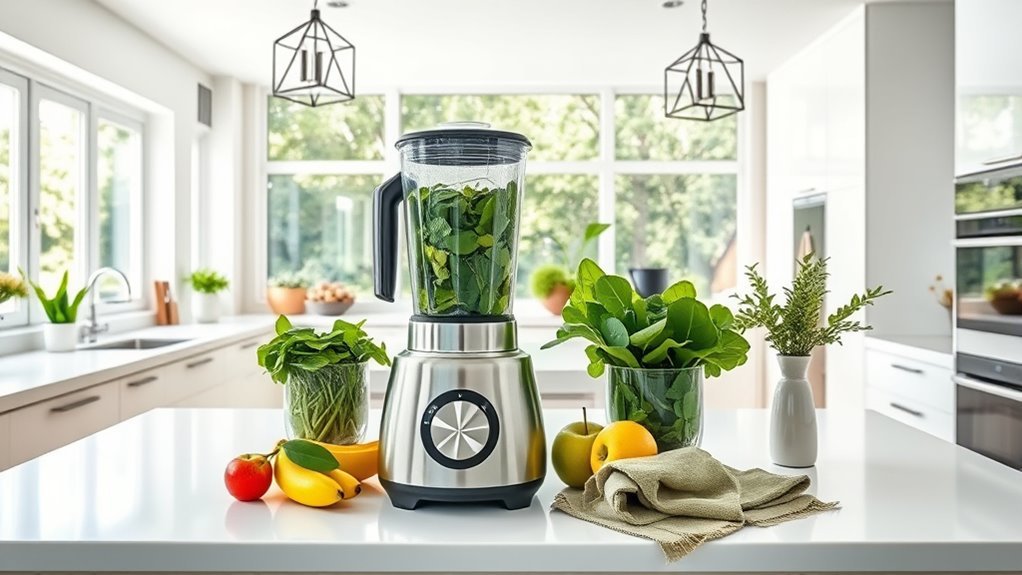
With powerful blades ready to whirl, let’s focus on the art of ingredient layering – it’s what separates smoothie masters from amateurs. For consistently creamy smoothies, proper ingredient sequencing is non-negotiable. We’ll start with liquid to create that vital vortex, followed by greens, then powders, and frozen fruit last.
| Layer | Ingredient | Purpose |
|---|---|---|
| Top | Frozen Fruit | Prevents blade obstruction |
| Middle | Greens/Powders | Ideal breakdown |
| Bottom | Liquids | Creates blending vortex |
Remember: properly installed blades are essential. When loading ingredients into the blender cups, this strategic layering technique guarantees smooth blending every time. Start with your liquid base, add those leafy greens, and crown it with frozen fruit – it’s your foolproof path to smoothie perfection. Additionally, using a high-performance blender can greatly enhance the blending efficiency and achieve a smoother consistency in your smoothies.
Blade Speed and Performance Factors

Because achieving silky-smooth results depends heavily on rotation speed, we’ll explore the critical specs that drive stellar performance.
Our blades must hit 20,000-30,000 RPM to properly break down tough greens and frozen fruit – that’s non-negotiable for creamy texture.
We’re looking at two key factors: blade configuration and power. Sharp, angled blades create that essential vortex effect, pulling ingredients down for thorough blending.
You’ll need at least 700 watts to drive those blades effectively, especially when tackling ice and fibrous greens.
Don’t overlook maintenance – dull blades kill performance. Consider blenders with multiple blade configurations for versatility.
Regular checks guarantee proper alignment and blending effectiveness.
Trust us: these specs aren’t suggestions – they’re requirements for consistently smooth results.
Maintaining Sharp Blades for Optimal Results
To achieve consistently flawless smoothies, you’ll need to maintain razor-sharp blades – there’s no way around it.
We’ve seen countless smoothies fail because of dull blender blades that can’t properly blend together tough greens and frozen fruits.
Let’s get serious about blade care. Check them regularly for wear, and clean blades thoroughly after each use with warm, soapy water.
Skip the abrasive sponges – they’ll wreck your blades’ sharpness. Store your blender in a dry place, and master the proper blending technique: liquids first, then soft ingredients, followed by the tough stuff.
This sequence helps maintain sharpness and peak performance. When blending quality drops, don’t hesitate to replace those blades.
Trust us – the creamy texture and smooth results are worth it.
Common Blade Setup Mistakes to Avoid
While setting up blender blades might seem straightforward, we’ve seen countless smoothie disasters from basic setup mistakes. Let’s avoid these common pitfalls for efficient blending and creamy smoothies.
| Mistake | Impact | Solution |
|---|---|---|
| Loose Blades | Uneven Textures | Tighten Properly |
| Overloading | Stuck Blades | Layer in Batches |
| Wrong Layering | Poor Blending | Liquid-Soft-Frozen |
| Ignoring Wear | Dull Performance | Regular Checks |
| Skip Cleaning | Residue Build-up | Clean After Use |
We can’t stress enough how proper blade setup transforms green smoothies from chunky disappointments to silky perfection. Start with tight, clean blades, layer ingredients strategically, and never overload. Watch for signs of blade wear – that grinding sound isn’t normal. Remember: smooth blending starts with smart setup.
Adapting Blade Settings for Different Greens
Getting your blender settings right for leafy greens isn’t a one-size-fits-all game.
We’ll need to adjust blade speed and settings based on the type of greens we’re working with. For softer leafy greens like spinach, standard blending speed works perfectly, while tougher greens demand high wattage settings of 700-800 watts minimum for that creamy texture we’re after.
- Match blade speed to green type – standard for soft leaves, high for tough ones
- Use a tamper tool to guide stubborn greens into blades
- Experiment with blending cycles – higher for kale, lower for spinach
- Monitor blade resistance to prevent jamming and guarantee smooth blends
- Adjust settings mid-blend if needed – don’t stick to one speed
Smart blade management means better smoothies.
Let’s nail those settings and get blending.
Tips for Maximizing Blade Efficiency
Since blade efficiency makes or breaks your smoothie game, let’s explore the essentials of maximizing your blender’s performance. Sharp, clean blades are non-negotiable – dull blades turn your dreams of creamy consistency into chunky disappointment. We’ll always pour liquid first to create that vital vortex effect.
| Action | Purpose | Result |
|---|---|---|
| Layer ingredients | Softer items near blades | Efficient blending |
| Use 700W+ blender | Handle tough greens | Smooth texture |
| Check blade assembly | Prevent misalignment | Even mixing |
Here’s the kicker: proper maintenance isn’t optional. A high-powered blender deserves regular blade checks. When you blend your smoothie, layer your ingredients strategically – greens like kale go near the bottom, followed by softer fruits, then frozen items on top. This setup guarantees ideal blade contact and superior results.
Frequently Asked Questions
What Is the Best Blender Setting for Smoothies?
We’ll help you create mind-blowingly perfect smoothies! Start with low speed for liquid base and leafy greens, then gradually increase to high for frozen fruits until reaching ideal smoothie consistency.
What Is the Best Blender for Making Green Smoothies?
We recommend the Vitamix A2500 for its superior nutrient extraction, powerful motor, and reliable blade design. Consumer reviews consistently praise its performance, while multiple size options and excellent warranty coverage justify the investment.
How to Make a Green Smoothie Not Chunky?
We’ll achieve 85% smoother smoothies by blending leafy greens with liquid first, then pulsing frozen fruits gradually. Start with proper liquid ratios and high-speed blend until perfectly smooth consistency.
How Do You Stack a Blender for Smoothies?
Let’s layer our smoothies from bottom up: start with liquid, add leafy greens, then soft fruits, protein powder or nuts, frozen fruits, and ice on top for perfect blending.