When we think about nourishing our babies, nothing compares to the satisfaction of preparing their food from scratch. We've discovered that homemade baby food isn't just about pureeing vegetables – it's an opportunity to introduce our little ones to diverse flavors and textures while ensuring they receive the freshest, most nutritious ingredients possible. From selecting the perfect produce to mastering safe preparation techniques, there's quite a bit to contemplate. Let's explore how we can create wholesome, safe meals that will help establish healthy eating habits for our children's future.
Essential Equipment and Tools
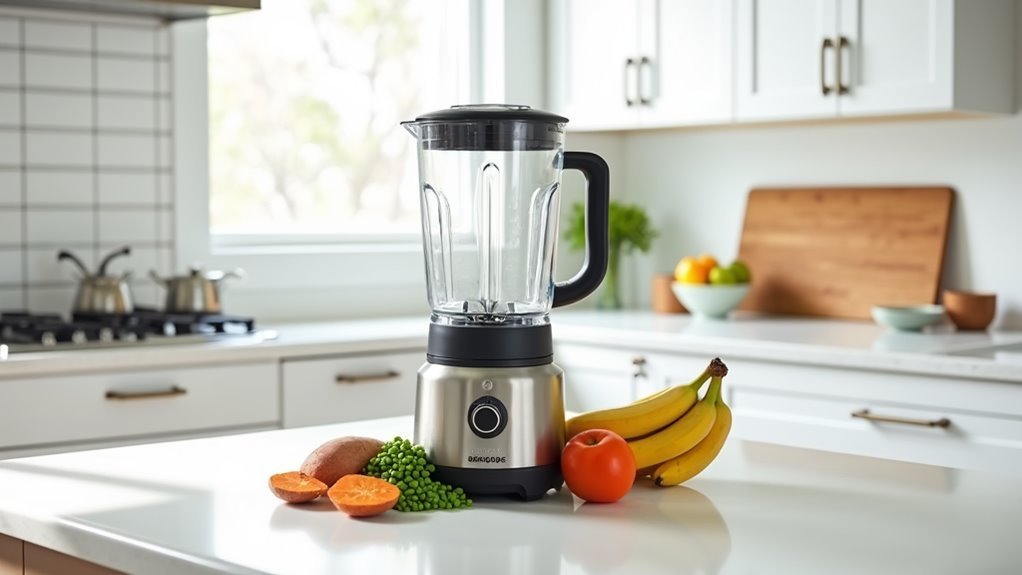
Every parent needs a core set of tools and equipment to successfully prepare homemade baby food. At the heart of our setup, we'll want a reliable blender or food processor for creating smooth purees and exploring various mixing techniques. While standard blenders work well, dedicated baby food makers like the Babymoov Duo Meal Station or Baby Brezza Deluxe offer convenient all-in-one solutions for steaming and blending. Safe storage is crucial, so leak-proof containers are essential for both refrigeration and transport. High-performance blenders can help parents create smoother, more nutrient-rich purees with greater efficiency.
In the kitchen, we'll need basic cooking tools including saucepans, steamer baskets, and sturdy cutting boards to prepare ingredients for exciting flavor combinations. A good set of spatulas helps us transfer every bit of nutritious puree from our blending containers.
For storage and serving, we'll want to invest in suction bowls, baby-friendly spoons, and sectioned plates that support our little ones' developing eating skills. Freezer trays and airtight containers are essential for preserving batches of homemade food.
Don't forget helpful accessories like reusable pouches for on-the-go feeding, and specialized tools such as grape cutters and crinkle cutters that make finger foods safer and easier to grasp as babies progress toward self-feeding.
Selecting Fresh Ingredients
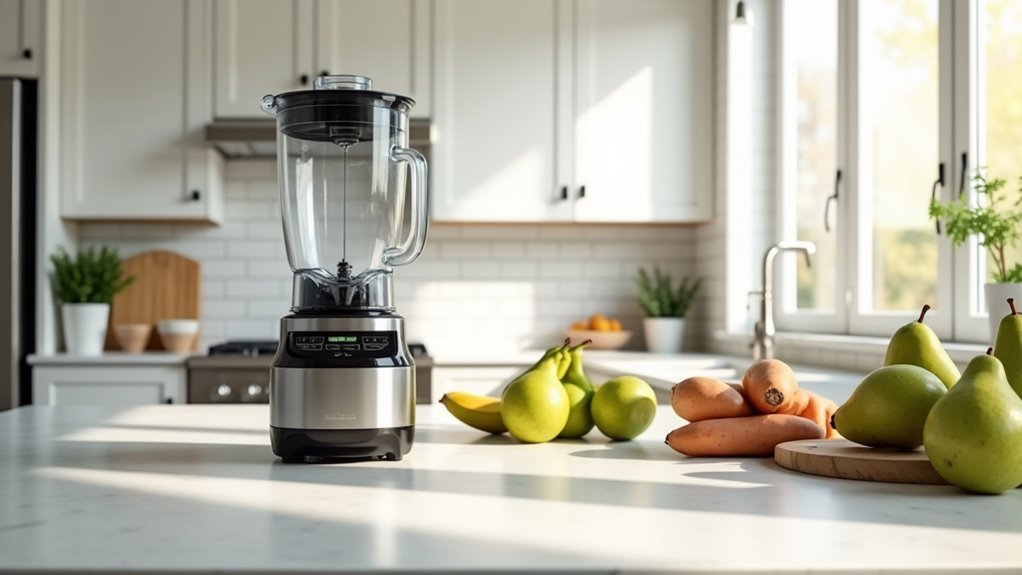
With our kitchen properly equipped, let's focus on the foundation of great baby food – selecting fresh ingredients. Our fruit selection process starts with thoroughly washing all fruits under lukewarm water, followed by careful peeling and seed removal. High-performance blenders can help transform these ingredients into smooth, nutritious purees for your baby.
We'll want to cook firmer fruits until they're tender, and for items like peaches, a quick 45-second boil will help with blending. Organic options can help minimize pesticide exposure in baby's food.
When it comes to vegetable quality, we'll follow similar cleaning procedures, making sure to remove any fibrous parts that could create texture issues. Hard vegetables need cooking until tender, and we'll strain our purees for that perfect smooth consistency that babies need.
For proteins, we'll trim away all bones, fat, and gristle before cooking meats to their recommended internal temperatures.
Storage is essential for maintaining freshness and safety. We'll keep our fruits and vegetables separate, label everything clearly with dates, and freeze portions using ice cube trays for convenience.
Safe Food Handling Guidelines
In accordance with food safety standards, proper handling guidelines form the cornerstone of healthy baby food preparation.
High-quality ingredients must be inspected thoroughly for visible freshness before use.
We'll explore essential practices that guarantee cross contamination prevention while maintaining bacterial contamination awareness throughout the process.
Let's focus on key safety measures that protect your little one's health and give you confidence in your food prep routine.
- Wash hands thoroughly with hot, soapy water before handling any ingredients or equipment, and maintain separate cutting boards for raw meats and produce.
- Store prepared baby food in airtight containers, labeling each with contents and date, and keep in the refrigerator for up to 3 days or freezer for up to 8 months.
- Serve portions from a separate bowl rather than feeding directly from storage containers to prevent bacterial growth.
- Cook all ingredients to proper temperatures: 165°F for poultry, 160°F for meats, and 145°F for fish, using a food thermometer to verify.
- Discard any uneaten portions after two hours at room temperature, and never reuse leftover food from your baby's bowl.
Basic Preparation Methods
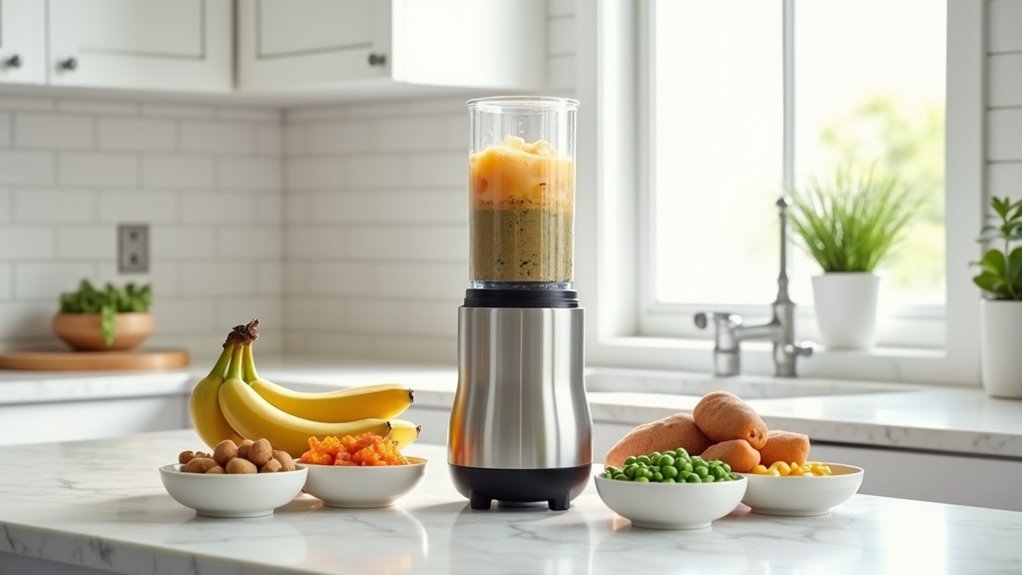
Making nutritious baby food starts with mastering essential preparation methods that guarantee both safety and ideal nutrition.
We'll walk you through simple recipes that transform wholesome ingredients into perfect meals for your little one, starting with basic cooking techniques that preserve nutrients while ensuring food safety. Clean sealed containers are crucial for storing prepared baby food and preventing contamination.
We recommend steaming or roasting vegetables until tender, as these methods retain more nutrients than boiling. For meats, thorough cooking is essential – boil or pressure cook until they reach safe internal temperatures.
When crafting flavor combinations, we suggest pairing iron-rich foods like pureed beef with vitamin C-rich vegetables to enhance iron absorption. You'll want to experiment with herbs and spices to develop your baby's palate, though keep seasonings subtle.
For the smoothest results, we use a high-powered blender or food mill to puree cooked ingredients. Start with a generous base quantity, and thin the mixture with breast milk or cooking liquid until you achieve the desired consistency.
As your baby grows, gradually shift from smooth purees to more textured foods, adjusting the blending time accordingly.
Storage and Freezing Tips
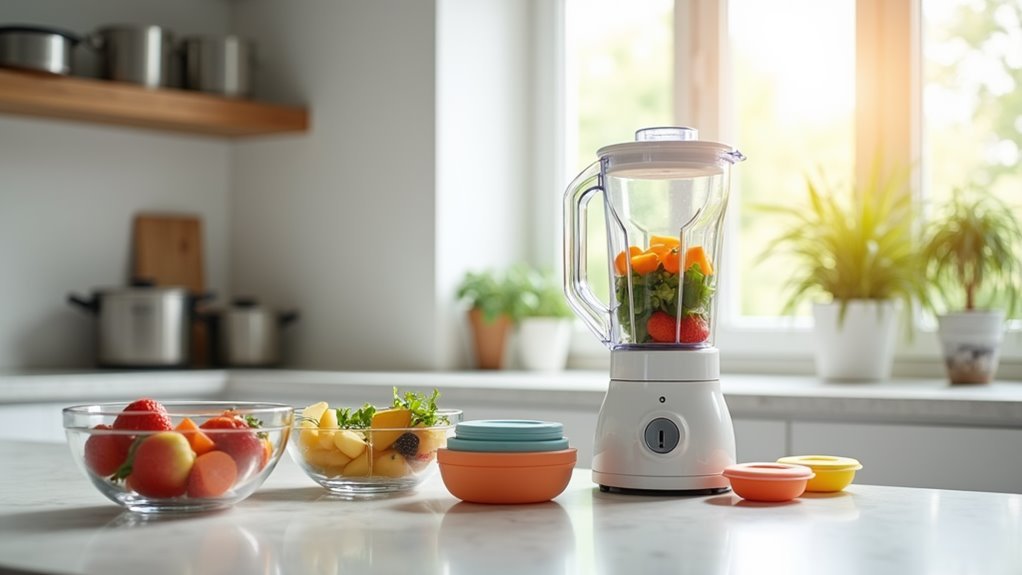
Proper storage and freezing techniques guarantee your homemade baby food remains safe and nutritious for months. We'll share essential freezing techniques and food labeling practices that make storing your baby's meals both convenient and secure.
Let's organize your kitchen for successful baby food preparation and storage.
Here are our top storage recommendations to keep your homemade baby food fresh:
- Cool foods completely before freezing, then transfer immediately to prevent bacteria from developing
- Label everything with contents and date using waterproof markers or labels
- Store frozen portions in airtight containers or freezer bags to maintain quality
- Use ice cube trays or silicone molds for perfect single-serving portions
- Keep raw and cooked foods separate to avoid cross-contamination
Silicone muffin cups offer flexible storage options that make removing frozen portions effortless.
When it's time to thaw, we recommend using either the refrigerator method (4-12 hours) or the warm water submersion technique (10-20 minutes).
Never leave baby food at room temperature for more than two hours, and store thawed portions in the refrigerator for up to 48 hours.
With proper storage methods, you'll have peace of mind knowing your baby's food is always safe and ready to serve.
Age-Appropriate Food Consistencies
Now that you've mastered food storage, understanding age-appropriate food consistencies will help you prepare the right textures for your baby's developmental stage. As we follow key age milestones, we'll guide you through the texture progression that keeps pace with your baby's developing eating skills.
| Age Range | Consistency | Examples |
|---|---|---|
| 0-4 months | Liquid only | Breast milk |
| 4-6 months | Thin purees | Single-ingredient cereals, pureed carrots |
| 6-9 months | Medium purees | Combined vegetables, yogurt blends |
For the first four months, we'll stick exclusively to breast milk, which provides complete nutrition for your baby. When your little one reaches 4-6 months, we'll introduce smooth, single-ingredient purees that flow easily off the spoon. Moving into the 6-9 month period, we'll advance to thicker combinations of ingredients, maintaining a smooth consistency while expanding flavor horizons. By 9-12 months, we'll progress to chunkier textures and soft finger foods, letting your baby explore different consistencies while developing important self-feeding skills. Remember to introduce one allergen at a time to monitor your baby's reactions and ensure safe food exploration.
Common Food Allergies
Understanding food allergies is essential when introducing solids to your baby, as certain foods can trigger allergic reactions that range from mild to severe. When it comes to allergen introduction, we now know that early exposure, typically between 4 to 6 months, can actually help reduce the risk of developing food allergies. The most common allergens include milk, eggs, peanuts, soy, and tree nuts, which account for about 90% of all food allergies in U.S. children. For babies with a family history of allergies, it's crucial to consult a pediatrician before introducing high-risk foods.
Watch for these common allergy symptoms when introducing new foods:
- Hives or skin rashes appearing within minutes to two hours
- Vomiting or gastrointestinal distress
- Coughing, wheezing, or difficulty breathing
- Swelling around the mouth or face
- Unusual sleepiness or lethargy
We recommend starting with small amounts of allergenic foods and monitoring your baby closely.
Serve these foods safely by thinly spreading nut butters, thoroughly cooking eggs, and offering dairy in the form of yogurt or cheese. If you notice any concerning reactions, especially breathing difficulties or severe vomiting, seek immediate medical attention.
Frequently Asked Questions
How Long Should I Continue Making Homemade Baby Food?
Let's keep making baby food until your child's ready for table foods, usually around 12 months. We'll gradually adjust puree textures during the baby food changeover to match their developing eating skills.
Can I Season My Baby's Food With Herbs and Spices?
We can absolutely season our baby's food with herbs and spices from 6 months onward. Let's introduce mild flavors like basil and cinnamon first, ensuring herb safety while expanding their developing palate.
Why Does My Baby Refuse Homemade Purees but Accepts Store-Bought Ones?
Let's understand that babies often prefer store-bought purees due to their consistent texture and familiar taste. They've developed specific texture preferences, making homemade versions with varying tastes less appealing.
Should I Warm Homemade Baby Food Before Serving?
Old habits warm hearts! We'll want to warm homemade baby food, as it enhances flavors and digestion. Use stovetop double-boiling or microwave in 15-second bursts, always testing temperature before serving.
Can I Mix Breast Milk Into Homemade Baby Food Purees?
Yes, we can mix breast milk into homemade baby food purees for ideal consistency. Just remember to follow proper puree storage guidelines and use the mixture within two hours or refrigerate immediately.
Conclusion
Making our own baby food is like planting a garden of nutrition for our little ones to grow strong and healthy. We've explored the essential tools, techniques, and safety guidelines needed to create wholesome purées at home. By following these steps and staying vigilant about food safety, we're not just preparing meals – we're nurturing our babies' developing palates and setting the foundation for a lifetime of healthy eating habits.

