We've discovered that most home cooks underutilize their blender's potential when making hot soups, often missing essential techniques that professional chefs employ daily. While many of us think of blenders as smoothie machines, these powerful kitchen tools can transform ordinary ingredients into silky, restaurant-worthy soups through precise speed control and proper ingredient staging. By mastering innovative blending methods, we'll reveal the secrets to achieving that perfect, velvety consistency that's typically reserved for high-end restaurants, and we're about to change everything you thought you knew about soup making.
Essential Equipment and Tools
To make hot soup in a blender, you'll need the right equipment that can handle high temperatures and blend ingredients smoothly. We recommend investing in a high-powered blender with at least 1200W, featuring variable speed settings and essential safety features like steam-venting lids and secure locks.
Among our must-have accessories, we've found that immersion blenders are invaluable for directly blending soups in the pot, while additional blender jars give us the freedom to prepare multiple recipes simultaneously. Self-cleaning features make maintenance effortless with just warm water and dish soap.
High-performance blenders can significantly enhance your soup-making experience by breaking down ingredients more effectively and producing smoother textures. When choosing your main blender, consider trusted brands like Vitamix or NutriBullet, which offer the power and durability needed for hot soup preparation.
For ideal blender maintenance tips, we always remove the center cap during blending to release steam, and we keep the jar only half-full to prevent accidents. We've learned that starting at low speeds and gradually increasing them guarantees smooth results.
Regular cleaning is vital – look for models with removable parts or self-cleaning functions. Remember to keep extra accessories like spouts and lids handy, as they'll make your soup-making process more efficient and enjoyable.
Understanding Blender Speed Settings
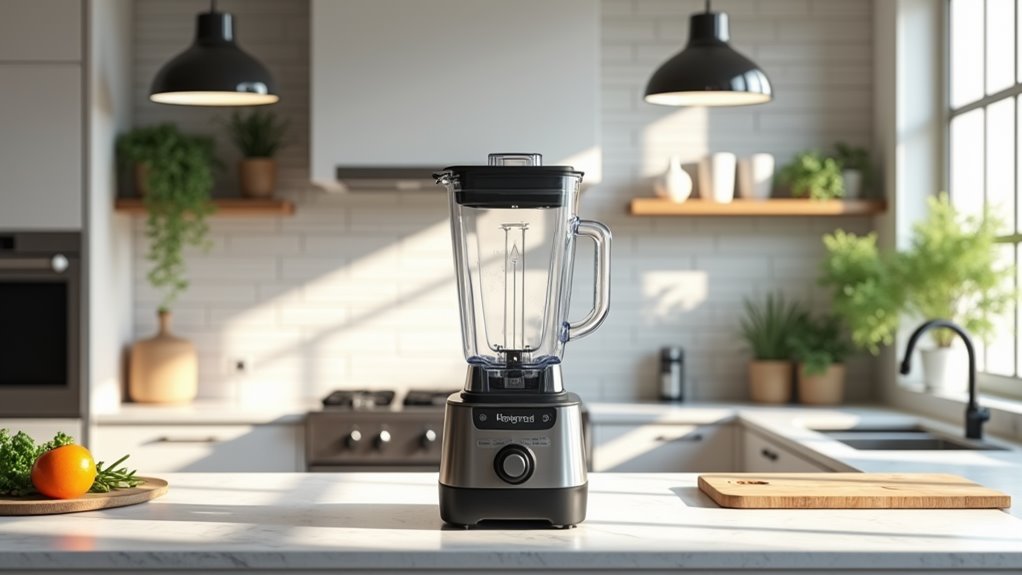
When making hot soup in your blender, understanding speed settings is essential for achieving the perfect consistency and temperature.
Modern blenders offer various speed control options that lets maximize blending efficiency while maintaining safety. We'll want to start at lower speeds to prevent splashing and gradually increase the speed as ingredients break down. Start-to-finish soups typically require 5-6 minutes of blending. High-performance blenders with motors exceeding 1,000 watts provide optimal soup-making capabilities.
Here's what you need to know about managing your blender's speeds for perfect soup:
- Start low and slow – begin with the lowest setting to prevent hot liquid from splashing and create an initial vortex
- Increase speed gradually – move up through the settings as ingredients break down to maintain consistent blending
- Use high speed for finishing – maximum speed generates friction heat and creates silky smoothness
- Monitor and adjust – watch for proper vortex formation and use the pulse function when needed
Many modern blenders feature preset programs specifically designed for soup-making, which automatically adjust speeds throughout the cycle.
If your blender has manual controls, you'll want to keep the container only one-third to one-half full, allowing adequate space for steam expansion and proper ingredient circulation during blending.
Preparing Ingredients for Blending
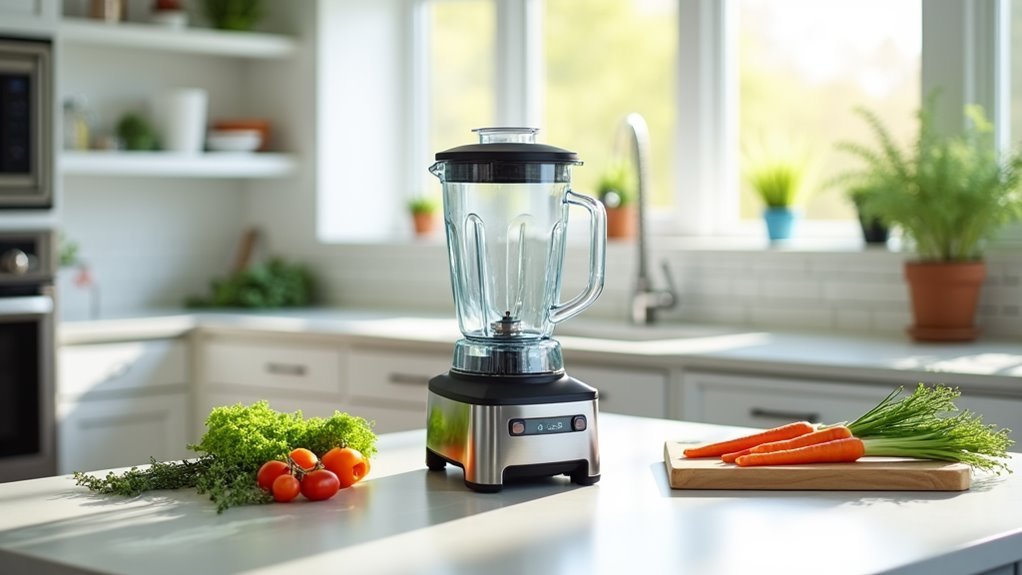
Now that we comprehend how to control our blender's speed settings, proper ingredient preparation will set us up for blending success. When it comes to ingredient selection, we'll want to start with sturdy vegetables like frozen peas, carrots, and broccoli as our base. We'll enhance flavors by adding aromatics such as green onions, garlic, and celery, while fresh herbs like mint and basil bring brightness to our creations.
Our preparation techniques should focus on maximizing nutrients and efficiency. We'll leave the peels on our vegetables when possible and chop them into manageable pieces. For the smoothest results, we'll add our ingredients in strategic batches, starting with the tougher items before incorporating delicate herbs and spices. Consider using a glass or heat-resistant container for safer blending of hot ingredients.
When using a high-power blender, we'll begin with cold water as our liquid base. To achieve that restaurant-quality creaminess, we'll carefully add nuts like cashews or finishing oils. Remember to handle hot ingredients safely by filling the blender only halfway and always venting steam through the lid's center cap while protecting ourselves with a folded dishcloth.
Hot Versus Cold Blending
Every soup-making technique requires careful consideration of whether to blend ingredients hot or cold, as each method offers distinct advantages.
When it comes to hot blending, we need to be mindful of safety precautions, like never filling the blender more than halfway and allowing steam to escape. Steam pressure buildup can force the lid off unexpectedly during blending.
Cold blending, particularly with Vitamix blenders, lets us create hot soups from scratch through friction-generated heat.
Here's what you need to know about both approaches:
- Cold blending with high-powered blenders transforms raw ingredients into hot soup in under 10 minutes, intensifying flavors through the heating process.
- Hot blending requires cooling the soup slightly before transferring it to the blender, reducing the risk of accidents.
- Traditional hot blending methods work best when you remove the center cap and cover with a towel to release steam.
- Cold-to-hot blending eliminates the need for multiple cooking vessels, creating less cleanup.
We'll often choose between these methods based on our recipe and equipment.
While hot blending gives us control over texture and consistency, cold blending offers convenience and simplicity.
Both techniques can deliver restaurant-quality results when executed properly.
Safety Tips When Blending
Three essential safety principles guide every successful blending session: proper equipment inspection, careful handling of hot liquids, and smart operational practices.
Before we start blending, we'll need to check our equipment for any damage, ensuring there aren't any safety hazards like cracked containers or frayed cords that could compromise our cooking adventure. For hot ingredients, let them cool for 3 to 5 minutes before blending.
When we're working with hot liquids, let's remember to fill the blender only halfway and remove the center cap from the lid to let steam escape. We'll want to drape a clean kitchen towel over the top to catch any splashes, and we'll start blending at a low speed to maintain control.
It's tempting to peek inside while blending, but we must resist putting our hands or utensils near operating blades.
Following proper cleaning protocols after each use will keep our blender in top shape.
We'll wipe the base with a damp cloth, being careful to avoid the electrical components, and we'll store our blender in a dry place away from water.
Achieving Professional Texture Results
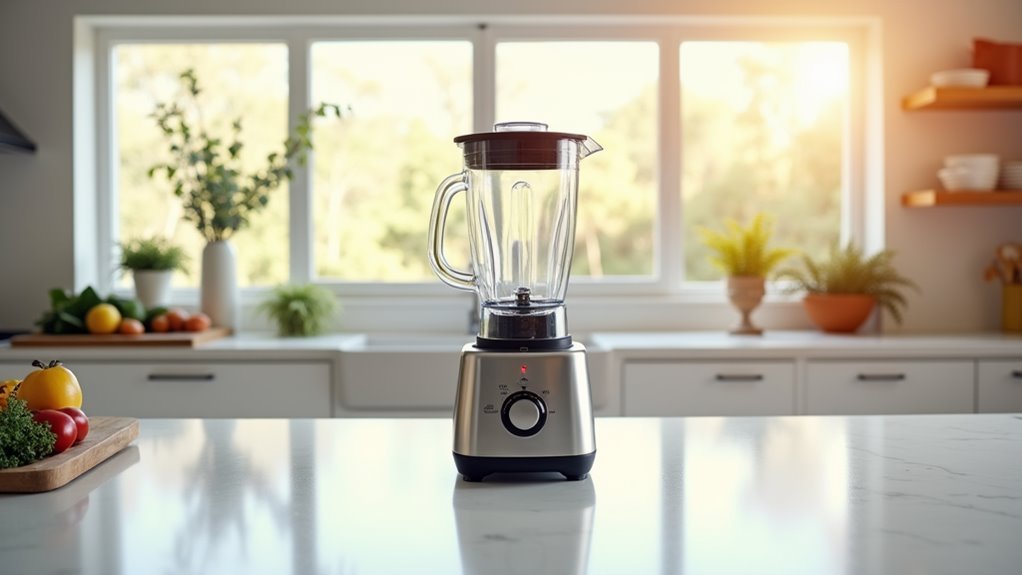
Professional texture mastery in soup-making relies on several interconnected techniques that transform ordinary ingredients into silky-smooth results. Through careful texture balancing and emulsification techniques, we can create restaurant-quality soups that delight both the palate and visual senses.
Let's explore the essential methods that'll elevate your soup game to professional standards. Never leave the blender working unattended as safety is paramount when working with hot ingredients.
- Start with proper ingredient preparation, cooking vegetables until they're tender but not mushy, which creates the foundation for ideal blending.
- Master the blending process by starting slow and gradually increasing speed over 1-2 minutes, creating a powerful vortex for thorough incorporation.
- Implement effective emulsification techniques by slowly streaming in oils or cream while blending, ensuring a silky-smooth consistency.
- Strain the final product through a fine-mesh sieve to remove any remaining solids or fibers.
We'll achieve the best results by using high-performance blenders with multiple speed settings, allowing for precise control over texture development.
Whether you're using an immersion blender or countertop model, the key lies in patience and attention to detail.
Remember to let your soup rest after blending to allow any incorporated air to escape, resulting in that perfect, professional finish.
Blending Techniques for Different Soups
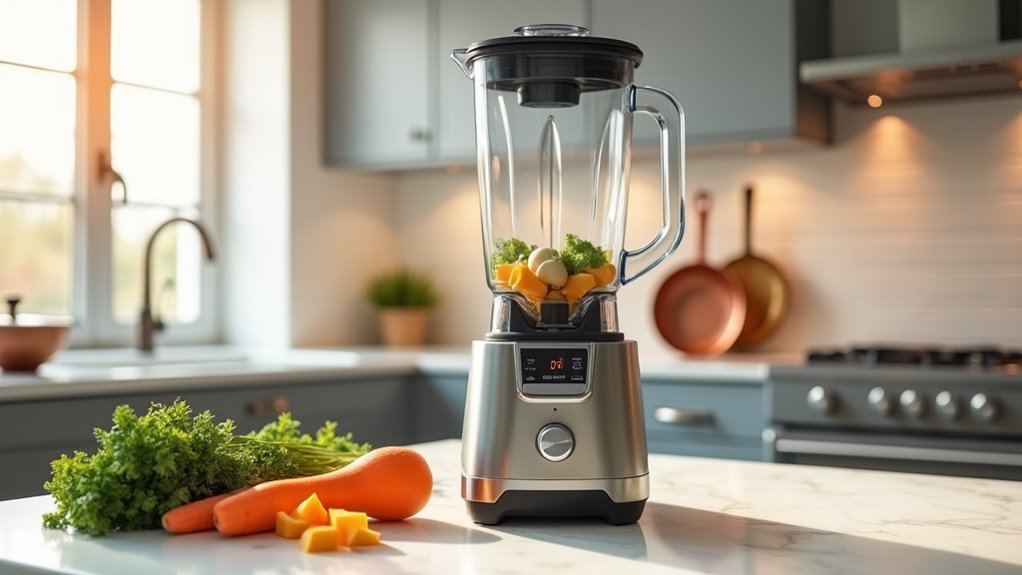
Throughout the world of soup-making, different blending techniques create distinct textures and flavors that can transform ordinary ingredients into extraordinary dishes.
High-speed blenders work best for achieving silky smooth results in homemade soups.
We've discovered four primary methods that offer unique texture variations and creaminess factors in our soups.
For quick weeknight meals, we can rely on start-to-finish blending, where our Vitamix transforms cold ingredients into hot soup through friction alone.
When we're looking for dairy-free alternatives, blender-started soups let's create creamy bases from cashews and beans before finishing on the stovetop.
Professional-style results come from blender-finished soups, where we cook ingredients first and blend afterward for precise texture control.
Our favorite approach might be partially blended soups, which combine smooth and chunky elements in perfect harmony.
We'll blend just a portion of ingredients like split peas or lentils, creating a creamy foundation while maintaining hearty textures throughout.
Whether we're seeking restaurant-quality smoothness or rustic comfort food appeal, these techniques give us complete control over our soup's final consistency and character.
Frequently Asked Questions
Can I Use Frozen Vegetables Instead of Fresh Ones for Blended Soups?
We can absolutely use frozen vegetables in blended soups. You'll find minimal frozen texture or flavor differences, plus you'll save time and money while keeping nutrients intact.
How Long Can I Store Blended Soup in the Refrigerator?
We can keep blended soup in the fridge for 3-4 days, following proper soup storage guidelines. Remember to use airtight containers and maintain refrigeration tips like keeping temps below 40°F.
Why Does My Blended Soup Separate After Sitting for a While?
We'll often see separation causes like acidity and temperature changes affect our soups. Let's fix texture solutions by reheating gently, adding warm cream gradually, or giving it a quick re-blend.
Should I Remove Bay Leaves and Herb Stems Before Blending?
Since bay leaves cause 5% of kitchen choking incidents, we'll help you stay safe. Let's always remove bay leaves and woody herb stems before any blending technique – it's essential for smooth, hazard-free results.
Does Blending Hot Soup Affect Its Nutritional Value?
We're happy to confirm that proper blending techniques won't diminish your soup's nutritional value. The nutritional preservation remains intact, and you'll still get all those valuable nutrients you're after.
Conclusion
Just as a conductor guides an orchestra to create beautiful harmonies, we've learned to masterfully control our blender's power to transform simple ingredients into extraordinary soups. We've explored essential techniques, from managing heat to perfecting textures, that elevate home cooking to restaurant quality. With these innovative blending methods in our culinary toolbox, we're ready to create warming, professional-caliber soups that comfort and delight.

