We've all experienced those store-bought salsas and dips that leave us wondering why we didn't just make our own. With a good blender and the right techniques, we can create vibrant, fresh appetizers that'll make our guests wonder if we've been hiding a culinary degree. From classic Mexican salsas bursting with cilantro and lime to creamy Mediterranean hummus, we'll show you how to master the essential methods, choose the perfect ingredients, and avoid common pitfalls that can turn your dips from spectacular to spectacularly wrong.
Essential Equipment for Perfect Dips
Your salsa can stay fresh for up to 7 days when stored properly in the refrigerator. We'll want to equip ourselves with an immersion blender for hot dips and a garlic press for intense flavor without the tedious mincing. When exploring ingredient pairings, having proper storage containers keeps our creations fresh, while serving bowls and dip trays make presentation a breeze. High-performance blenders can elevate your dip-making process by efficiently breaking down ingredients and creating smoother textures.
Don't forget latex gloves for handling spicy peppers – your hands will thank you later.
For those hosting gatherings, consider investing in a dip server set with small serving spoons and tortilla chip holders. These accessories not only make serving easier but also enhance the overall presentation.
Whether you're making classic salsa or experimenting with new recipes, having the right tools transforms the dip-making process from challenging to enjoyable.
Fresh Ingredients Make Better Results
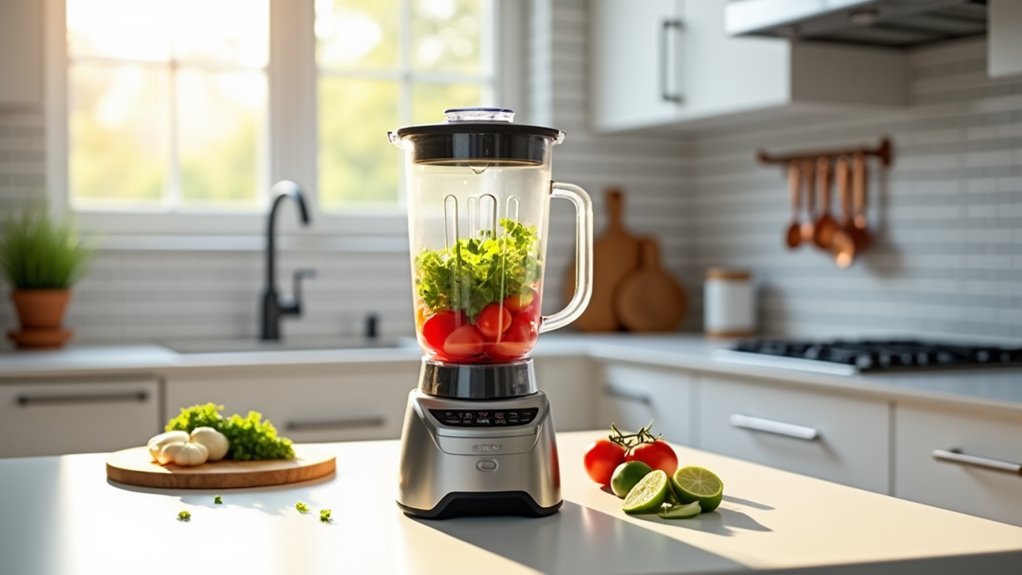
While anyone can toss ingredients into a blender, the secret to exceptional homemade salsa and dips lies in selecting the freshest ingredients possible. High-performance blenders can help you achieve the perfect texture for your salsa with their powerful motors and precise controls.
We've learned that fresh ingredient benefits extend far beyond just taste – they're crucial for achieving the perfect consistency and vibrant flavors that make homemade salsa truly special.
When it comes to seasonal produce selection, we recommend choosing Roma or plum tomatoes that are ripe but still firm. The recipe yields two soup bowls of delicious salsa, perfect for serving at gatherings or storing for later use.
These varieties won't water down your salsa like larger, overripe tomatoes might. We can enhance the natural flavors by rinsing our chopped onions under cold water to mellow their bite, and adjusting heat levels by controlling the amount of jalapeño seeds we include.
For the best results, we'll want to coarsely chop our ingredients before blending, which guarantees even processing.
Don't forget to drain those fresh tomatoes for about 10 minutes – it's a game-changer for preventing watery salsa.
Once we've combined everything, we'll let it chill for at least 20 minutes, allowing those fresh flavors to meld into perfection.
Basic Blending Techniques
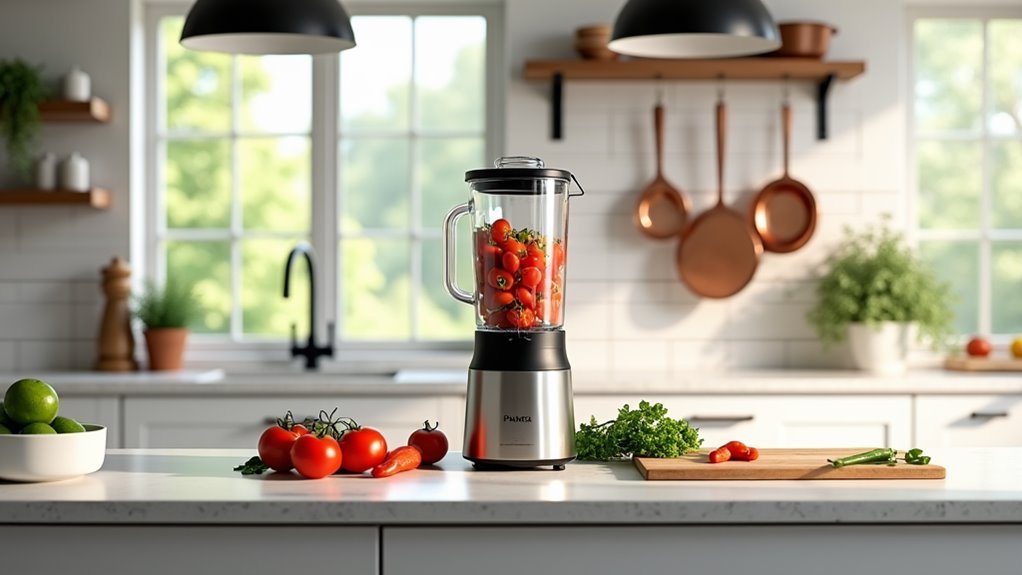
Getting your blending technique right makes all the difference between smooth restaurant-style salsa and a watery mess.
We'll show you how to master blending speeds and ingredient timing for the perfect consistency every time. Start with your slowest speed setting when combining tomatoes and lime juice, then gradually increase to medium as you add jalapeños, onions, and garlic.
For the best results, we'll want to prep our ingredients properly before they hit the blender. Chop your vegetables, remove seeds, and work in batches if needed. Food processor alternatives can achieve similar results if a blender isn't available.
When it's time to blend, use the pulse feature instead of continuous blending – this gives us better control over the final texture. As we add cilantro and seasonings like cumin and salt, we can bump up to speed 3 for the final mix.
Classic Mexican Salsa Recipes
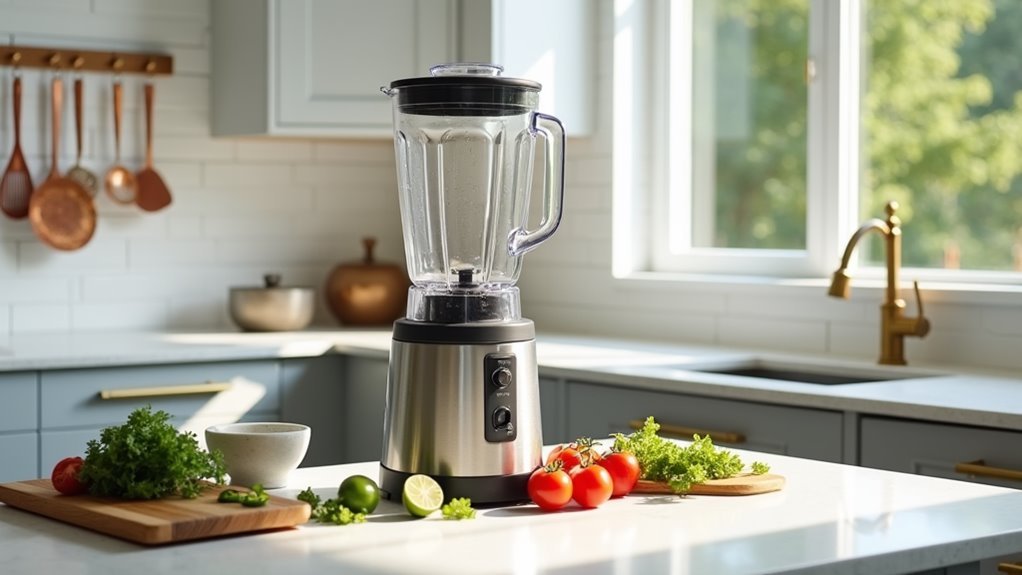
Every authentic Mexican salsa starts with perfectly ripened tomatoes and fresh ingredients that create that vibrant, zesty flavor we all love.
We'll want to choose plum or Roma tomatoes as our base, combining them with fresh jalapeños, onions, and cilantro to create that classic taste. For the best results, we're going to roast our vegetables until they're nicely blistered, which brings out their natural sweetness and depth. Thirty minutes of refrigeration helps the flavors develop and meld together perfectly.
When it comes to salsa variations, we've got plenty of options to customize the recipe to our preferences. We can adjust the heat level by switching between jalapeños and serranos, or by keeping or removing the pepper veins.
For added complexity, we'll incorporate garlic and ground cumin, while a touch of sugar helps balance any acidity from the tomatoes. Let's not forget the importance of proper blending technique – we'll pulse rather than purée to maintain that perfect chunky texture.
For those busy days when we need a shortcut, canned tomatoes and green chiles work well too, though fresh ingredients will always give us that superior restaurant-style result we're aiming for.
Mediterranean Dips Worth Mastering
Plunge into the world of Mediterranean dips with us as we explore these protein-rich, veggie-packed crowd pleasers. We'll show you how layering techniques transform simple ingredients into Instagram-worthy appetizers that'll have your guests reaching for seconds. Each serving provides 167 calories per serving, making it a sensible choice for health-conscious entertainers.
| Layer | Traditional | Modern Twist |
|---|---|---|
| Base | Classic Hummus | Roasted Red Pepper Hummus |
| Creamy | Greek Yogurt | Whipped Feta |
| Vegetables | Diced Cucumbers & Tomatoes | Grilled Zucchini & Artichokes |
| Garnish | Kalamata Olives | Sun-Dried Tomatoes |
| Finish | Fresh Parsley | Mixed Fresh Herbs |
Let's break free from conventional dips with clever ingredient substitutions that'll make these Mediterranean classics uniquely yours. Whether you're using store-bought hummus or whipping up your own, these dips come together in under 20 minutes. We recommend starting with a thick base layer of hummus, followed by a generous spread of Greek yogurt or whipped feta. Top with crisp vegetables, olives, and fresh herbs for that perfect Mediterranean flavor profile. Serve with warm pita chips or fresh vegetables for a guilt-free snack that's perfect for any gathering.
Storage and Make-Ahead Tips
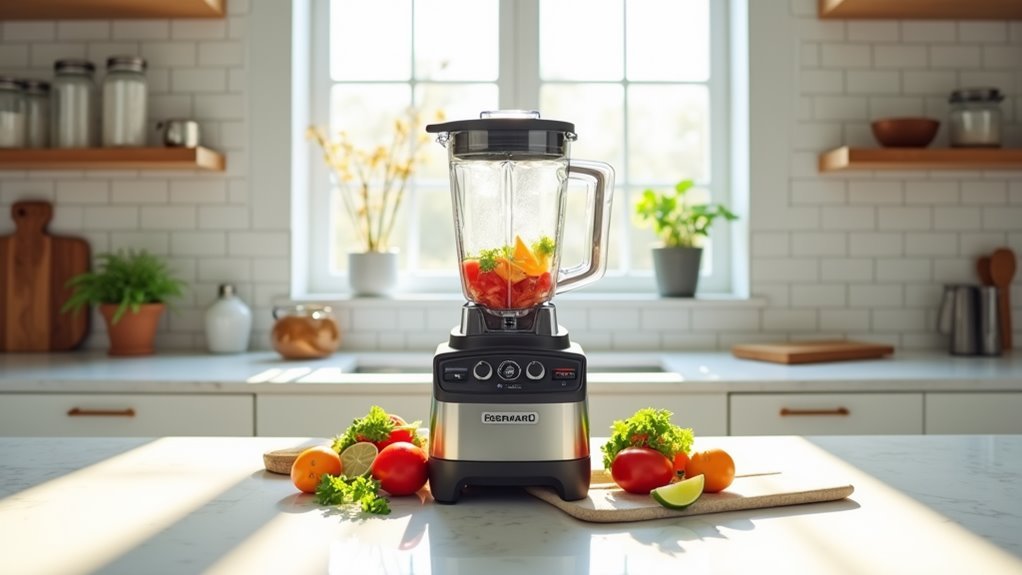
Looking ahead to your next gathering, knowing how to store and prep salsa in advance can make entertaining a breeze. Store-bought varieties can last up to two weeks in the refrigerator after opening when properly stored.
We'll show you the best refrigeration methods and freezing tips to keep your homemade creations fresh and flavorful. When storing fresh salsa, we recommend using airtight containers and keeping them in the fridge for 5-7 days, while freezing works great for extending shelf life, especially with thicker, puréed varieties.
For those who love making big batches, we're here to assist you with these essential storage strategies:
- Use freezer-safe containers and leave headspace for expansion when freezing
- Portion your salsa into single-serve sizes using silicone ice cube trays
- Label containers with dates to track freshness
- Store unopened shelf-stable salsas in a cool pantry
- Keep opened containers refrigerated and use clean utensils when serving
Want to preserve your salsa long-term? Consider water bath canning, which keeps your creation fresh for up to 18 months.
Just remember to check for proper sealing and rotate your jars regularly. For quick prep, blender salsas come together in under 10 minutes, perfect for last-minute entertaining needs.
Common Blending Mistakes
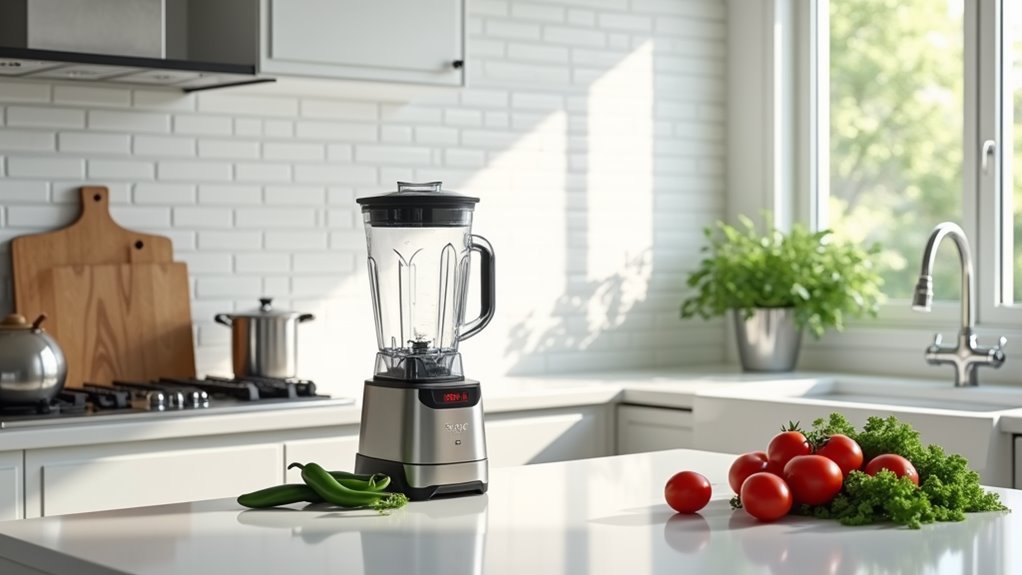
Now that you've mastered storage techniques, let's tackle the art of blending the perfect salsa. When it comes to blending techniques, speed control is vital for texture preservation. We've found that medium-low speeds work best, preventing that dreaded foamy consistency that comes from over-aeration. Traditional Mexican chefs used mortar and pestle methods to achieve ideal textures.
| Mistake | Solution |
|---|---|
| High-speed blending | Use medium-low speed to maintain texture |
| Watery consistency | Remove seeds, drain canned tomatoes |
| Uneven texture | Pulse properly, don't over-process |
| Unbalanced flavors | Taste-test and adjust seasonings gradually |
For ideal salsa consistency, we recommend processing methods that focus on ingredient selection and careful preparation. Start by removing tomato seeds and draining excess liquid. When it comes to flavor balancing, remember that it's easier to add heat than to reduce it – start with fewer chilies and adjust upward. We've learned that cooking base ingredients before blending can enhance flavors greatly, but don't forget to let them cool completely. By following these guidelines and avoiding common pitfalls in processing methods, you'll create restaurant-quality salsa with the perfect texture every time.
Frequently Asked Questions
Can I Substitute Dried Herbs for Fresh Ones in Blended Dips?
We can use dried herbs in blended dips, but we'll need to adjust for dried herb nuances and flavor potency comparison. Fresh herbs give better results, so let's use 1/3 of dried herbs instead.
Why Does My Homemade Salsa Turn Brown After a Few Hours?
Let's tackle why your salsa's browning: it's due to salsa oxidation when ingredients meet air, plus the ingredient freshness factor. Using airtight containers and adding citrus juice helps prevent this.
Is It Safe to Can Homemade Blended Salsa for Long-Term Storage?
While we'd love to freestyle our salsa canning, safety demands tested recipes and proper preservation methods. We can only can scientifically-tested recipes; otherwise, we'll need to freeze our creative blends.
Should Hot Peppers Be Seeded Before Blending Into Salsas and Dips?
We recommend seeding hot peppers before blending since it lets us control pepper heat. Try keeping some seeds for extra kick, and adjust your blending technique to match your preferred spiciness level.
Can I Freeze Fresh Herbs to Use Later in Blended Dips?
While 80% of fresh herbs spoil before use, we'll help you avoid waste. Let's freeze herbs in oil or water cubes – these herb freezing techniques are perfect for maximizing flavor freshness in future dips.
Conclusion
Like Prometheus gifting fire to humanity, we've shared the secrets of creating exceptional homemade dips and salsas. Armed with the right equipment, fresh ingredients, and proper techniques, we'll transform simple components into culinary masterpieces. Whether we're crafting a zesty Mexican salsa or a creamy Mediterranean hummus, we've learned that attention to detail and respect for ingredients make all the difference. Let's continue our journey of blending excellence together.

