We've chopped, we've diced, and we've labored over traditional salsa preparations, but today we'll explore a quicker path to authentic Mexican flavors. As home cooks, there's something liberating about transforming fresh ingredients into restaurant-style salsa with just the push of a button. While purists might raise an eyebrow at using a blender, we can't ignore the convenience and consistency it offers for busy households. Let's discover how this modern approach not only saves time but also opens up new possibilities for customizing heat levels and textures to match our exact preferences.
History
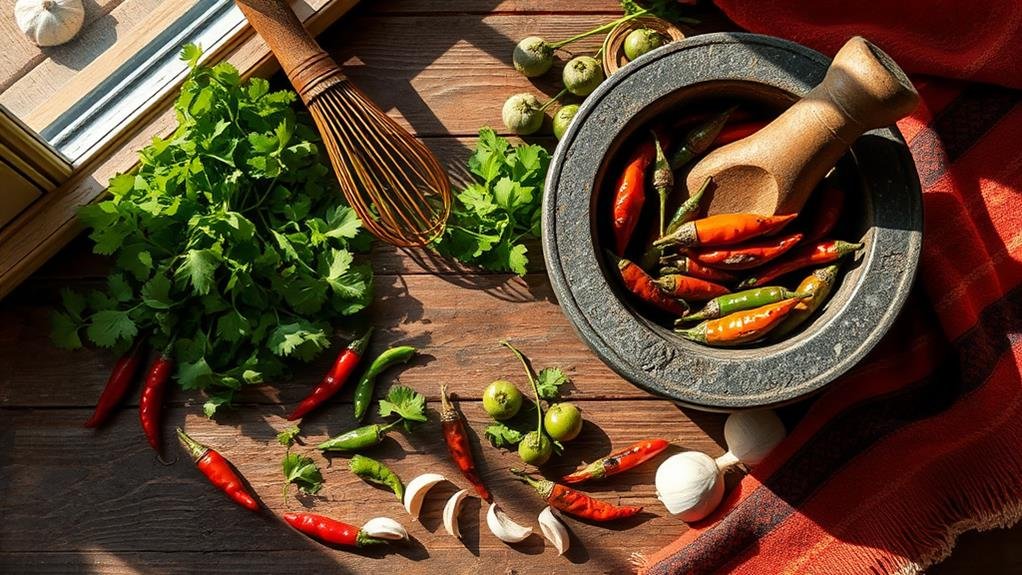
Blender salsa emerged in the mid-20th century as a modern twist on traditional Mexican salsas, coinciding with the rising popularity of electric blenders in American households. As home cooks sought convenient ways to recreate restaurant-style salsas, the blender method offered a quick and efficient solution. High-performance blenders, in particular, can achieve smoother textures and more consistent results, making them ideal for salsa preparation producing smoother textures.
While traditional Mexican salsas were historically made using a molcajete (a stone mortar and pestle), the electric blender revolutionized salsa preparation. We can trace this adaptation back to the 1950s when Waring blenders became common kitchen appliances. The ease of blending ingredients transformed salsa making from a time-consuming process into a task that could be completed in minutes.
The rise of Tex-Mex cuisine in the 1960s and 70s further popularized blender salsa, as Americans embraced Mexican flavors and sought to recreate them at home. Restaurant chains began serving smoother-style salsas that were easily replicated using a blender. Today, we continue to see the influence of this preparation method, with many commercial salsas mimicking the consistency achieved through blending, though they're typically produced using industrial equipment.
Recipe
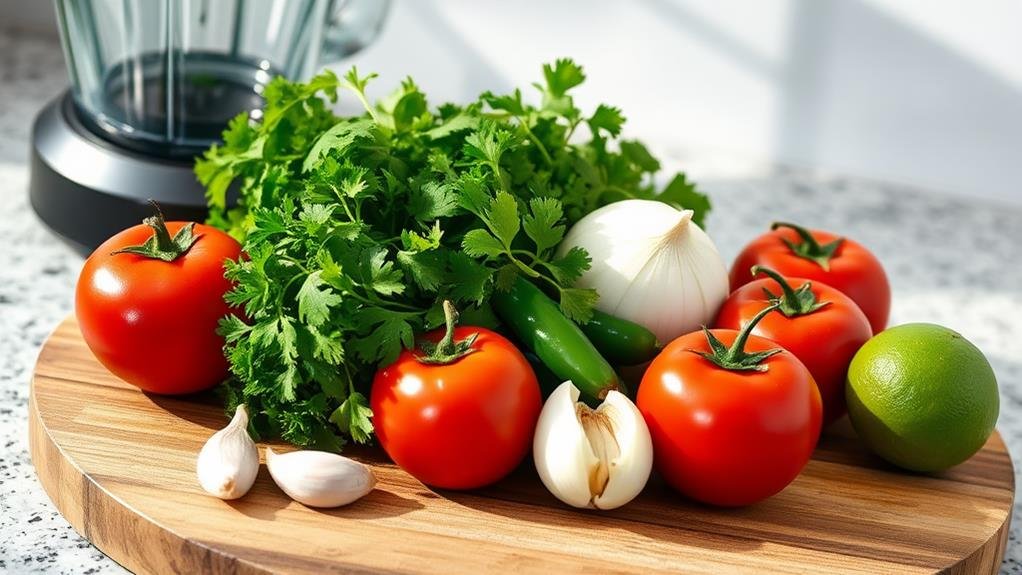
Fresh, vibrant, and bursting with flavor, blender salsa is a quick and easy way to enjoy restaurant-style salsa at home. This recipe combines ripe tomatoes, zesty onions, spicy jalapeños, and fresh cilantro into a perfectly balanced condiment that's ready in minutes. The beauty of making salsa in a blender lies in its simplicity and consistency, especially when using a high-performance blender, which can easily handle tough ingredients like tomatoes and jalapeños for a smoother texture.
While traditional hand-chopped salsa requires time and knife skills, this method delivers smooth, well-incorporated results with minimal effort, making it perfect for busy households or last-minute gatherings. High-performance blenders enhance cooking efficiency and convenience.
Ingredients:
- 4 medium ripe tomatoes
- 1/2 white onion
- 1-2 jalapeño peppers
- 1/2 cup fresh cilantro
- 2 cloves garlic
- Juice of 1 lime
- 1/2 teaspoon salt
- 1/4 teaspoon black pepper
Add tomatoes, onion, jalapeños (seeds removed for milder heat), cilantro, garlic, lime juice, salt, and pepper to a blender. Pulse in short bursts until the ingredients are combined but still maintain some texture, about 30-45 seconds. Pour into a serving bowl and let rest for 15 minutes to allow flavors to meld.
For best results, use room temperature tomatoes and taste the jalapeños before adding them, as their heat levels can vary significantly. Store the salsa in an airtight container in the refrigerator for up to 5 days, though the texture may become slightly more watery over time. If this happens, simply drain off any excess liquid before serving.
Step By Step
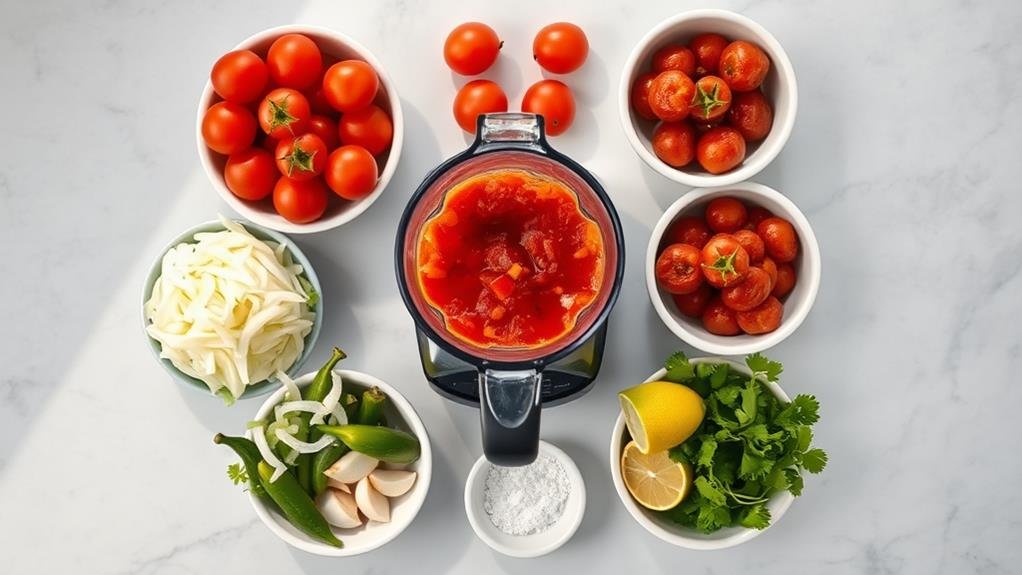
Let's walk through making blender salsa with simple steps that'll give us perfect results every time.
We'll start by quartering our tomatoes and adding garlic and peppers, followed by onion and a splash of lime juice, before incorporating salt and seasonings.
The final step is to blend everything until we reach our desired smoothness, making sure not to over-process the ingredients.
Step 1. Chop Tomatoes Into Quarters
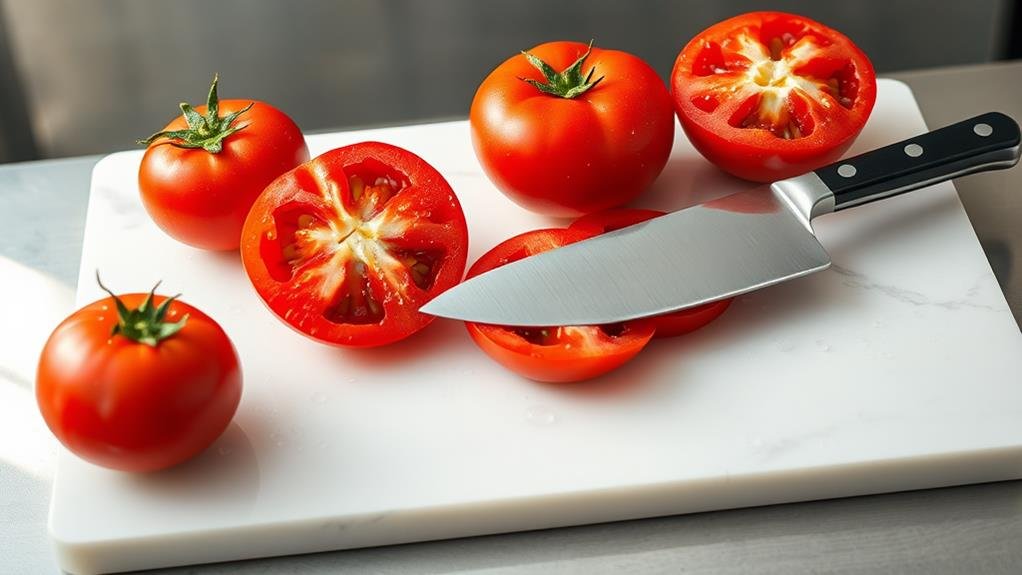
Starting with the tomatoes, we'll need to quarter them for best mixing. First, rinse the tomatoes thoroughly under cool water to remove any dirt or debris. Pat them dry with a paper towel to prevent excess water from diluting our salsa.
Place each tomato on a cutting board with the stem side facing up. Using a sharp knife, cut straight down through the center to create two equal halves. Then, turn each half and cut through the middle again, creating four roughly equal wedges. If you're using larger tomatoes, you might want to remove the tough core at this point.
For ideal mixing results, we'll want uniform pieces that won't overwhelm our blender. The quartered size allows the tomatoes to break down evenly without requiring too much blending time, which could make our salsa too watery.
If you're using Roma tomatoes, which are smaller, you can still quarter them the same way – the consistent size is what matters most. We'll be adding these quarters to our blender first, as they'll create the base for our salsa.
Step 2. Add Garlic and Peppers
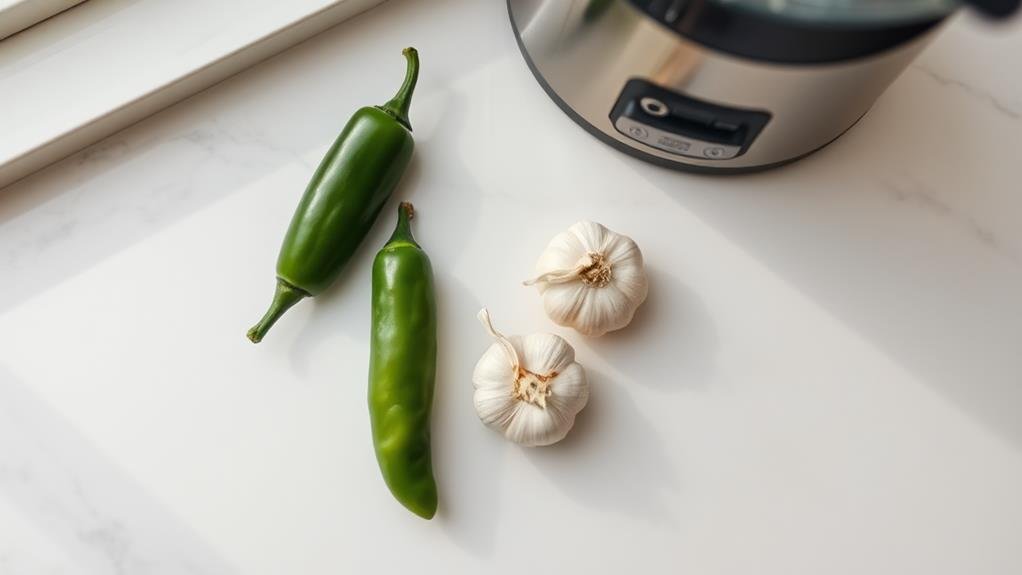
Moving on to our aromatics, we'll add peeled garlic cloves and carefully prepared peppers to build layers of flavor. For this step, we'll need 3-4 fresh garlic cloves and 1-2 jalapeño peppers, depending on your desired heat level. Remove the papery skin from the garlic cloves and drop them straight into the blender with our quartered tomatoes.
Next, let's prepare the jalapeños. First, put on gloves to protect your hands from the oils. Cut the stems off the peppers and slice them lengthwise. For a milder salsa, remove the seeds and white membrane inside the peppers. If you want more heat, leave some or all of these parts intact. Roughly chop the peppers into chunks that'll blend easily.
Add the prepared jalapeños to the blender. At this point, don't blend yet – we'll add our remaining ingredients first. If you're unsure about the heat level, start with less jalapeño; you can always add more later. Remember that the heat from the peppers will intensify slightly as the salsa sits, so it's better to start conservative and adjust up.
Step 3. Add Onion and Lime
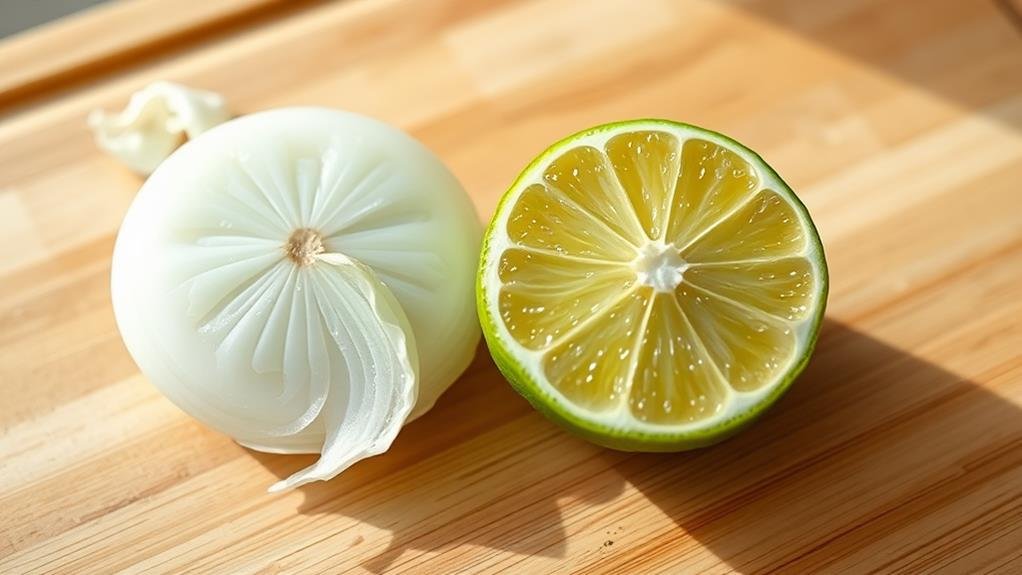
With our garlic and peppers in place, it's time to add the remaining fresh ingredients that give our salsa its signature zing.
We'll start by peeling and quartering one medium white onion. While red onions work too, white onions provide the traditional Mexican salsa flavor we're aiming for.
Next, we'll juice two fresh limes directly into the blender. The acid from the limes serves multiple purposes: it brightens the overall flavor, helps preserve the salsa, and balances the heat from the peppers. We recommend rolling the limes on the counter first, applying firm pressure to break down the internal membranes – this helps extract more juice.
Don't worry if your pieces of onion seem large; the blender will process them to the perfect size. We want to add these ingredients now, rather than earlier, because onions and lime juice can become bitter if over-processed.
At this stage, we'll pulse the mixture just two or three times to incorporate these new additions while maintaining some texture. The onion's sharpness and lime's acidity will meld perfectly with our other ingredients.
Step 4. Add Salt and Seasonings
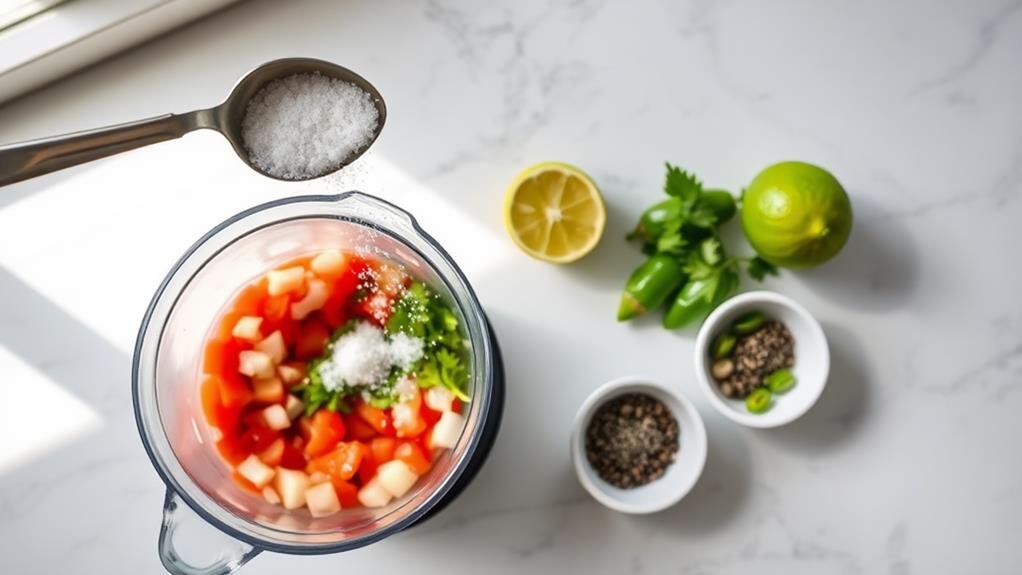
The perfect seasoning balance transforms our blender salsa from good to extraordinary. Let's start by adding one teaspoon of salt to enhance all the flavors we've already combined.
We'll also include half a teaspoon of ground cumin, which adds an earthy depth that complements the fresh vegetables perfectly.
For extra depth, we'll add a quarter teaspoon of black pepper and a pinch of garlic powder. If you're looking for more heat beyond the jalapeños, now's the time to add a quarter teaspoon of cayenne pepper. Don't forget to include a small pinch of oregano – Mexican oregano if you have it – which brings a subtle herbal note that ties everything together.
After adding each seasoning, we'll pulse the blender briefly to incorporate them evenly. Now comes the essential part: we need to taste and adjust. If it needs more salt, add a pinch at a time. Remember, we can always add more seasonings, but we can't take them away. Once we've achieved the perfect balance, give the salsa one final pulse, and it's ready to serve.
Step 5. Blend Until Smooth Consistency
Now that we've seasoned our salsa perfectly, let's break down the blending process into manageable steps.
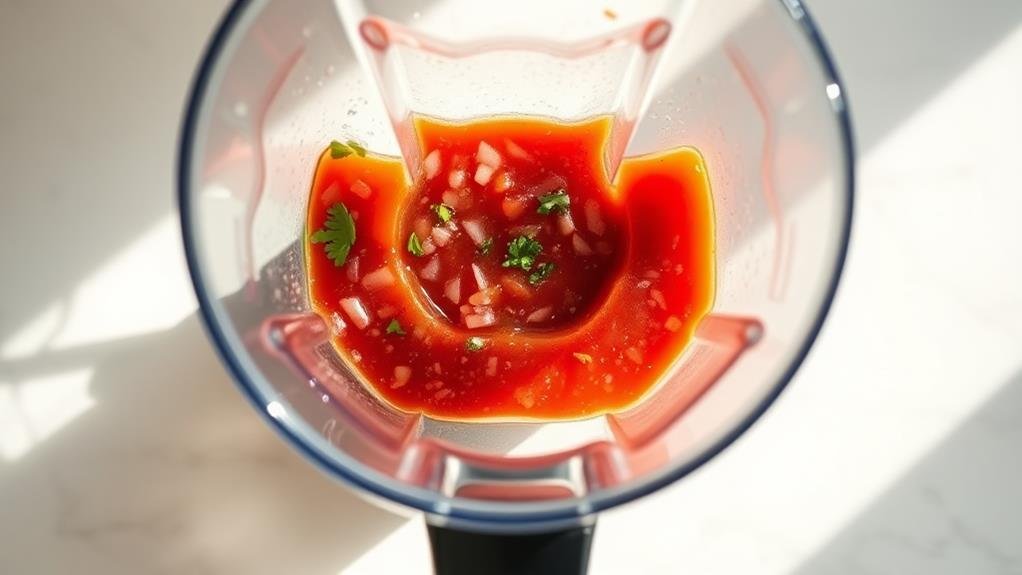
Start by pulsing the ingredients in short, 2-3 second bursts. This initial pulsing helps break down the larger chunks while maintaining some texture. After 4-5 pulses, stop and scrape down the sides of the blender with a spatula to confirm all ingredients are incorporated evenly.
Continue pulsing until you reach your desired consistency. For a smoother salsa, blend for longer periods, but be careful not to over-process. We want to avoid turning the salsa into a complete puree. You'll know you've achieved the right texture when the tomatoes are broken down but still maintain small, visible pieces.
If you notice excess liquid pooling at the bottom, drain some off to prevent your salsa from becoming too watery.
The entire blending process typically takes 30-45 seconds of actual blending time. Remember, you can always blend more, but you can't undo over-blending, so take it slow and check the consistency frequently.
Conclusion
Blender salsa dances on our taste buds like a fiesta in a jar. We've transformed simple ingredients into liquid gold, where tomatoes mingle with spicy jalapeños and zesty lime in perfect harmony. It's our go-to party starter, bringing the heat and heart of Mexico straight to our kitchen. When we desire that restaurant-style kick, our blender's got our back for the smoothest, most vibrant salsa around.

